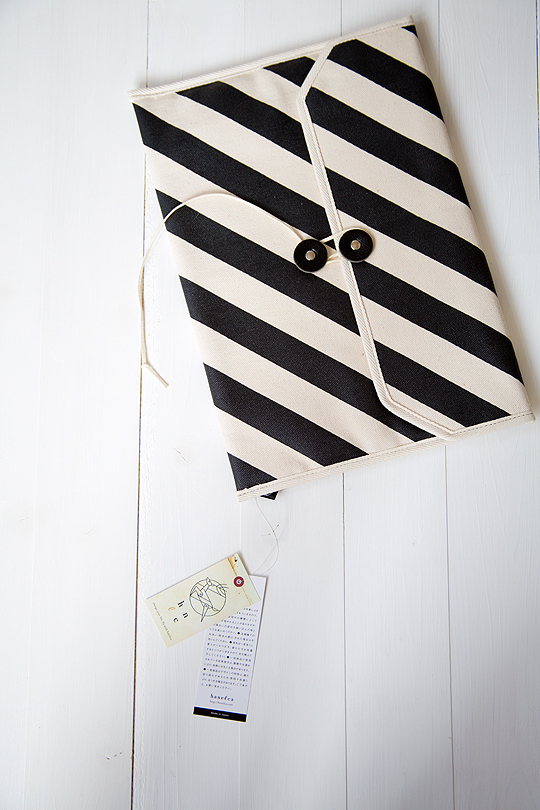
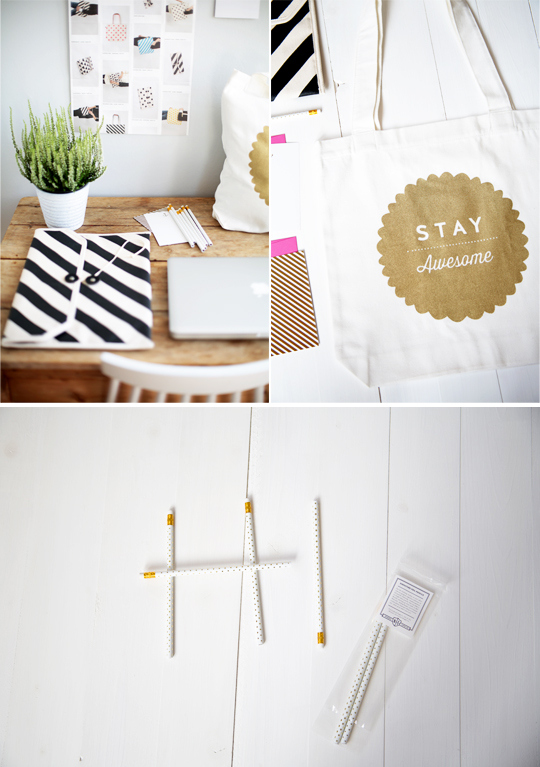
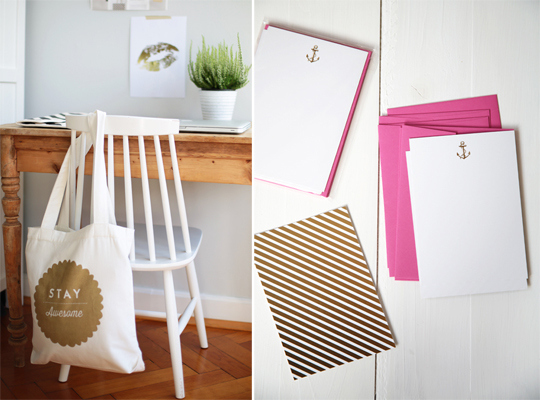
Gold foil is so hot right now, have you noticed? And bold contrasts too, like black and white stripes. And don’t get me started on totes with upbeat girl power phrases. I think every now and then we need to treat ourselves so with back to school here and with lots of us taking online classes or who know teens going back to high school or have college pals heading back in, etc. I found 5 things that you may like for yourself or to give as a gift. These are all handmade, high quality and decor8 tested and approved from Great.ly makers that fit MY version of what back to school means to me at the moment – a hint of glam!
1. 13″ Macbook case in black white stripe Japanese canvas by Hanelca/Aya Kawaura 2. Gold Foil lip print by Becky Ford 3. Gold anchor note cards by Taylor Henderson. 4. Swiss dot patterned gold foil pencils by Splendid Supply Co. 5. Stay Awesome tote bag custom made for decor8 readers by Toodles Noodles. Please order the pink and gold tote but specify WHITE/GOLD AS SEEN ON DECOR8 after you’ve made payment.
Aren’t these handmade items just the best? Which ones do you like the best?
Hey hey! It’s another cool day here in Indiana! This weather is my jam. It’s about that time of year to turn on the fireplaces – in fact we’ve already had the family room going at night a couple times. Gas fireplaces are wonderful – we’ve had a wood burning one before (in an apartment if you can believe it!) and it was great but the convenience of gas can’t be beat.
So I learned this trick on how to clean the fireplace glass years ago and it comes in SO handy, especially this time of year. I always clean the glass in early fall before we light the fireplaces for the season. I’ve been meaning to show you this for years!
Of course this little tutorial is how you clean the inside of the glass on a gas fireplace – not the outside. I figure that’s pretty self explanatory. It’s not hard to do at all and just takes a few steps:
I don’t know how the inside gets so yucky over the summer but every year it needs to be cleaned. The family room fireplace especially needed it after all the construction dust recently:
Seriously, it was a mess.
OK, first step is to make sure the pilot light is off! I don’t think it’s a big deal to open it up with it on but since you’ll be cleaning the glass and all, I recommend you just have it off.
To start you’ll tilt down the bottom grate like so:
This one I can’t remove unless I unscrew it, but it does give me access to the back side so I can clean the grates easier.
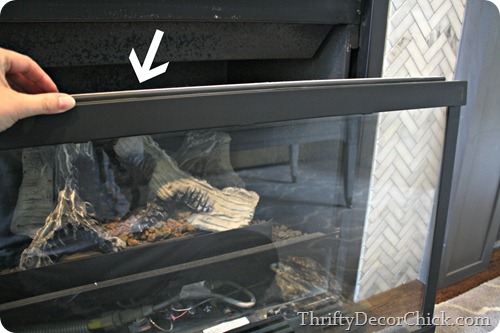
Inside and underneath on both sides of the firebox are two clamps. You’ll need to bend down and find them and then you just release the clamp:
Do this on both sides. This releases the glass front of the fireplace. It will tilt out from the bottom:
And then you can pull up on the whole piece of glass and just pull it off. The whole thing has a cleat at the top that sits under the upper grates:
So if you just pull up on the glass it should come off very easily. Be careful, it’s heavier than you think it will be but totally manageable.
You can also unhook the top grate if you want too:
You can do that with or without the glass installed – it makes it easy to clean in the sink or at the hose outside.
You’ll want to lay the glass front side down so you can clean it. I try to use something without a ton of chemicals – I’m sure anything would probably be OK but I just worry about the chemicals with the gas/fire. You know, explosions and stuff. No biggie:
I use my Shaklee cleaner and it works great!
While I’m at it with everything opened up I’ll clean out underneath the fireplace a little and then replace the embers inside. Those are the fluffy stuff at the bottom — you can see that after time they get kind of brown and yucky:
I found this bag of the embers at Lowe’s or Home Depot years ago and it’s lasted me a long time. I don’t replace all of them, just the ones on top:
It makes a big difference when lit – lots of glow:
When you’re done cleaning the glass just hook that top cleat back on to the firebox, then you’ll need to clamp everything back in:
You’ll have to push hard to them secured but again, it’s not hard at all.
When you’re done you’ll have a clean, sparkling fireplace!:
Ours was a mess – the glass, the grates, everything was dirty from all the dust we’ve had around here. It’s nice to have it all finished up and looking good now!:
If you missed how I installed that herringbone tile you can catch up here.
If you have a gas fireplace did you know how to clean this glass? I had no idea till a friend showed us how to do it. It’s SUPER easy to do and it will take you about 10-15 minutes start to finish. I don’t know if these steps will work for every gas fireplace, but I’m betting they are all fairly similar.
I’ll show you a couple other quick tips to get your fireplace looking brand new again next week!
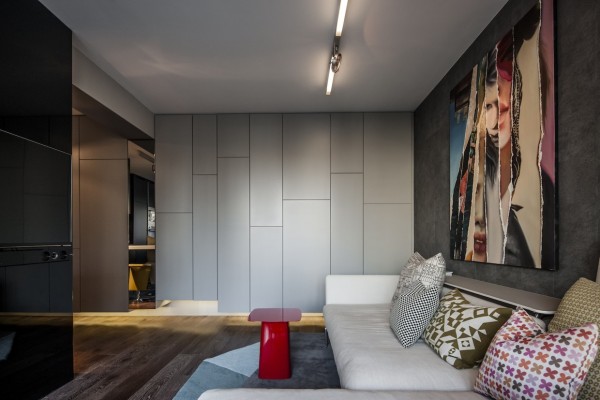
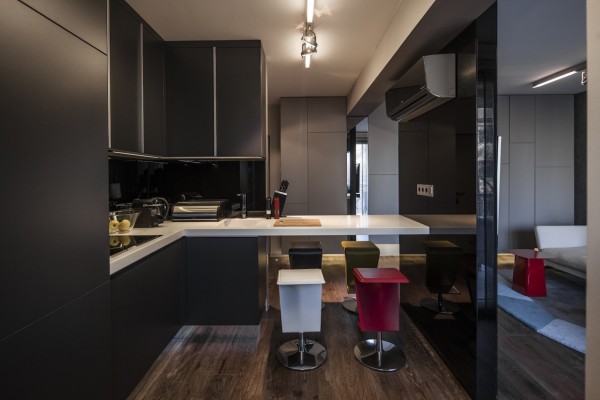
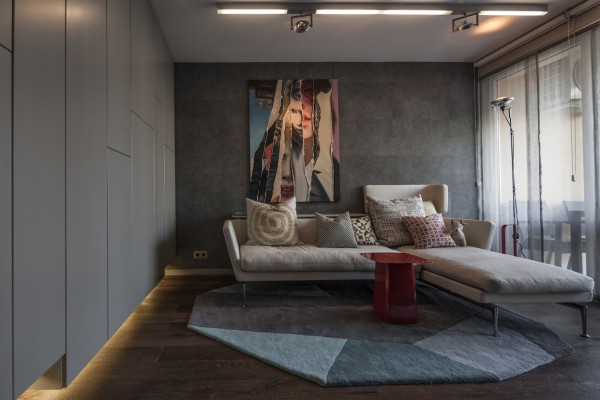
This small apartment in Budapest comes in at just 40 square meters (431 square feet). Though that’s not a lot of space to work with, the designers at Suto Interior Architects were up to the challenge. With a few clever storage spaces and some beautiful focus pieces, they were able to turn this aging apartment into a stylish and modern bachelor flat.
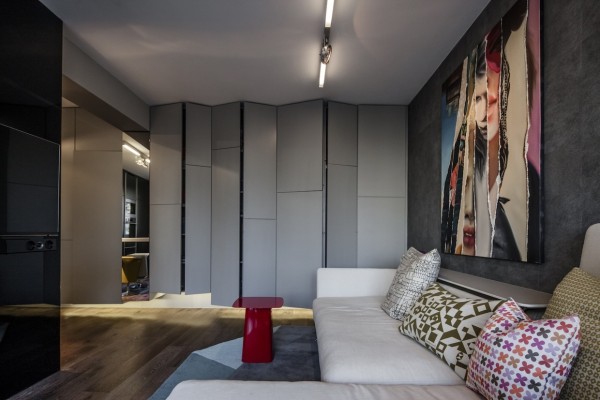
The ‘small living room’ offers enough space for this minimalist sofa and chaise, but it’s the Flos Toio lamp in the corner that you can’t help but notice.
The large painting from Hungarian contemporary artist, Zsuzsi Csiszér is also a central piece in the living area…
…which opens up when you slide back this room divider.
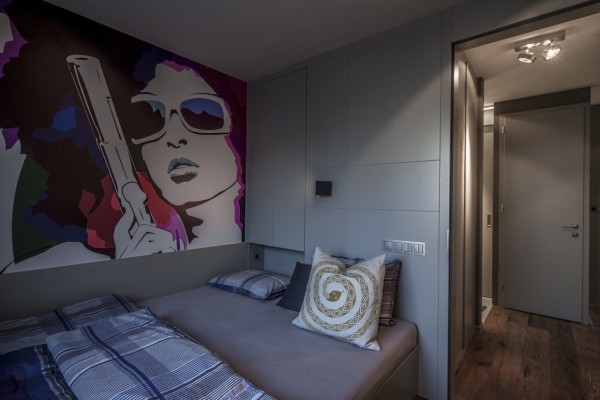
In a one-person apartment, the bedroom does not need to be much bigger than the bed.
But the inclusion of more striking pop art gives it a whopping personality.
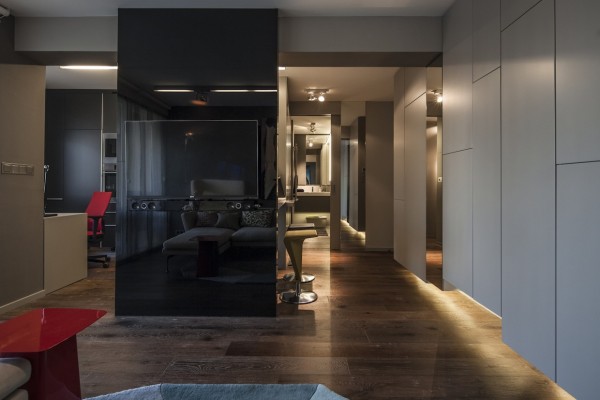
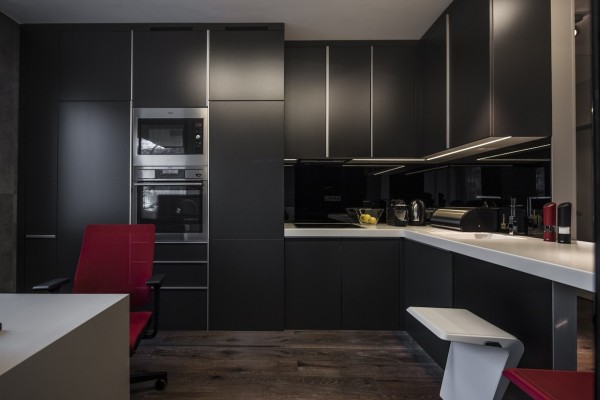
A black glass wall separates the living area from the kitchen without closing off any of the space.
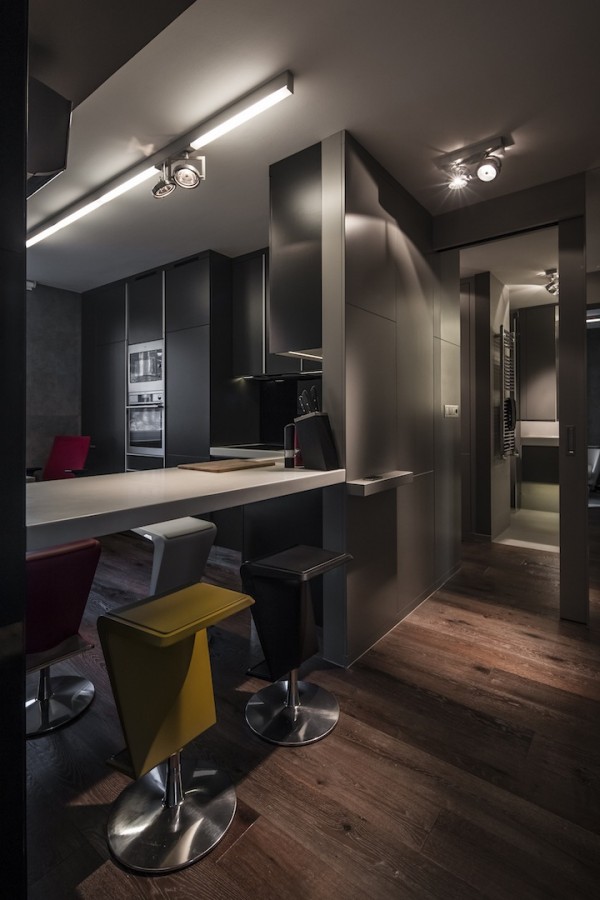
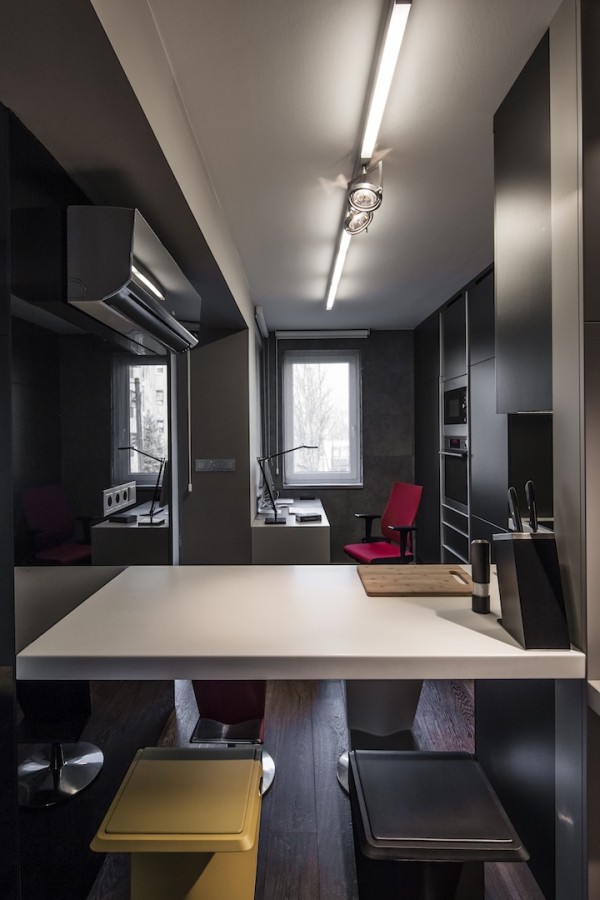
Kristalia bar stools match one another in style, but not in color, which keeps the dining space feeling vibrant instead of stuffy.
Strategically placed lighting spotlights favorite pieces, like the chairs and smooth countertops.
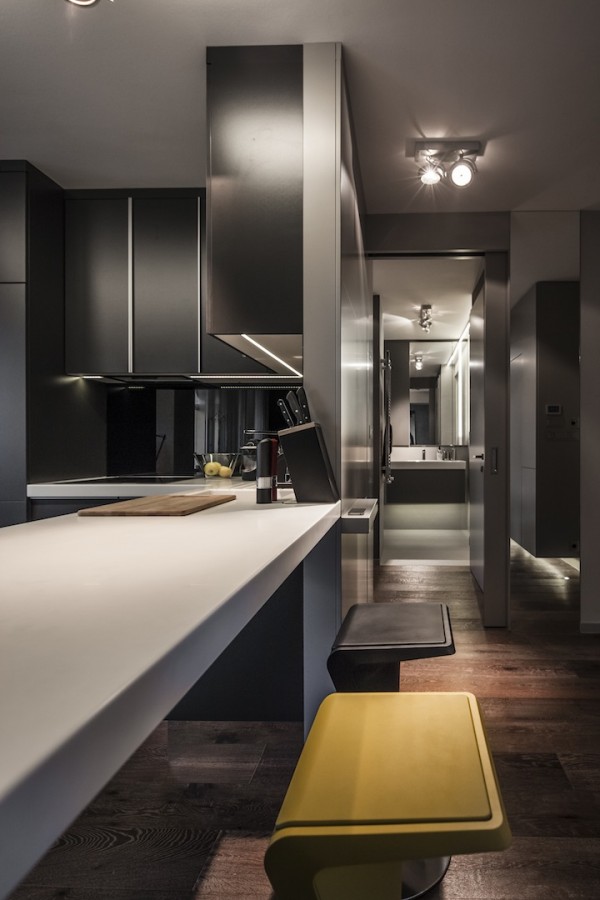
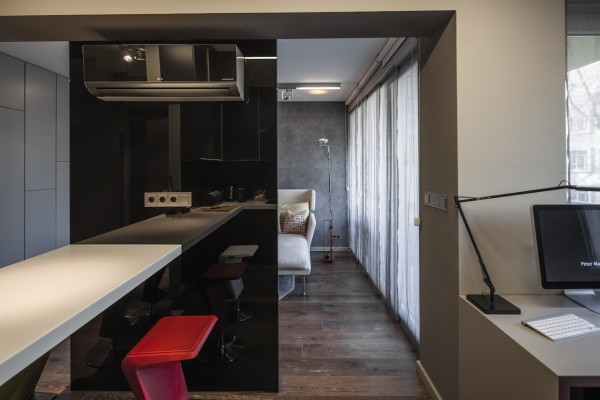
Here we have a glimpse of the work area that got tucked away in the back of the kitchen.
The home office becomes part of the kitchen, but hiding it away functions to keep the living area clean and organized. Here we can also see the massive storage possibilities in the kitchen cabinetry.
The reflective glass wall also houses the air conditioning on one side (and television on the other) so it’s adding function as well as fashion.
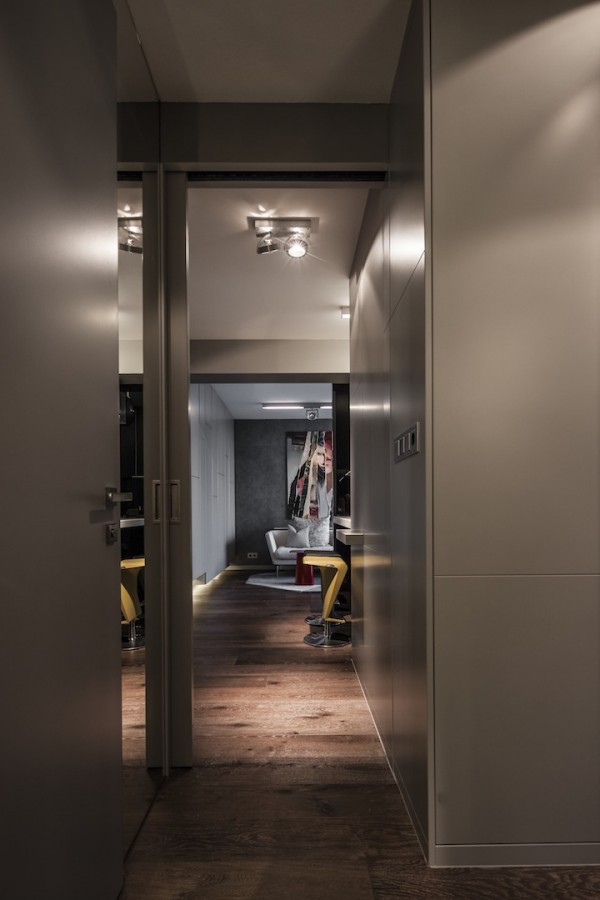
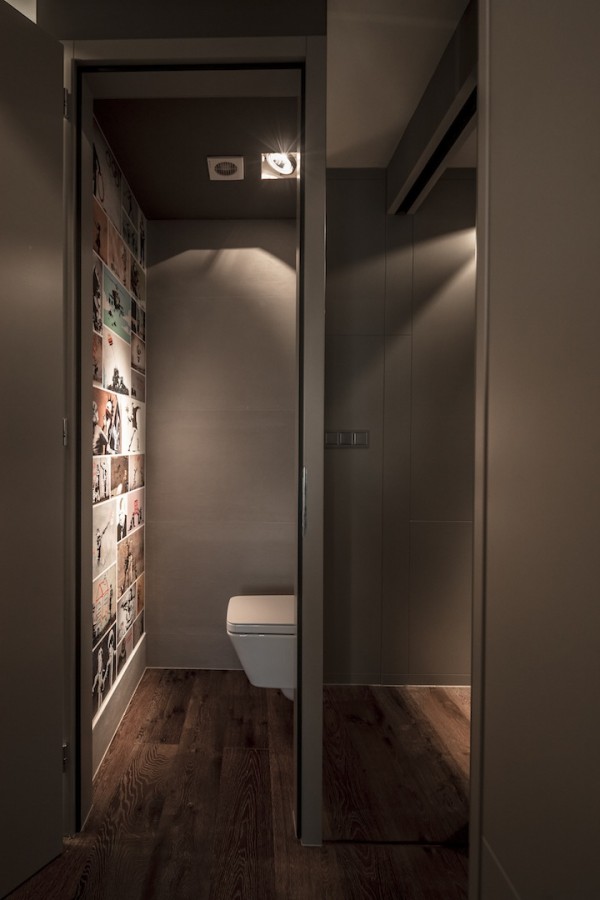
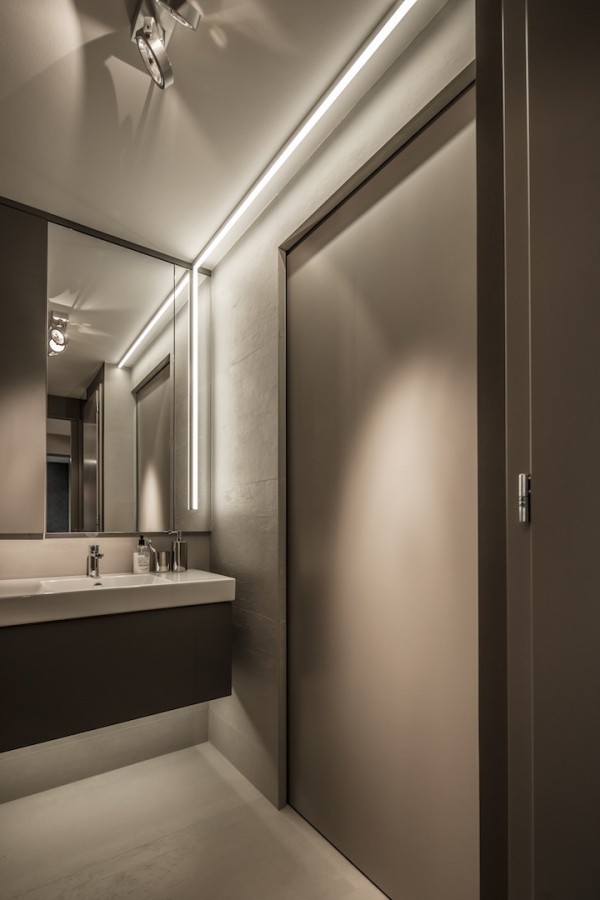
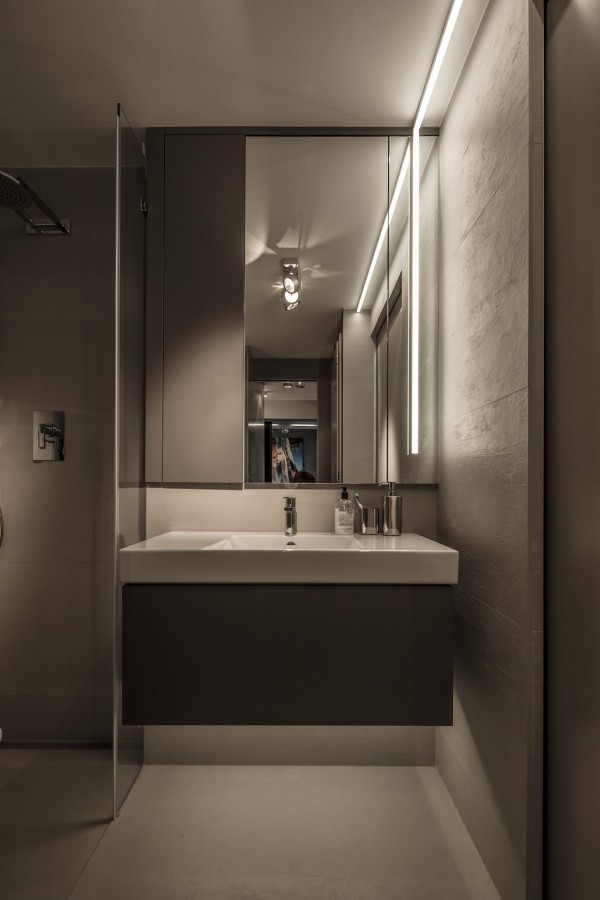
The bathroom is not a “classical bathroom,” rather a small toilet room is kept separate from the shower and sink.
Tube lighting gives this room a lively, almost futuristic look.
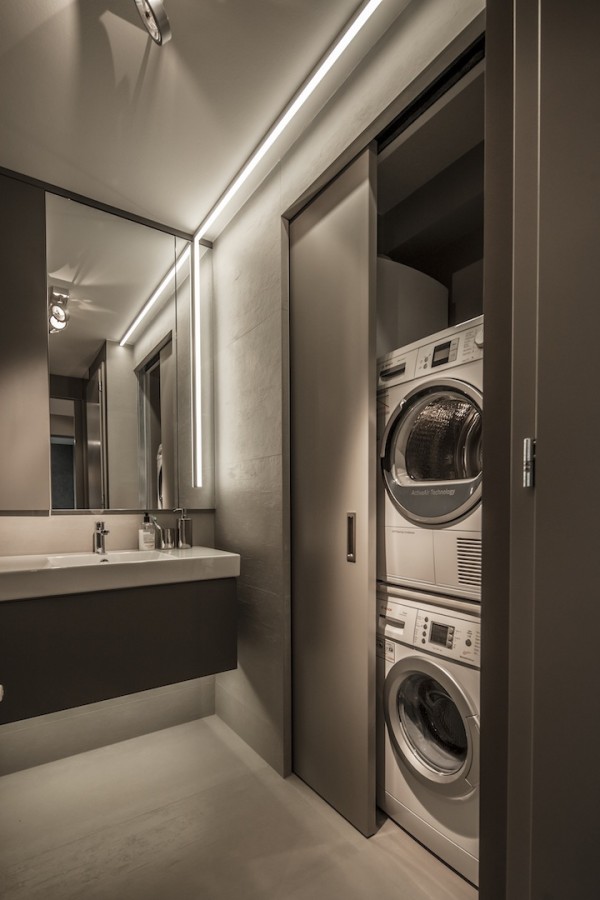
Next to the sink, designers have also managed to hide a washer and dryer behind a clever sliding door for the ultimate in convenience.
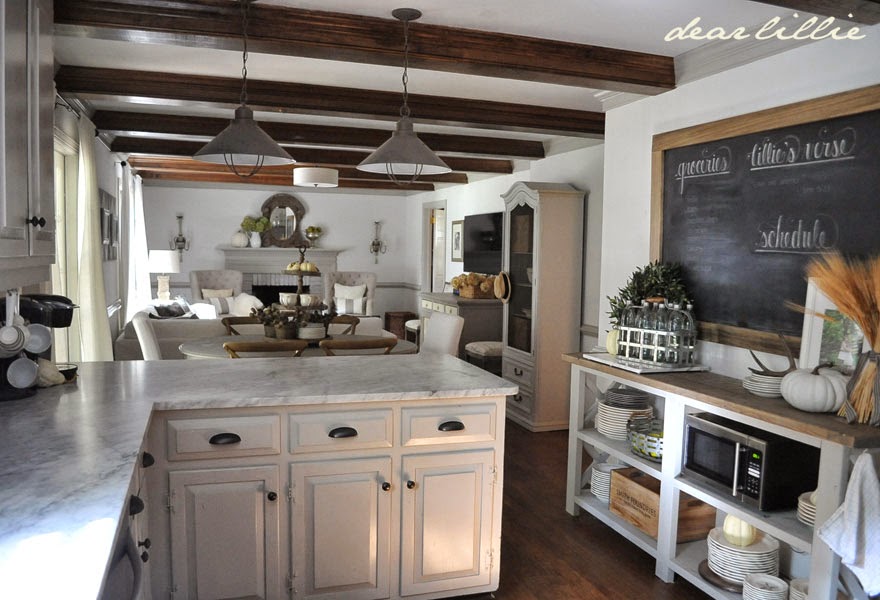
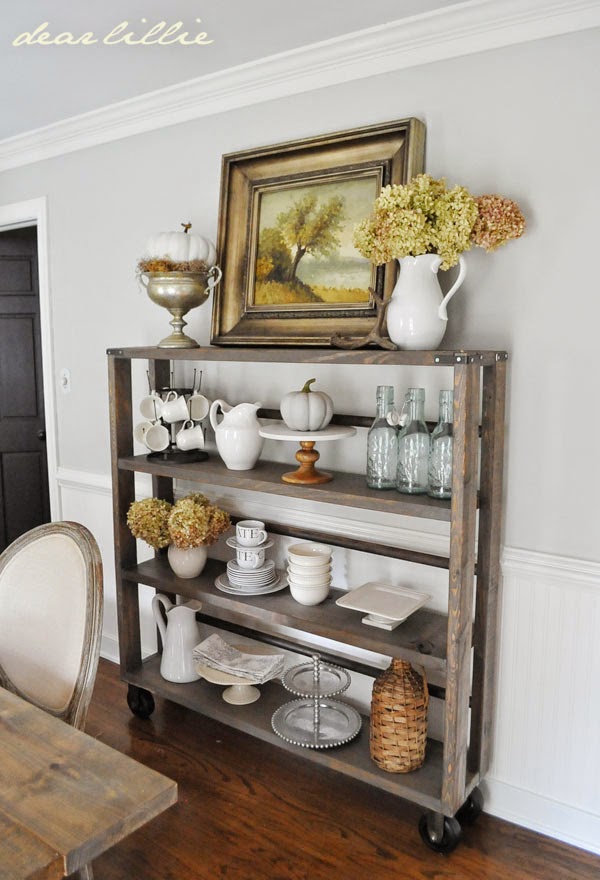
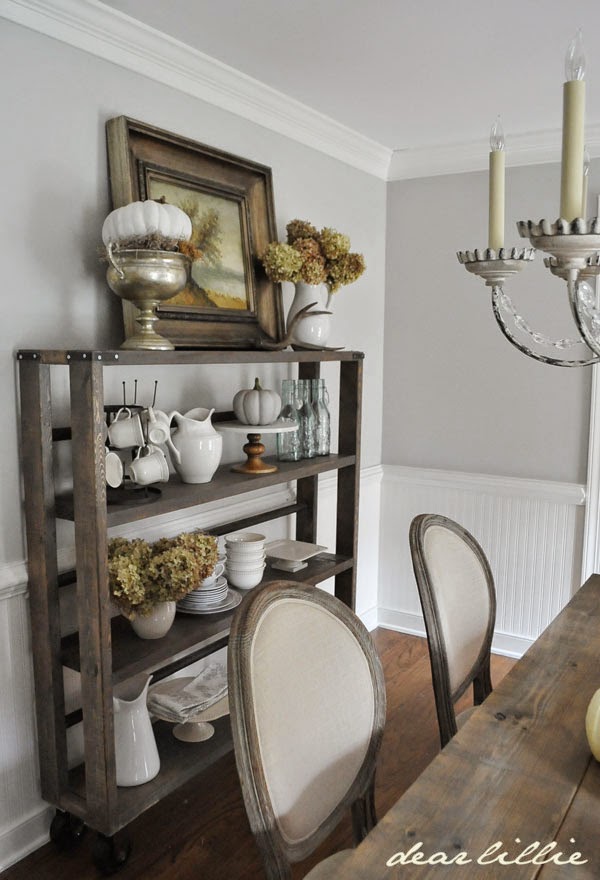
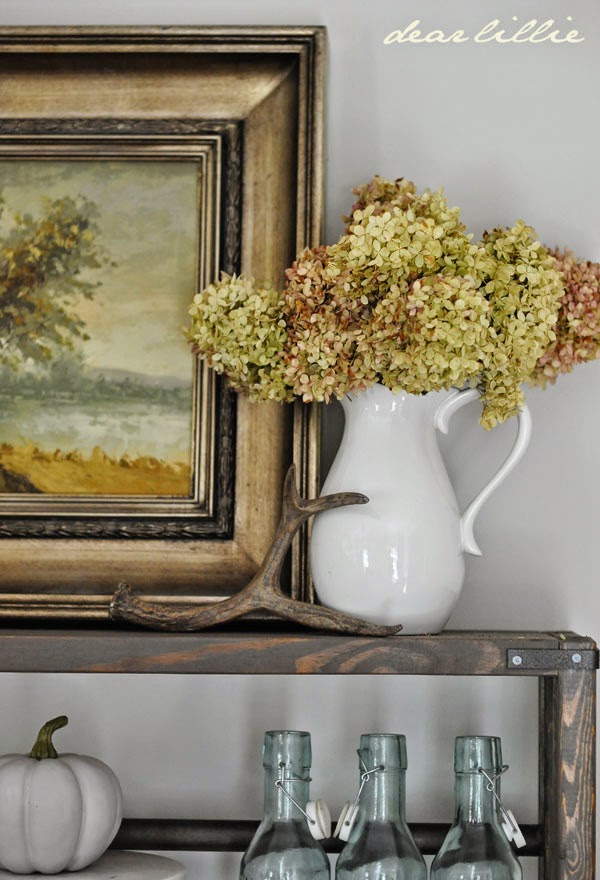
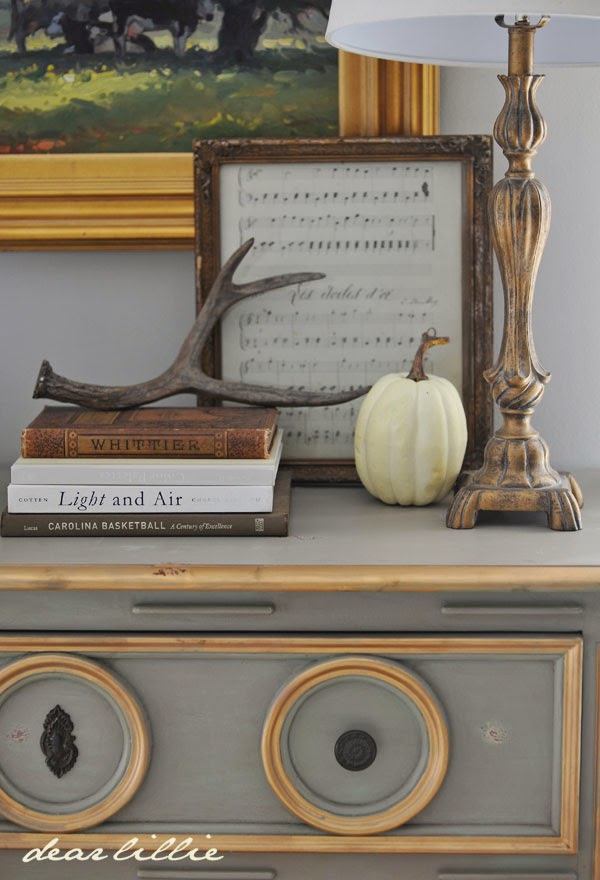
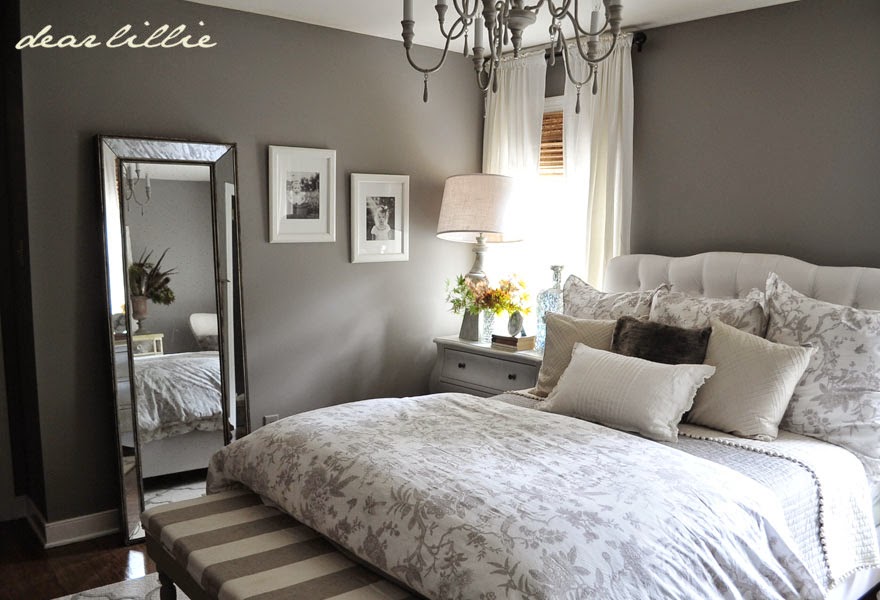
Welcome to stop number two on the “Eclectically Fall House Tour”.
Be sure to start at Kelly’s blog first. She is hosting this fun event. Her home is beautiful and I cannot wait to see how she decorated it for fall.
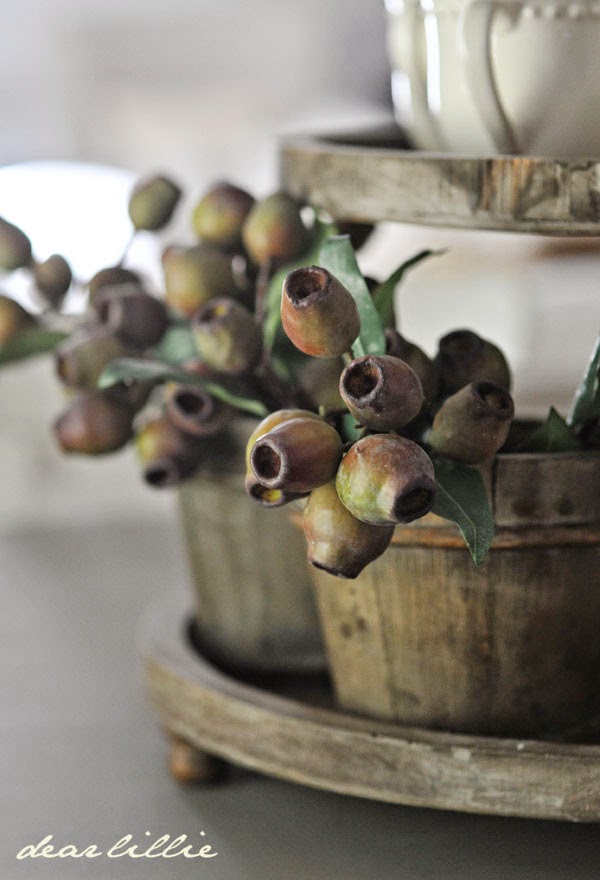
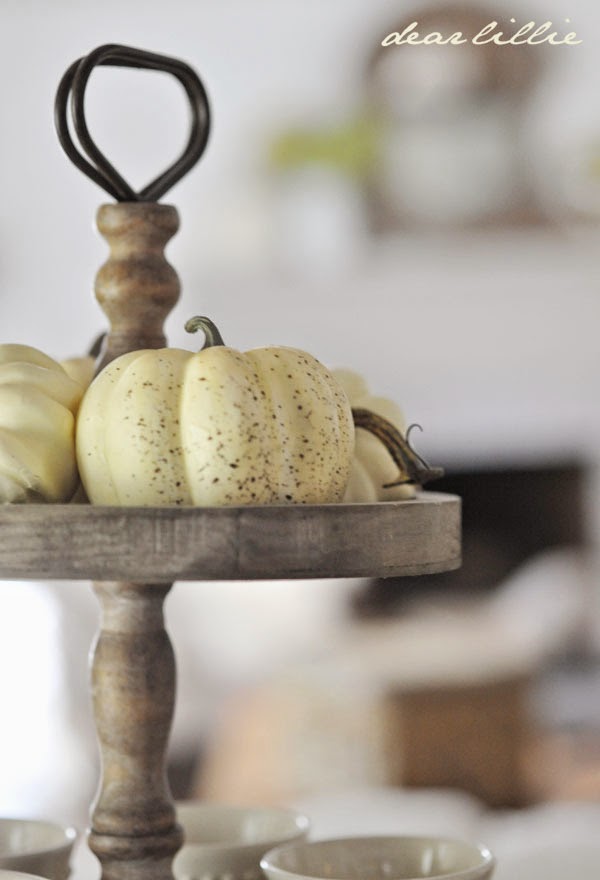
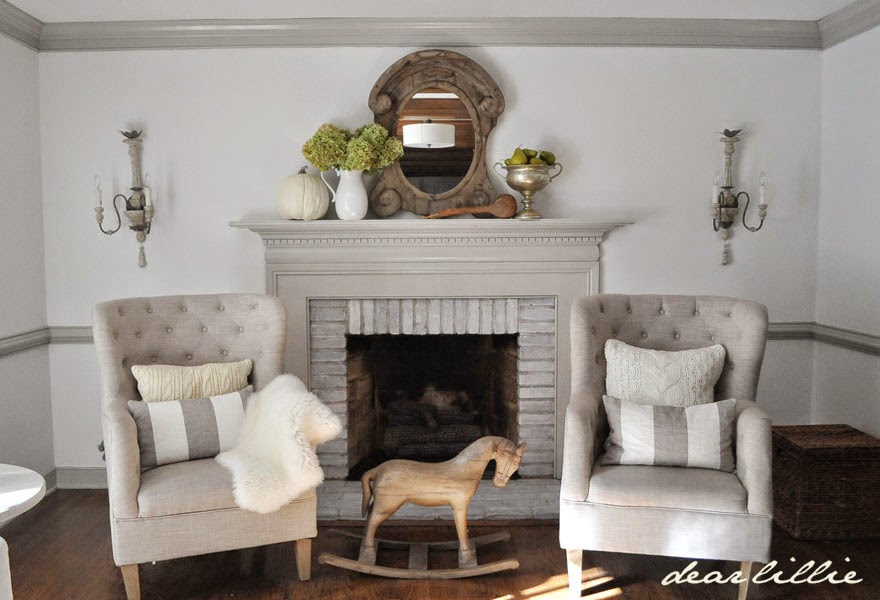
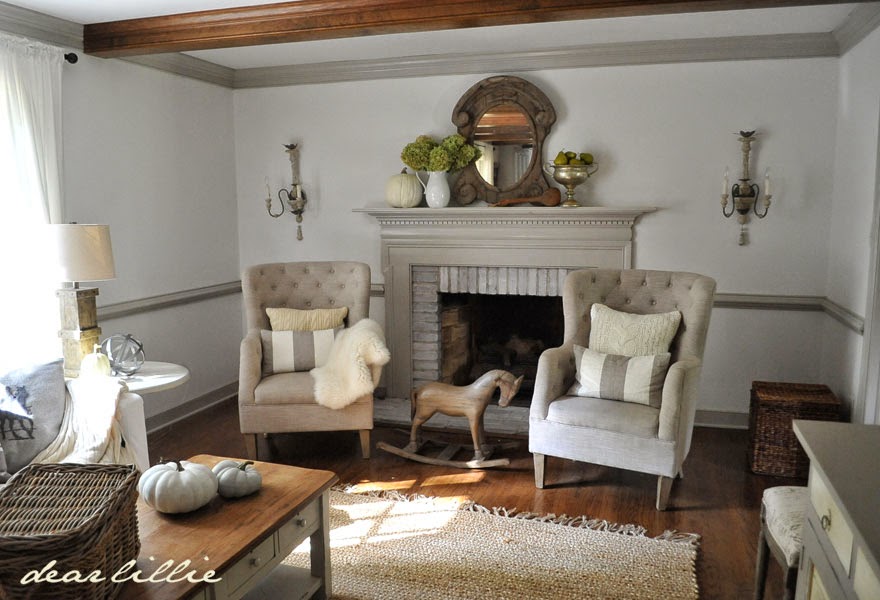
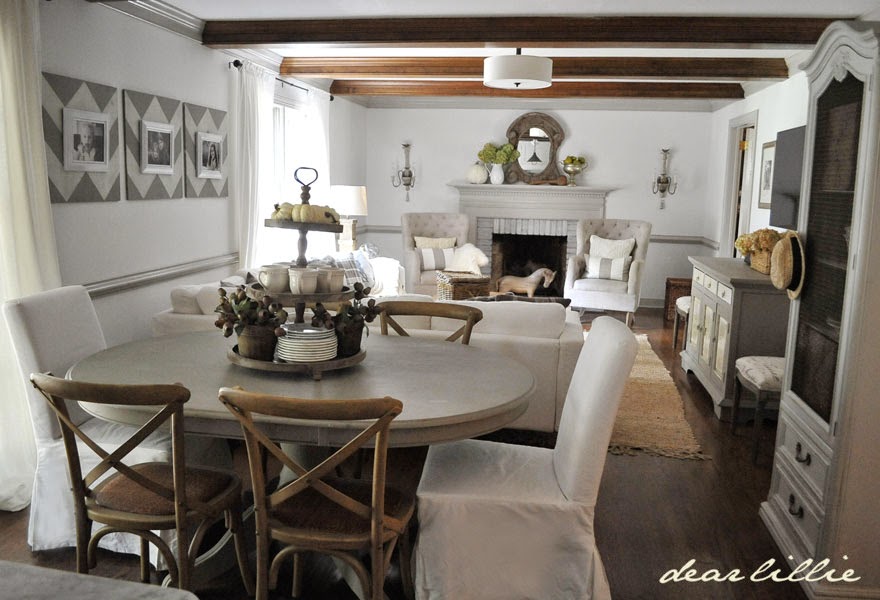
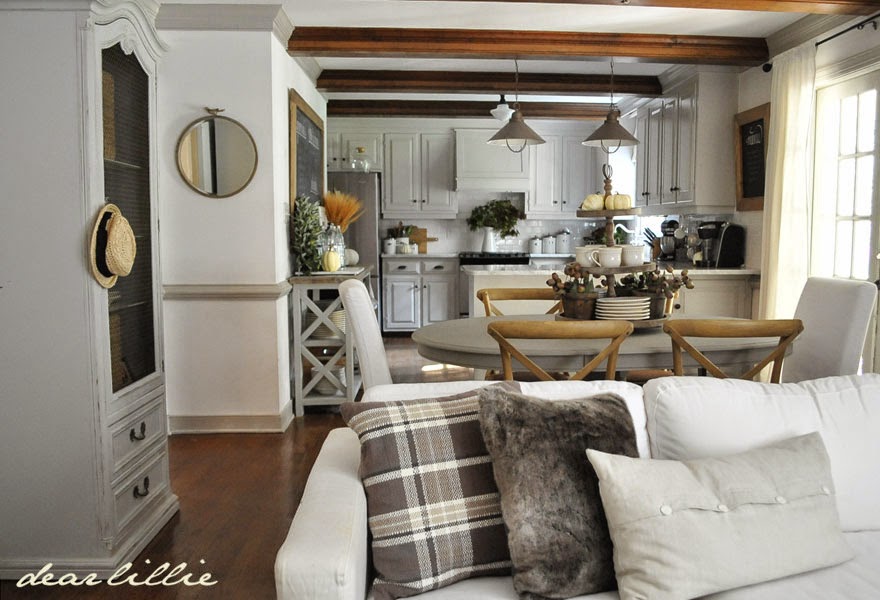
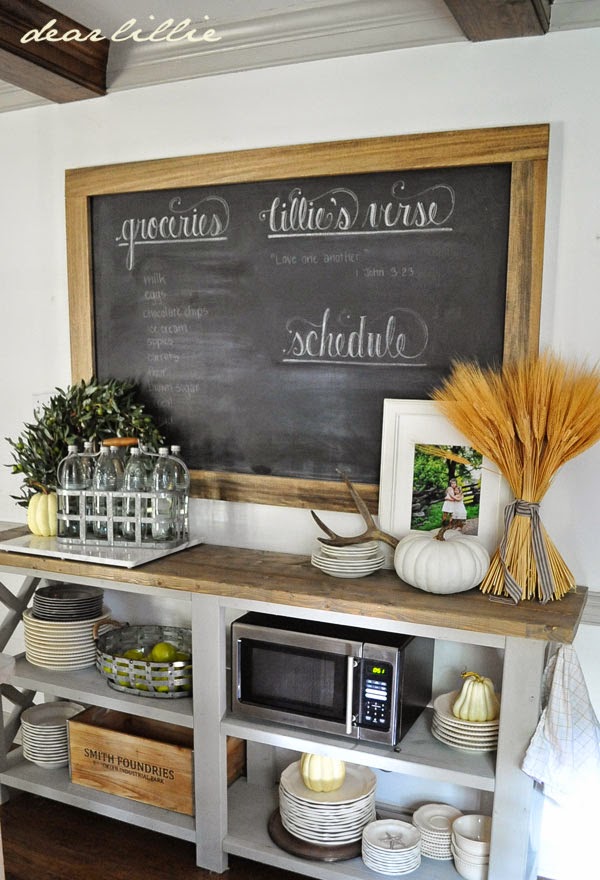
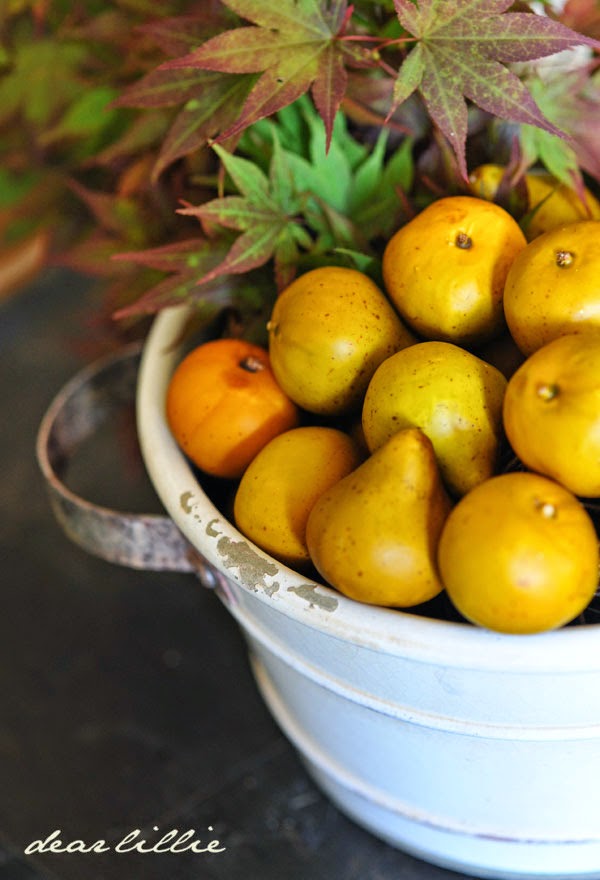
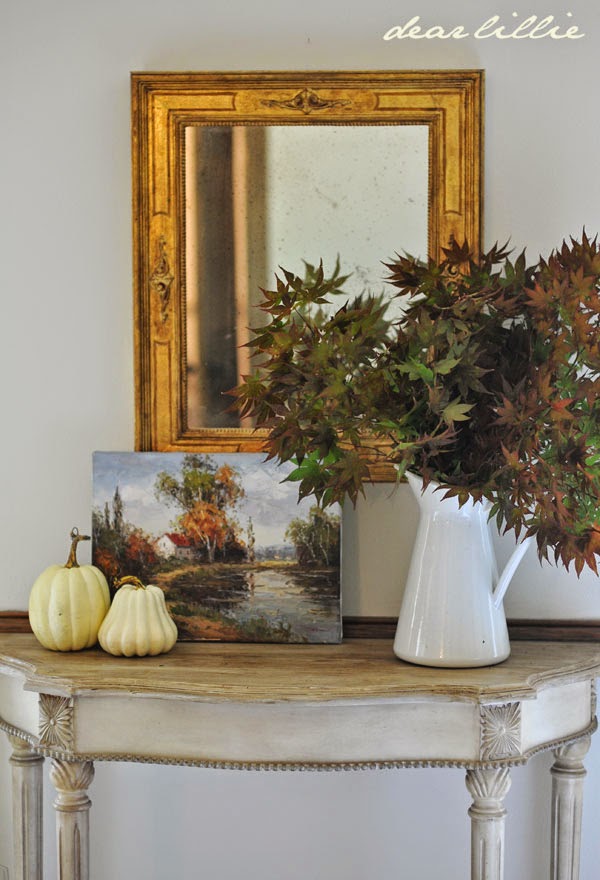
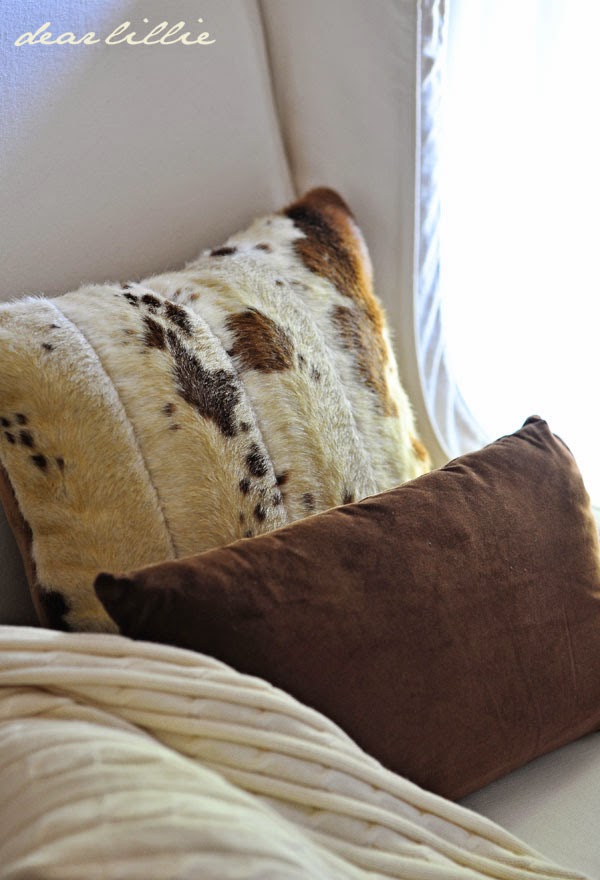
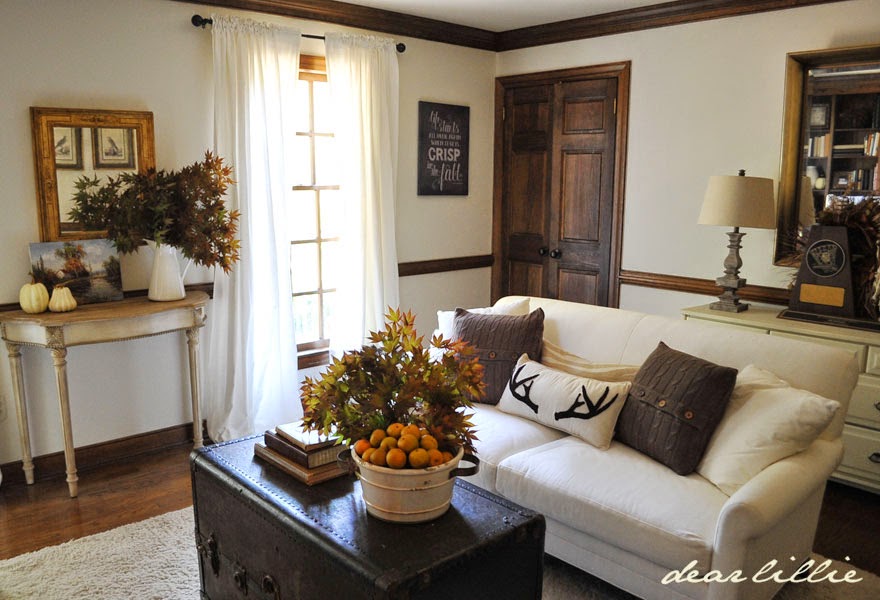
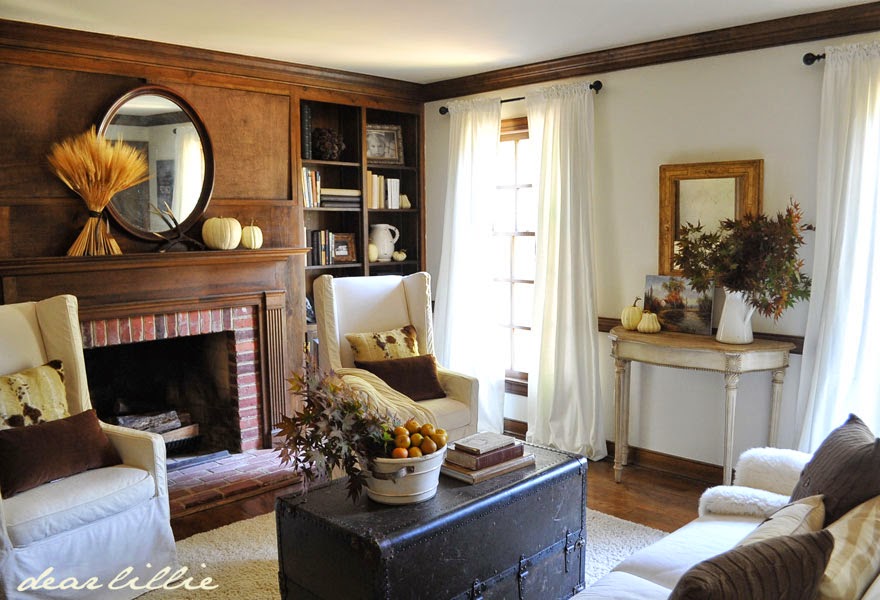
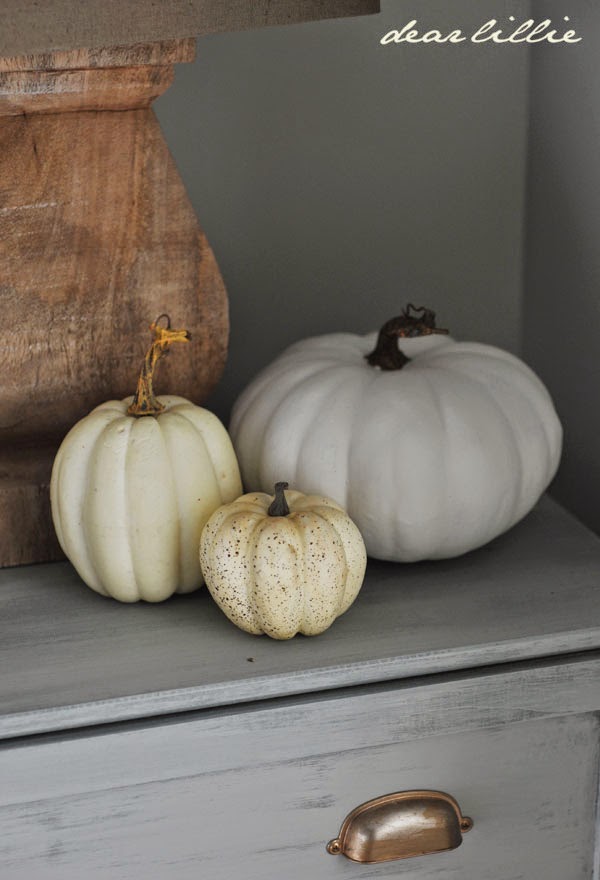
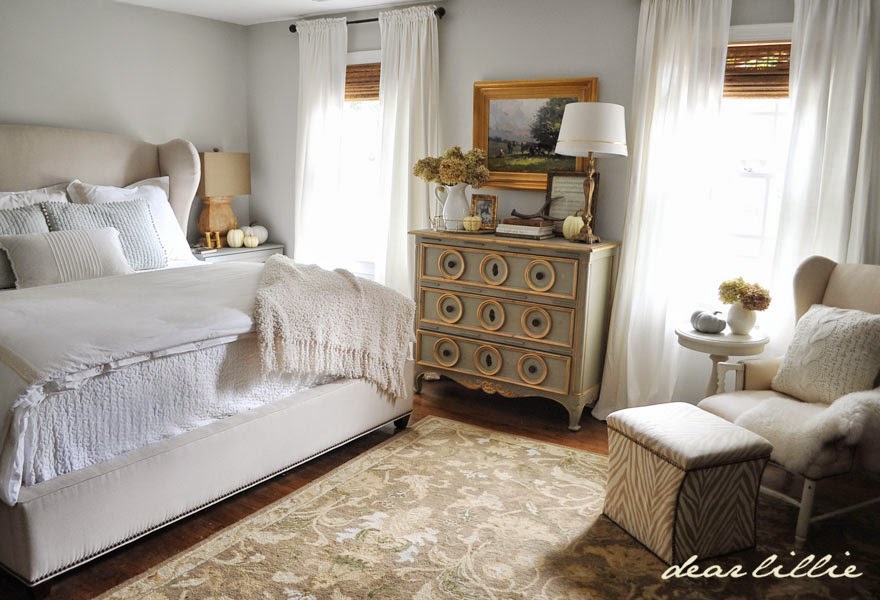
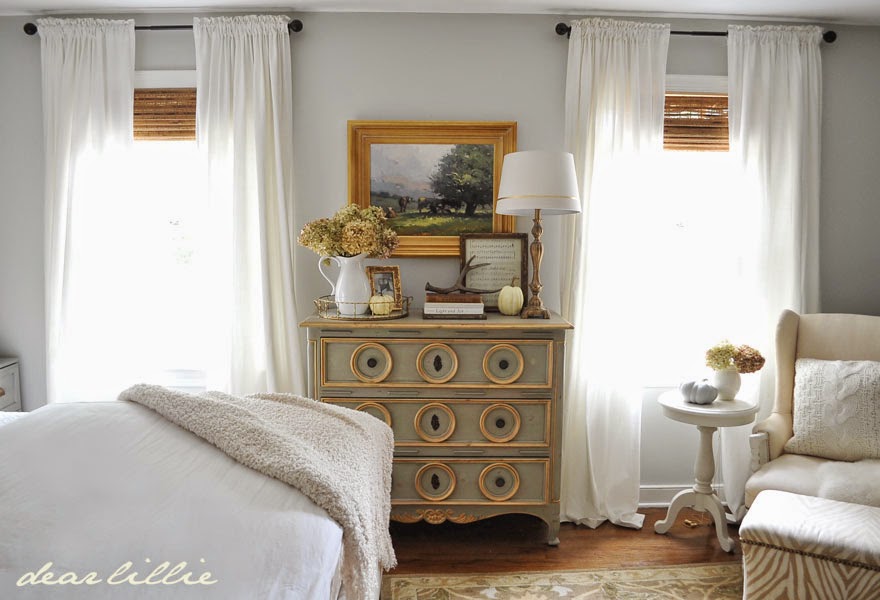
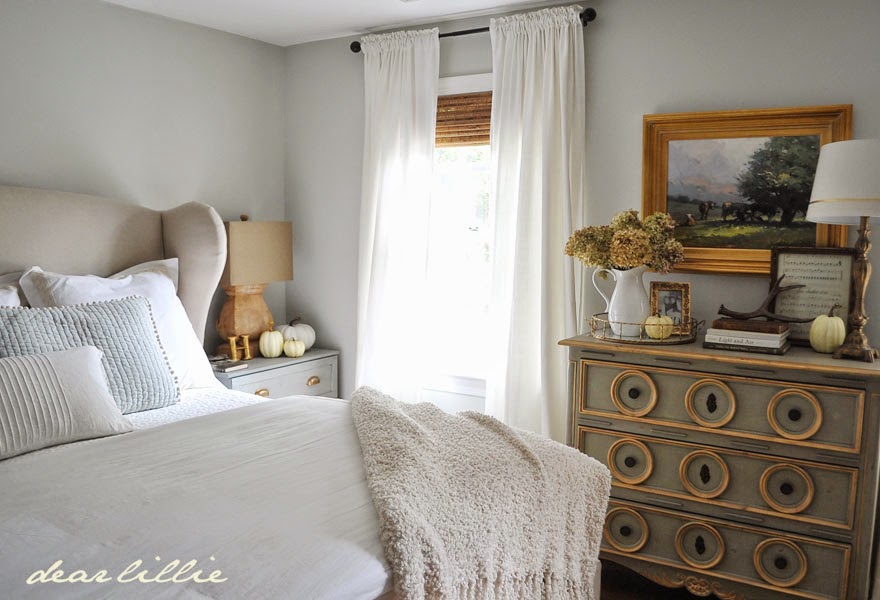
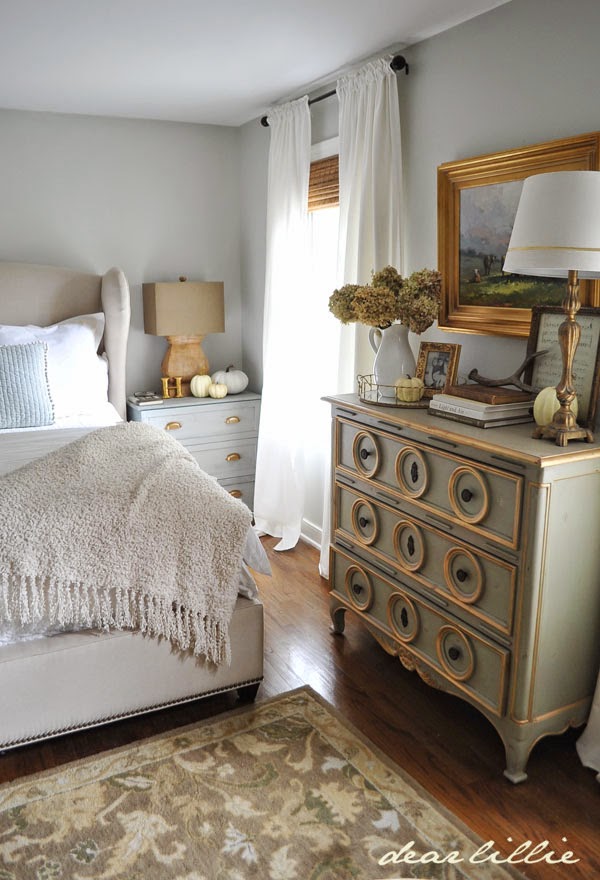
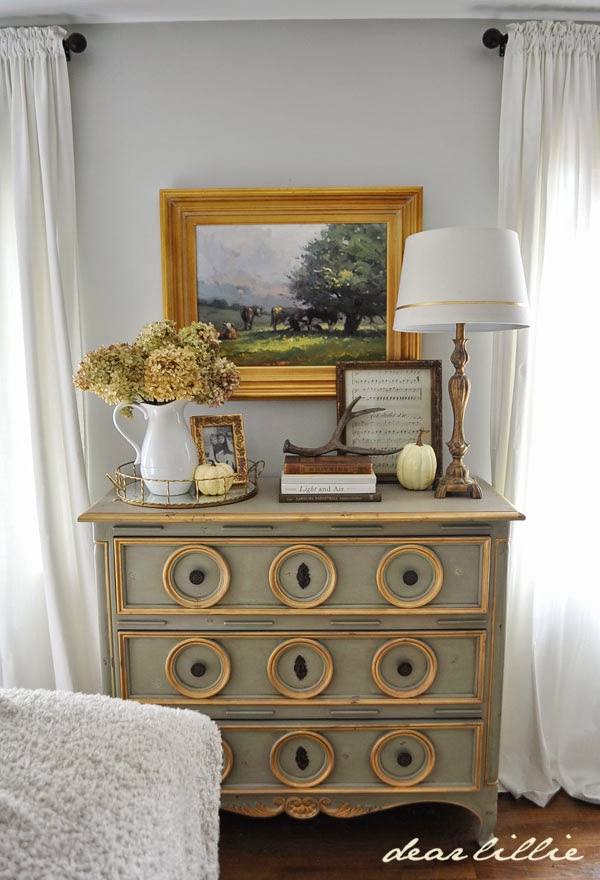
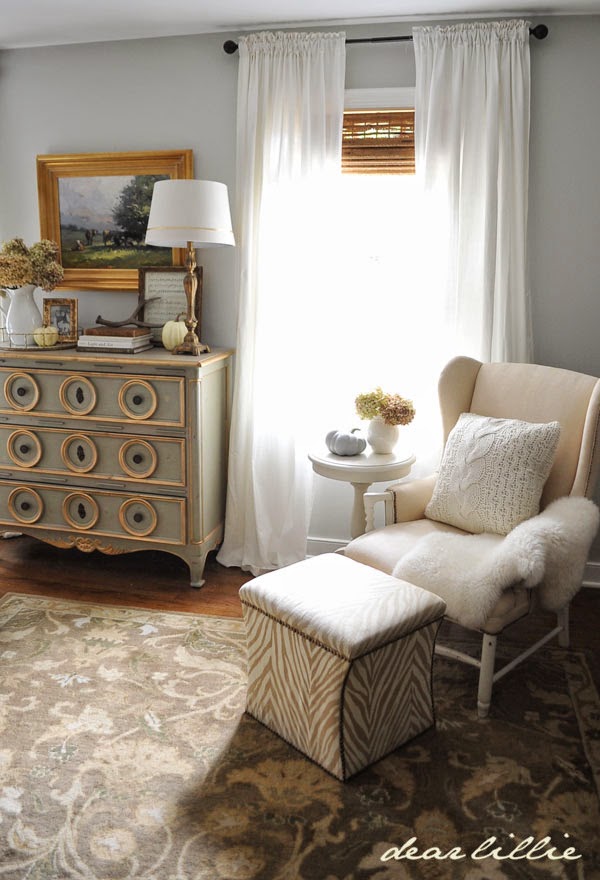
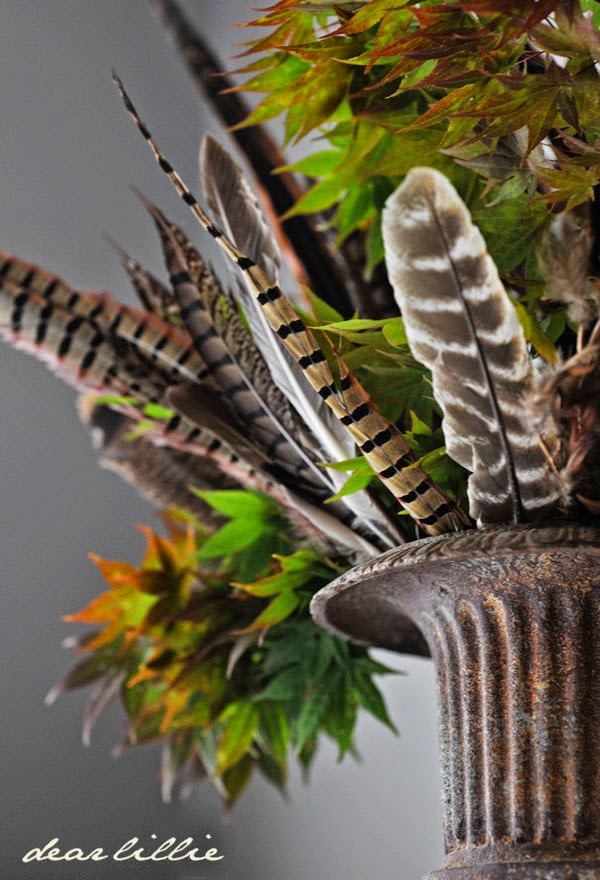
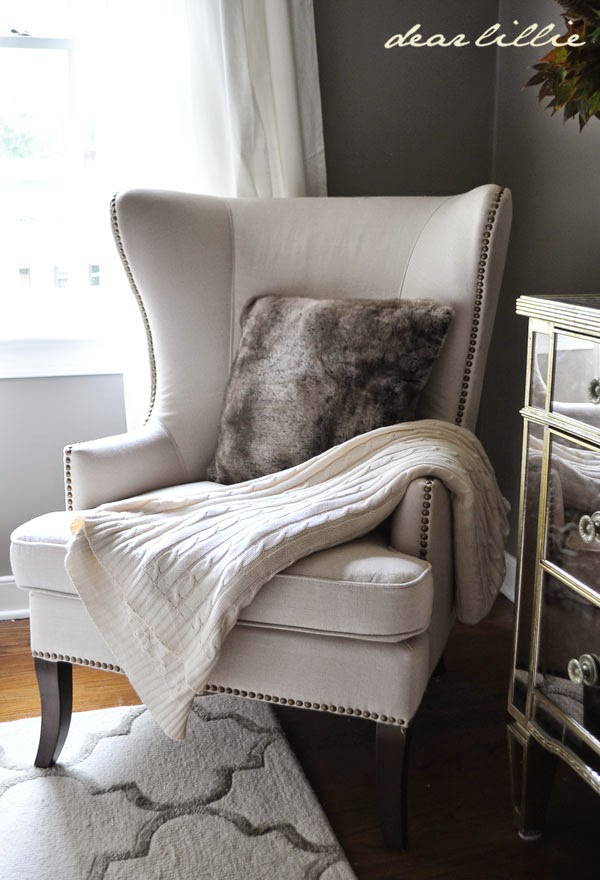
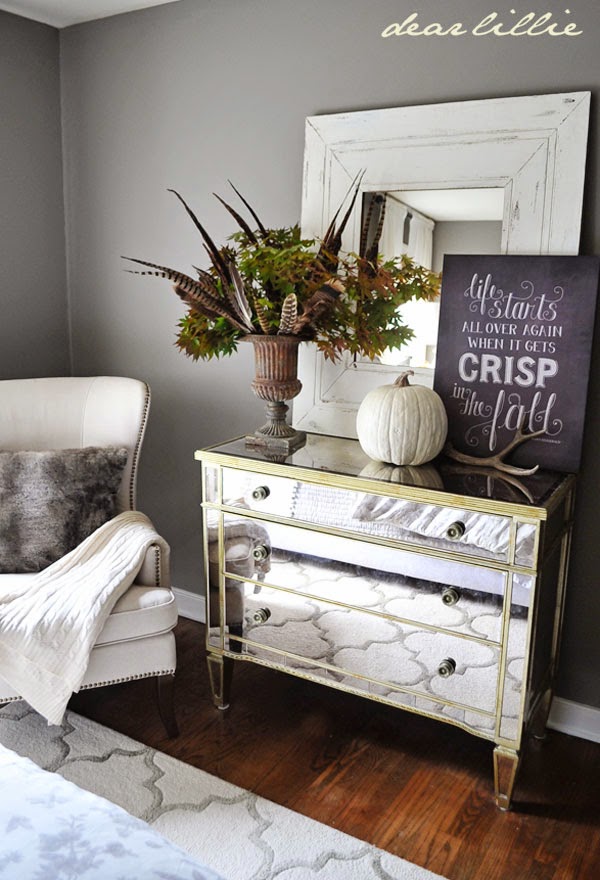
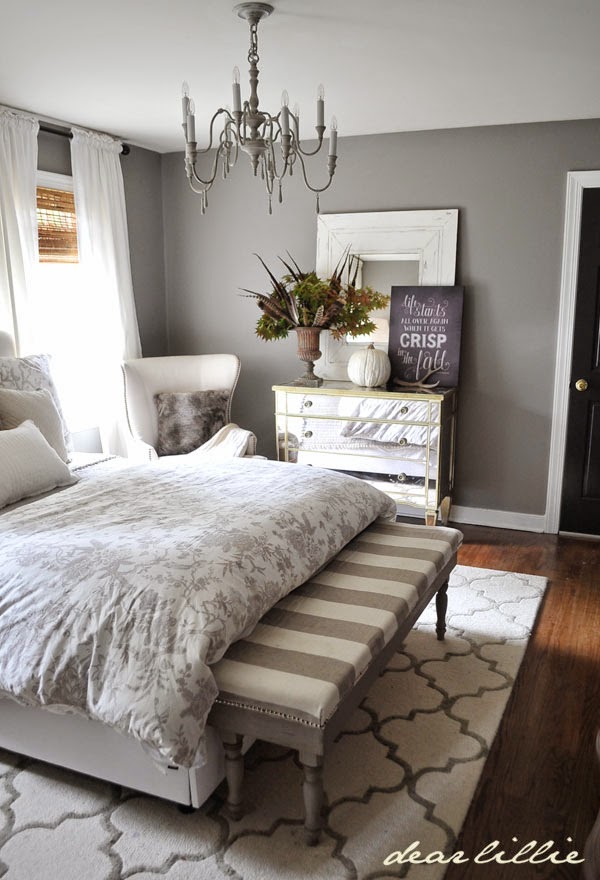
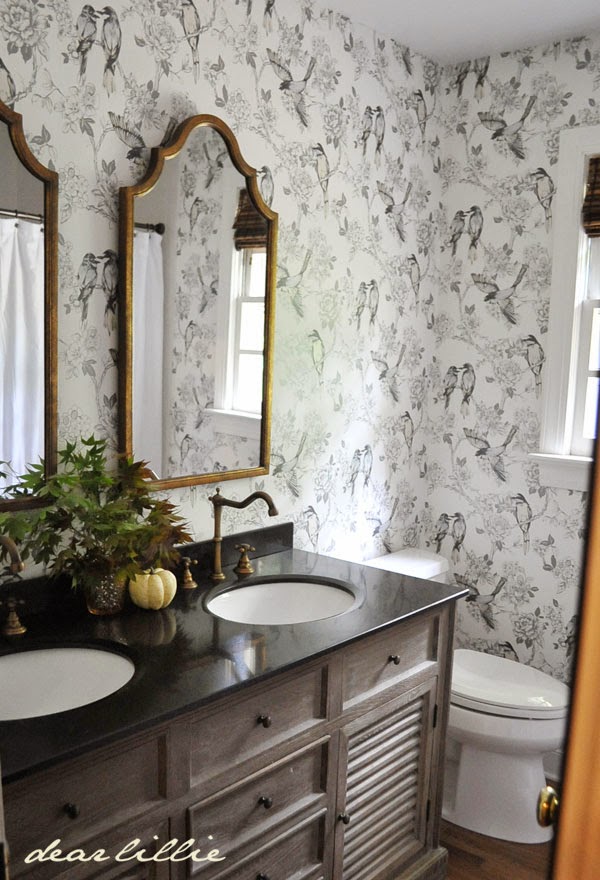
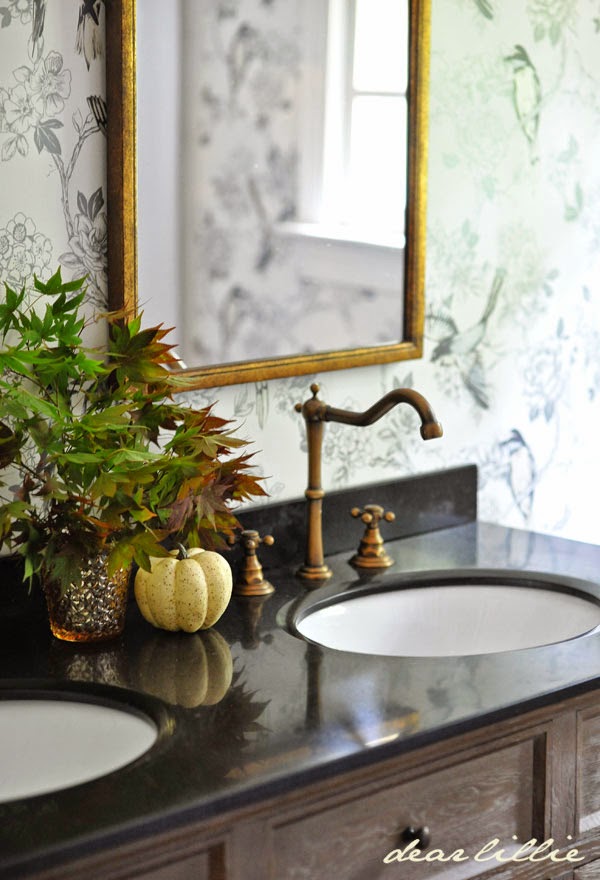
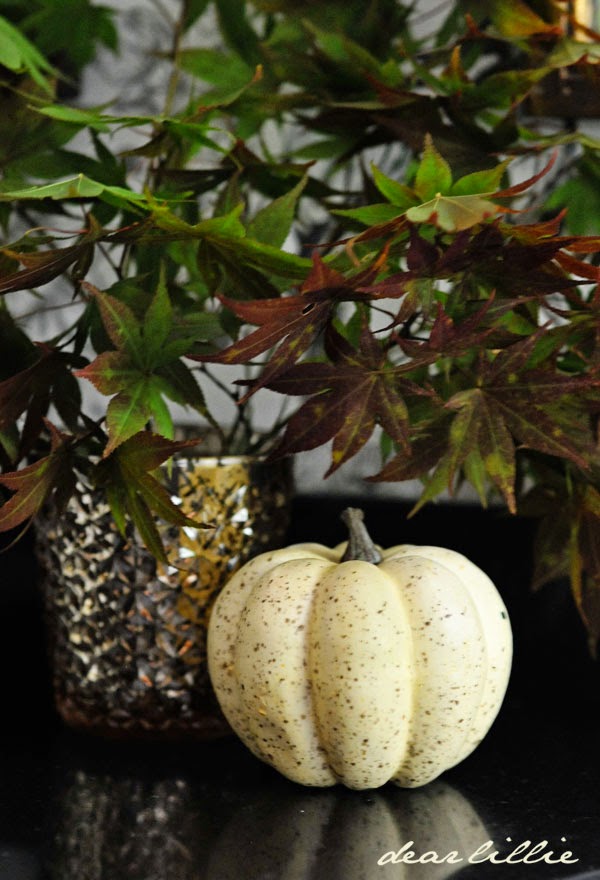
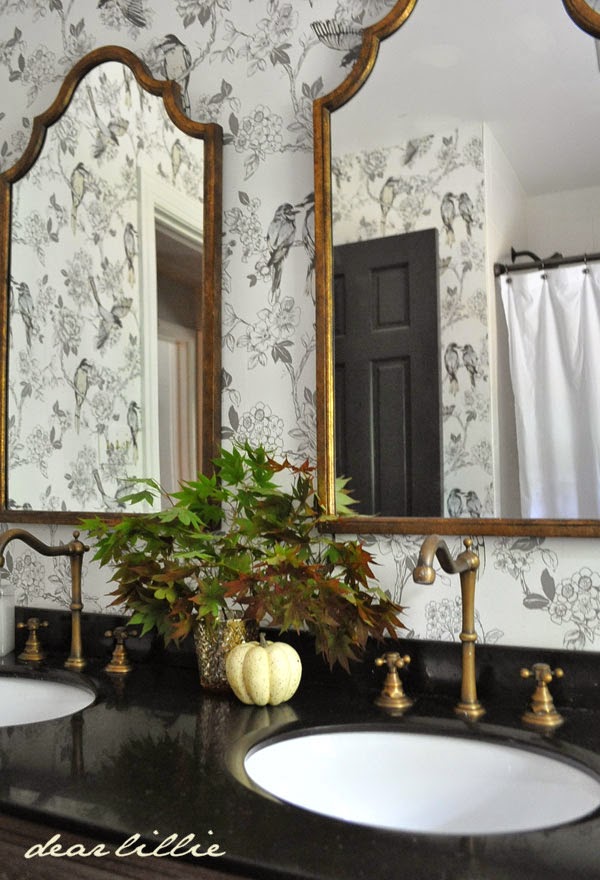
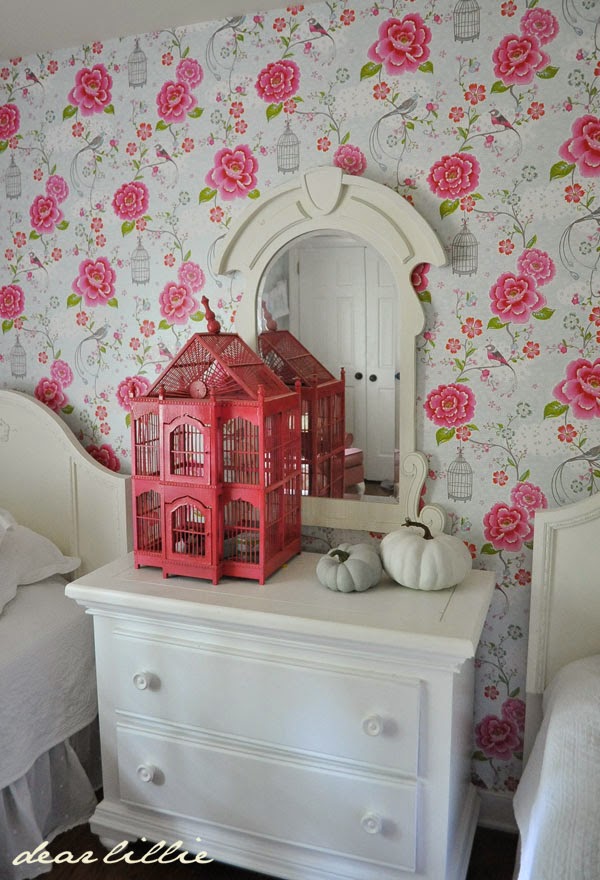
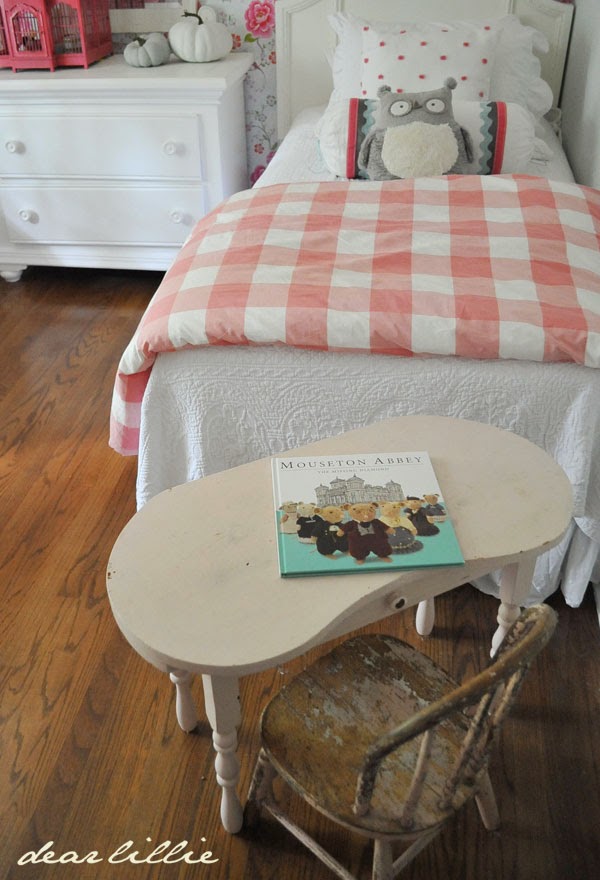
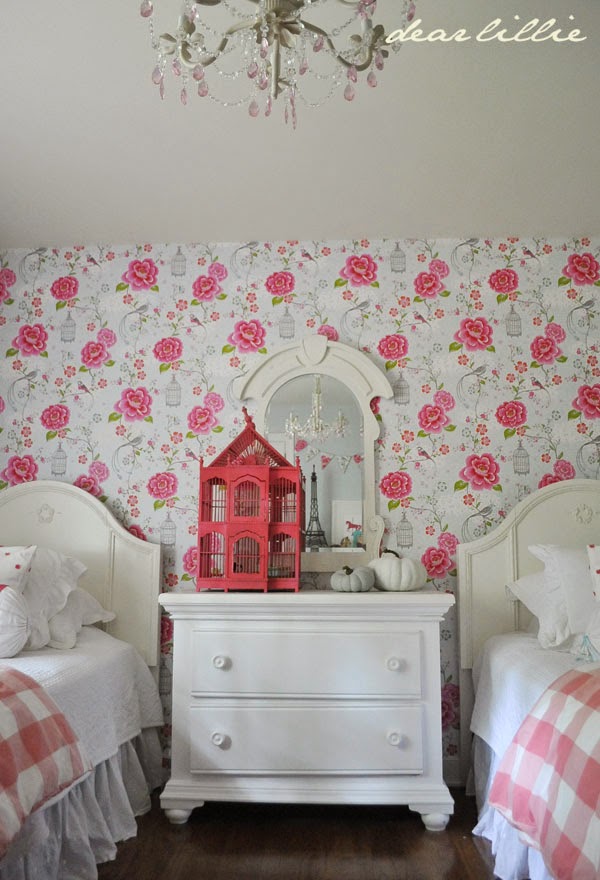
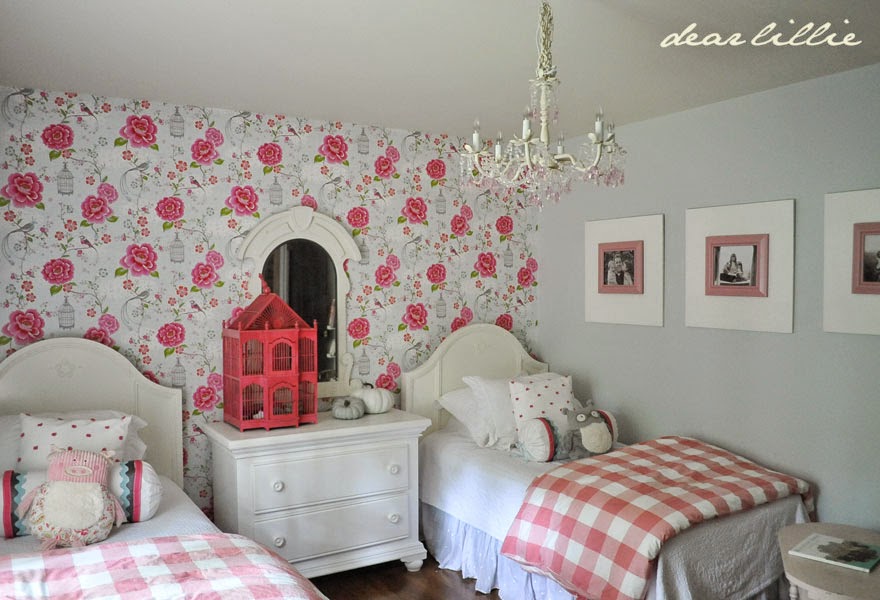
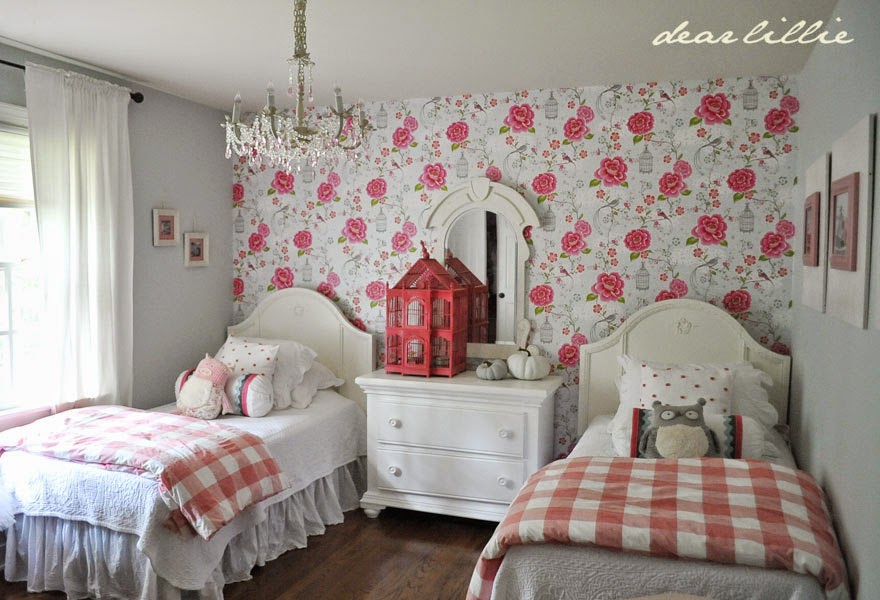
This year I had actually planned on going a little outside my comfort zone and using more oranges and yellows and reds when decorating for fall. However, after waiting as long as possible for there to be fresh pumpkins anywhere I finally gave up and stuck with some of my faux white pumpkins (quite a few are ones I’ve had for years and and then I also added a few more painted ones last week) and hydrangeas. So I guess this will be more of “early fall” decor and then hopefully once we can finally get our hands on some pumpkins and other things we can add some more traditional fall colors to the house. For our main living space we updated the mantel with some fresh hydrangeas from the Farmer’s Market and some other simple fall elements. and we added some cable knit pillows to the chairs and a fur throw. Those help the room feel a little more cozy and less summery. Some faux fur pillows from this tour’s sponsor, World Market really help add a cozy fall feeling to the room. (They also have some really cool baskets and area rugs!) Stalks of wheat and antlers were some simple additions to our kitchen sideboard. I actually made the wheat bundle about 8 years ago and I’m kind of shocked it’s still holding up! You can find more details about how I built this sideboard here. And here are some images from our den/study: You can get more details on our study here with full source info. I played around with our new rolling cart in our dining room and added some more pumpkins, antlers, and hydrangeas.You can read the full tutorial on making these rolling shelves here. And a full detailed source list for the dining room here. And yes, I actually chose several different sets of antlers from World Market, I didn’t just move one from room to room for pictures -haha! I first bought two of them but loved how they looked so much and they were so well priced (plus the girls were quite fascinated with them) so I ended up purchasing several. The cupholder is one of my favorite finds from World Market. I bought one for our dining room and one for the kitchen. And I love the marble cakestand. And here are some simple autumn touches added to our master bedroom: Along with some pumpkins, antlers and hydrangeas I also added a warm throw to the bed to make it feel a little more cozy for fall. And then in our gray guest bedroom we added some branches from outdoors along with some turkey feathers. And a couple of dark gray faux fur pillows. And a simple white pumpkin and our fall canvas finish off the little vignette on the dresser. You can find the fall canvas and print in our shop. And then in our upstairs hall bath we added some more branches and a little white pumpkin. And in Lillie and Lola’s room we just added a couple of painted pumpkins. That’s it for today! Hopefully some real pumpkins will start appearing soon and I’ll have some more updated fall posts for you.
Thank you so World Market for sponsoring this tour! The items we featured from World Market were:
 Faux Fur Pillows
 Faux Cowhide Pillows
 Chocolate Colored Lumbar Pillows
 Glass Drying Rack (which I am using as a mug holder)
 Marble Cake Stand
 Antlers
Dear Lillie
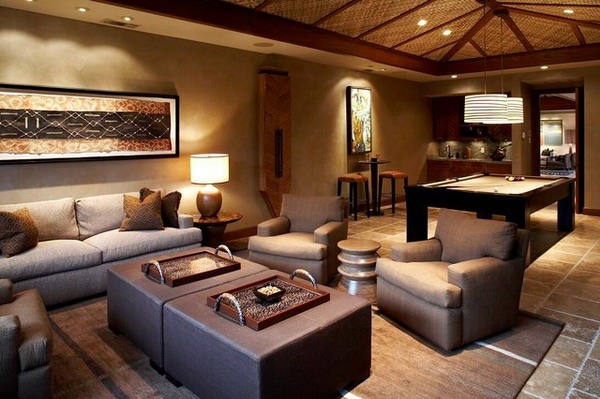
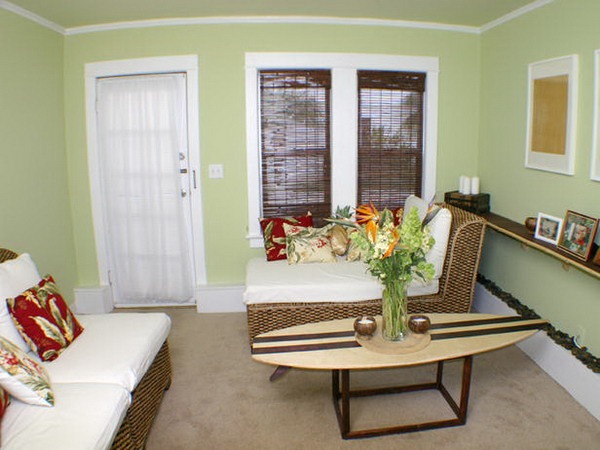
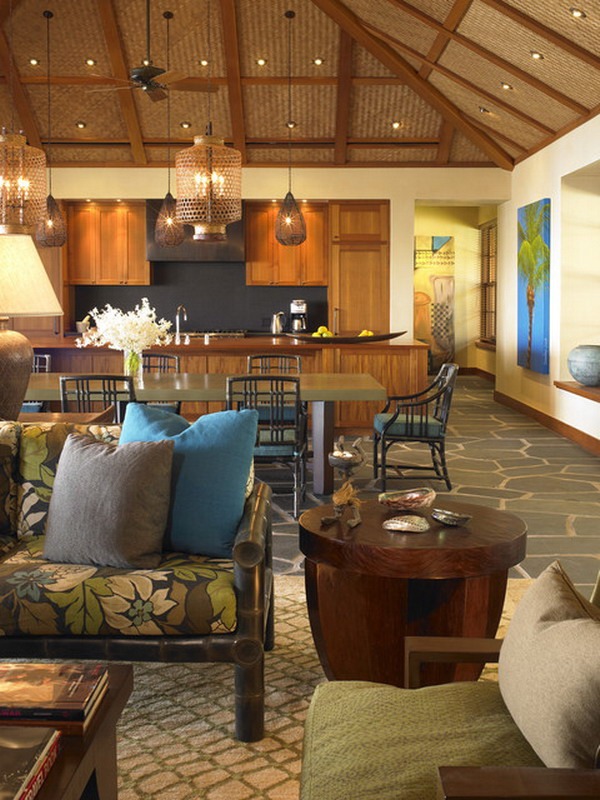
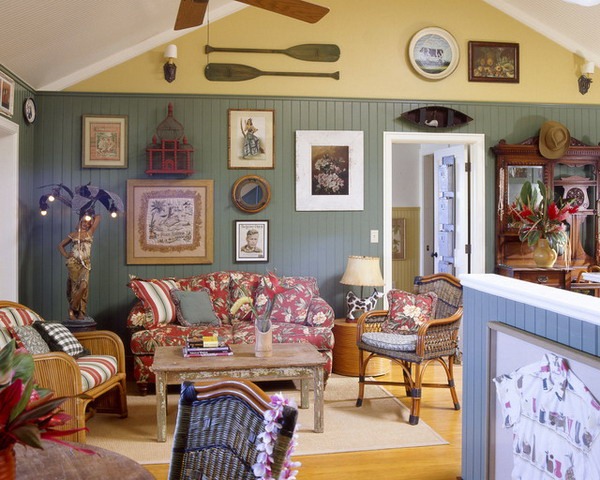
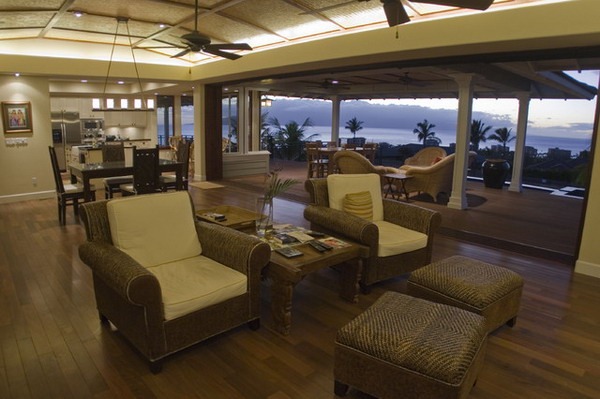
For your comfortable and beautiful Living room design, you need To try to add A few accessories to the fresh and inviting atmosphere of Hawaiian exotic islands. The Living room design inspired by the Hawaii is not hard to achieve.
There are A few important elements you need to consider and local accessories like hand-made jewelry, woven pieces of furniture, bamboo, and Of course flowers.
More decorative accessories on the subject are the cushions on the couch or chairs. If you love the Hawaiian Sun, Hawaiian Sea and the Hawaiian flora, you can incorporate these aspects in the planning of their Living room design.
Hawaii is a tropical paradise and offers its visitors to create the Hawaiian spirit in the interior design. It is easy that you also create a peaceful atmosphere.


 The ‘small living room’ offers enough space for this minimalist sofa and chaise, but it’s the Flos Toio lamp in the corner that you can’t help but notice.