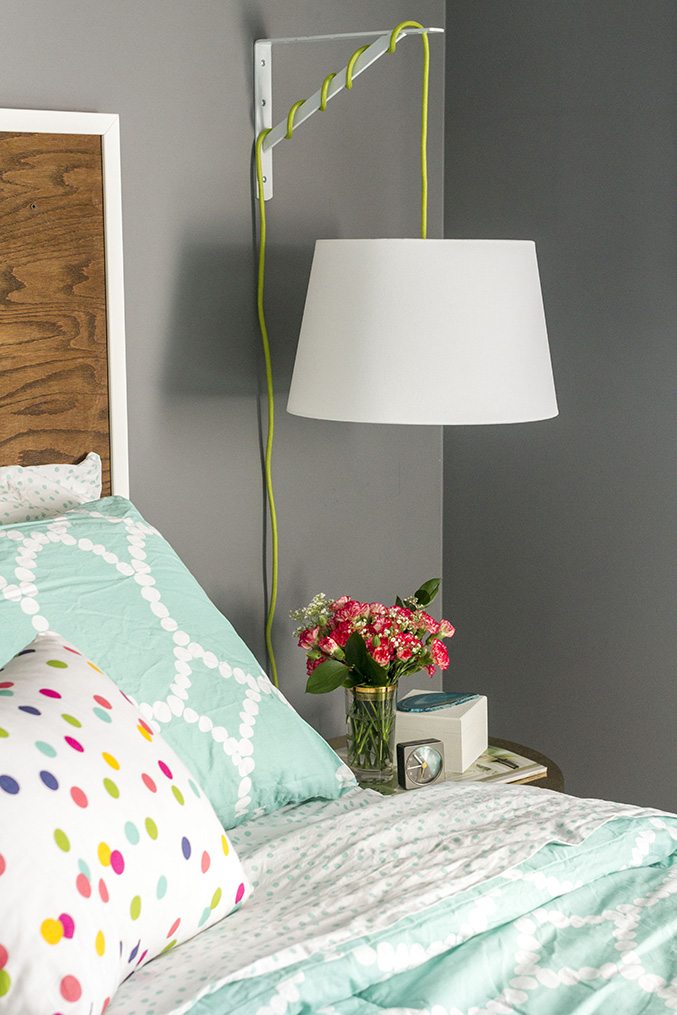

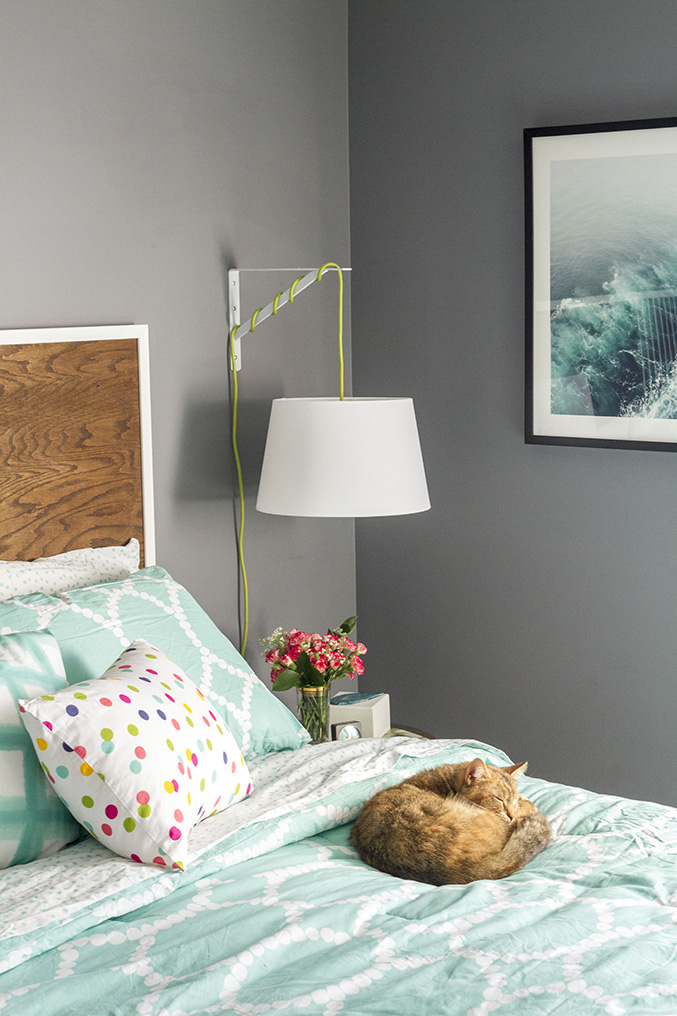
Now that we lastly have the T-absolutely ideal headboard anchoring our master bedroom bed, I felt like it was substantial time that I added in some far more long lasting lighting off to the side. But don’t let the word “permanent” overwhelm you! This easy DIY task can very easily be tackled in an afternoon and doesn’t need any electrical capabilities aside from the ability to plug in a cord and screw in a lightbulb. Right here’s how.


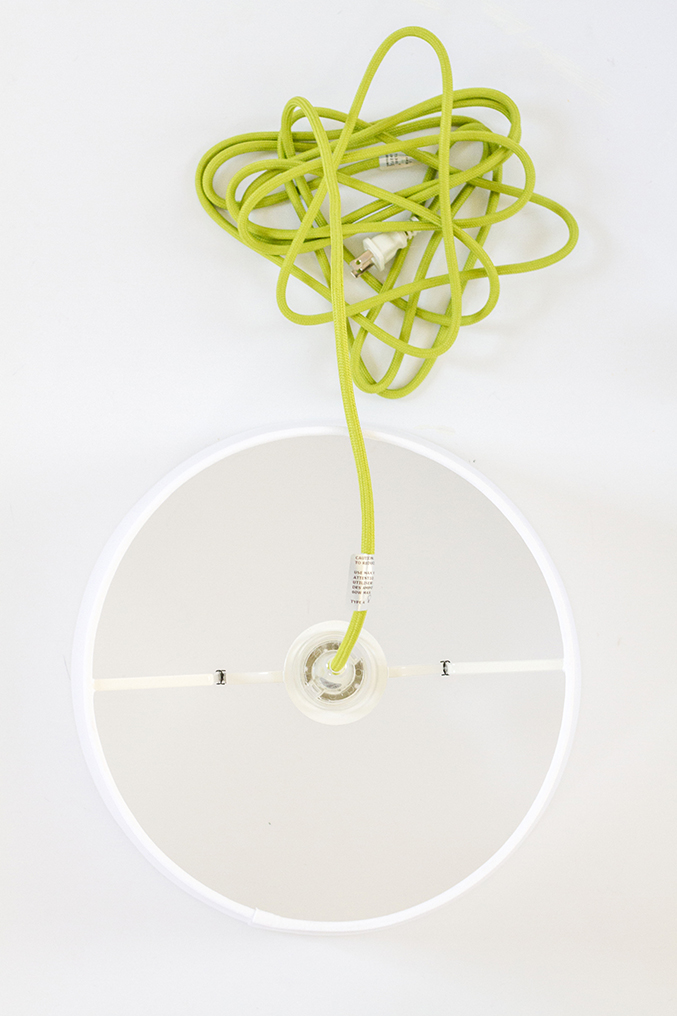
- IKEA Sekond Cord Set, in green
- IKEA 13″ Jara Lamp Shade, in white
- twelve″ metal L-bracket
- Screws
- Drill
- Drill bit
- Pencil
- Stud finder
- Level
- Lightbulb
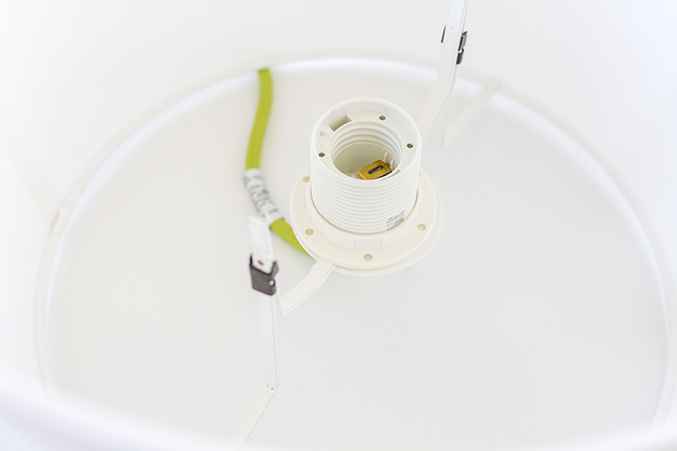
Start by removing your IKEA goodies from their packaging, and then stick to the directions that come with every single section to assemble. In my personal phrases following my own experience, you’ll start off by removing and discarding the plastic pieces that come screwed onto the center interior section of the lampshade. Then, slide the black metal brackets up the shade supports until finally they no longer get in the way of the swinging metal part. Rotate this central part up 180 degrees (the part that will at some point hold the socket portion of the cord set), and slide the black metal brackets back into spot to maintain everything from slipping around.
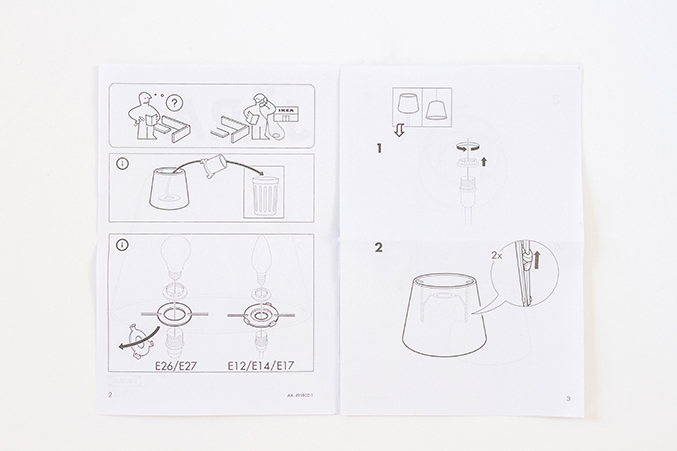
I know it sounds perplexing, but it will make a total whole lot much more sense when you have the pieces truly in-hand. Also, the illustrations that come with the pieces from IKEA do a excellent occupation of showing the process. Of course, if you have concerns, you constantly could phone the IKEA phone center, as demonstrated by that cute cartoon fella in the leading lefthand corner above…
Finish by slipping the green cord’s socket into the shade’s center assistance and screw on the plastic bolt to keep it all collectively.
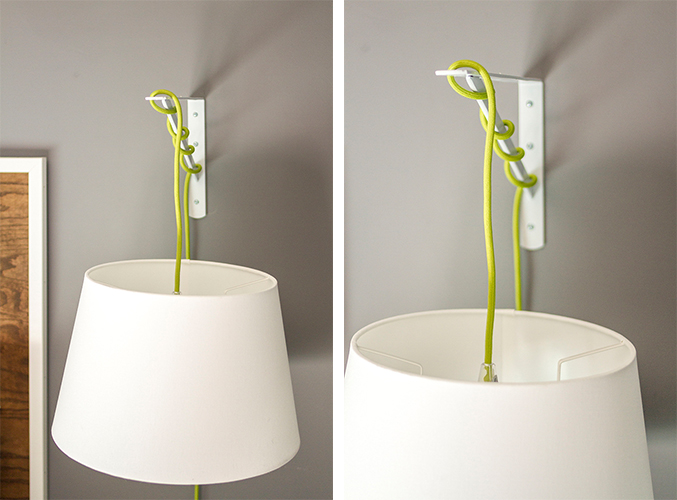
Once you’ve completed your lamp assembly, loop the green cord in excess of and in excess of again through the metal L-bracket, which was purchased from our nearby House Depot. You can then change the height of the lamp shade to suit your particular requirements by holding the bracket up in the air to check things. If the shade is sitting too lower, basically loosen the section of the cord that’s wrapped around the metal L-bracket, and tug gently on the finish of the cord to pull the lamp shade up an inch or two—however significantly you require. Conversely, loosen the cord and add slack if the shade seems too high.
Up coming, hold the bracket up towards the wall exactly where you intend to set up the light. Place a degree nearby so that you can make confident that the bracket is sitting straight up and down on the wall. Once you’re satisfied with the height and placement of the bracket, use a pencil to make marks via the open holes in the bracket to show the place the screws will go. Although the shade and bracket aren’t quite heavy, I did use a stud finder in tandem with my marks to make certain that my hardware was good and connected to the wall. With the holes marked, set the shade and bracket aside.
Finish by selecting a drill bit that matches your hardware, pre-drill holes into the drywall and then screw the bracket into the wall. If you removed your cord and lamp from the bracket to attach it to the wall (I didn’t bother performing so considering that this process went so quickly, but you certainly could if it gets to be as well cumbersome for your comfort level), reattach almost everything once more now. Make last changes to the shade height, screw in a lightbulb, plug in the cord, phase back and rejoice in your new, semi-customized bedside lamp.
I will never ever be able to completely thank IKEA for assisting to outfit our home with low cost options that come to feel fresh, special and even a minor bit constructed-in. Cheers to the marriage of practicality and fashion! Hope you have a wonderful weekend.


