
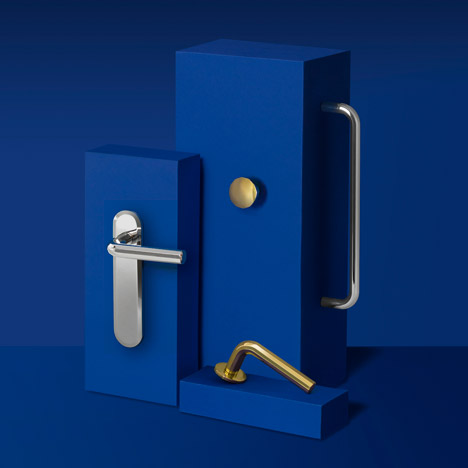
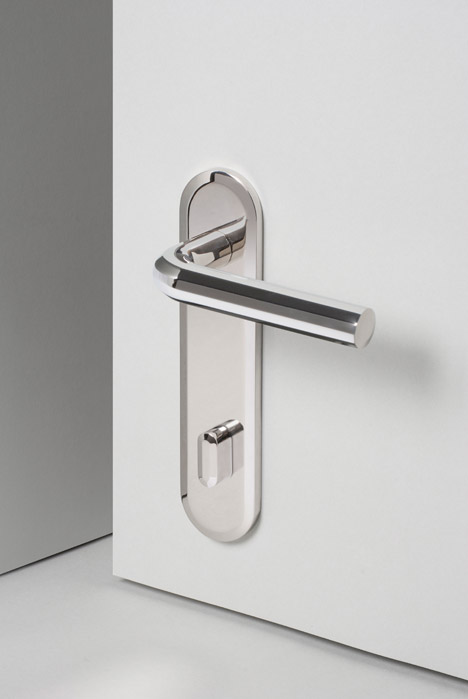
Swiss design studio Big-Game has launched a range of doorknobs and handles inspired by the multi-faceted grip of pencils and handheld tools.
Big-Game was commissioned by Belgian decorative hardware company Vervloet to design the collection, named Tools after its source of inspiration, which includes a door lever-handle, a pull handle, a thumb turn lock, a coat peg and escutcheons – metal plates that fix around locks and handles.
Related story: Everyday Objects by Big-Game
“Facets are a direct reference to tools, industrial wrenches, pencils – objects that we are instinctively drawn to hold in our hand. At the same time facets are very decorative,” explained Big-Game designer Augustin Scott de Martinville.
Each item in the line has been milled from a bar of brass and hand polished to produce a high-gloss finish. The handles have twelve facets that are intended to subtly reflect light and give an added dimension to the simply shaped pieces.
“The language of the handles matches both classical and contemporary interiors, with straight surfaces reflecting the light while the gentle structure feels comfortable in the hand – like a beautiful set of quality tools,” the designers said.
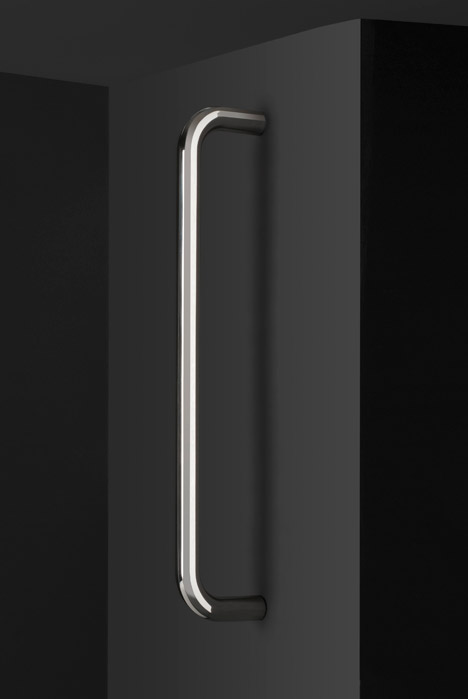
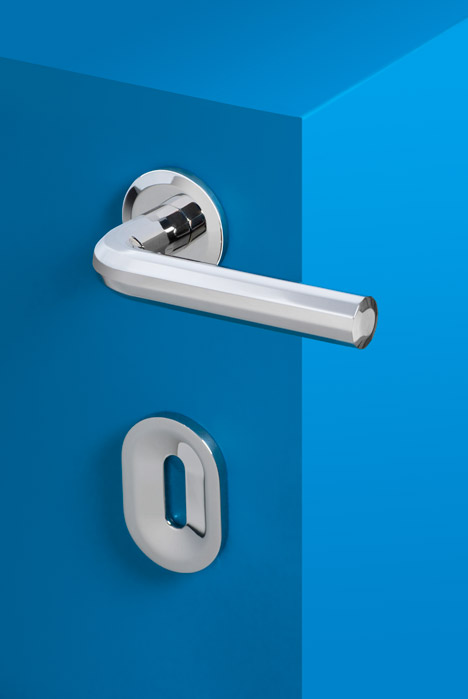
The pull handle is formed from a solid rod of metal bent 90 degrees at either end to meet the door surface, while a tubular lever handle is paired with a rounded oblong escutcheon and lock.
The coat peg takes a conical shape that tapers towards the base. The twelve aspects of the level handle and coat peg give way to a gently domed end.
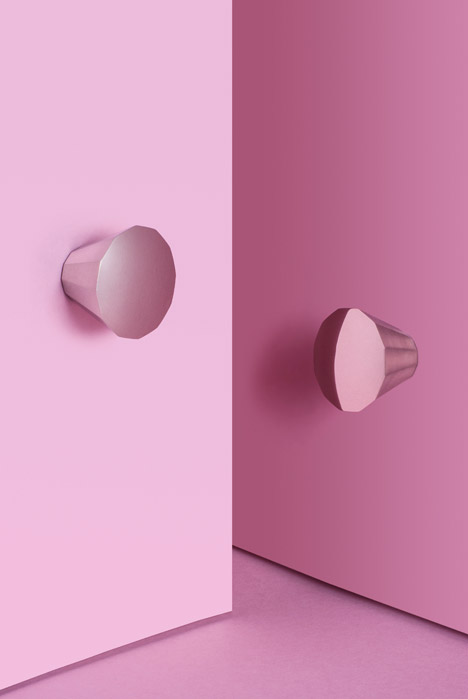
“We added a rounded convex edge on the end of the door lever handle and the coat peg – a detail we borrowed from pencils. We find this detail very sensual,” De Martinville told Dezeen.
All items in the collection are available with a polished chrome or bronze finish.
The interiors studio, known for their functional pieces, revealed a dual-purpose coat rack and display ledge for Danish brand Hay in Milan earlier this year.


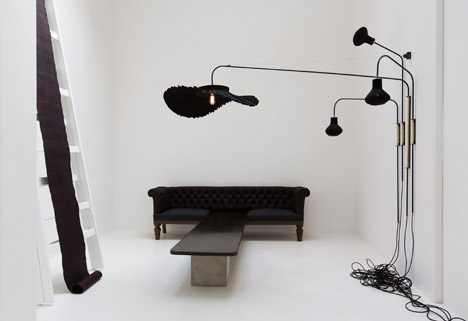 Image by Mari Luz Vidal, Openhouse Magazine
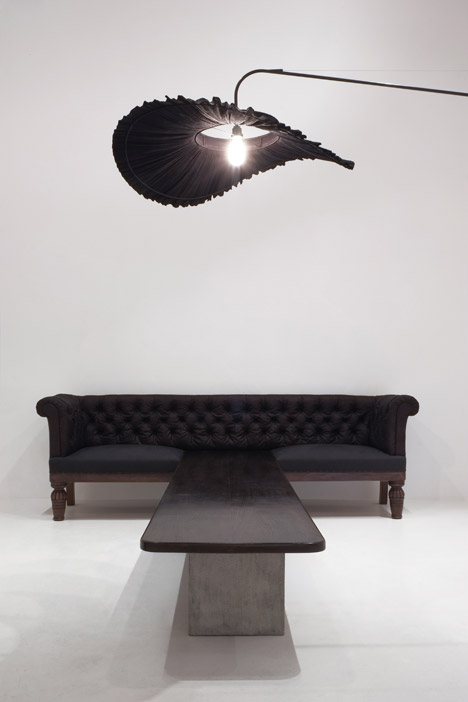
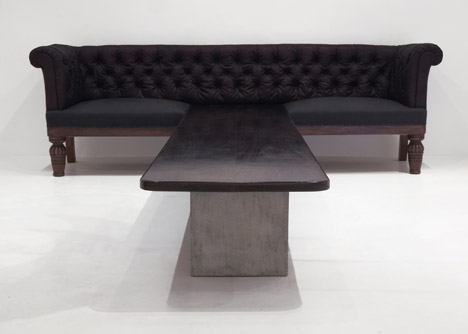 Chesterfield Table
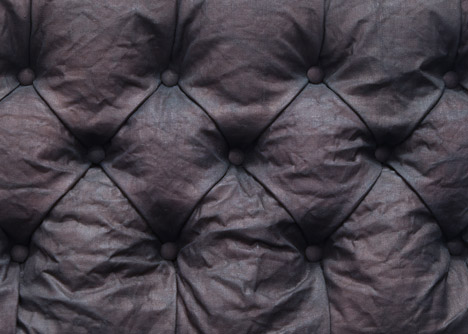 Chesterfield Table detail
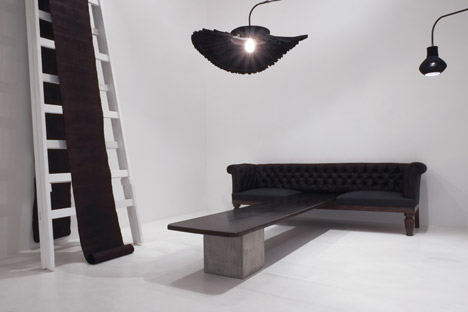
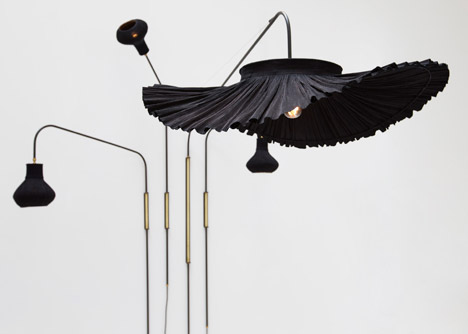 Indigo Luminaire
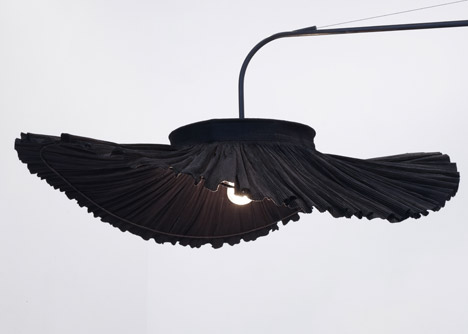 Indigo Luminaire detail
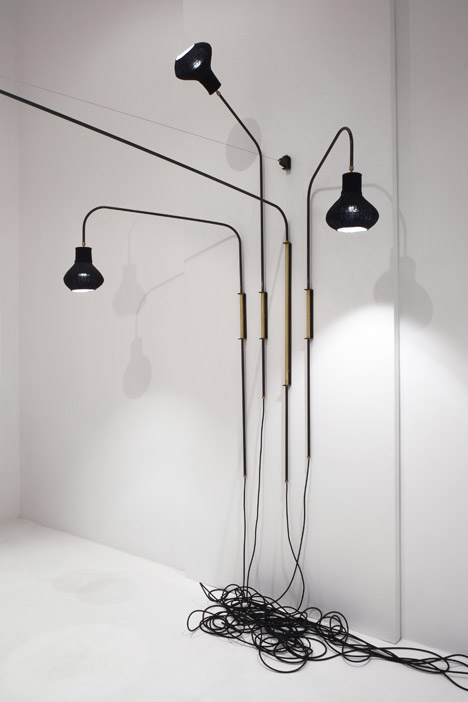 Indigo Luminaire detail
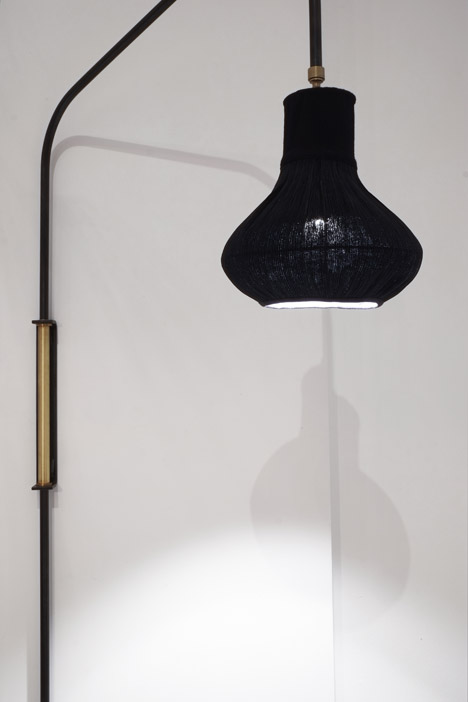 Indigo Luminaire detail
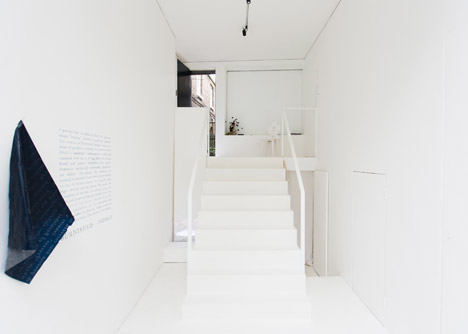


 In the beginning of my design career, I designed custom invitations primarily for brides. My favorite thing about beautifully designed paper goods is that they set the tone for the event to come. A gorgeous invitation gives you an idea of what to expect. Will it be fun? Funky? Formal? Colorful? Elegant? And in the same way, main entryway of your home tells the same story. It’s like the perfect space to set the tone for what the rest of your house will reveal.
 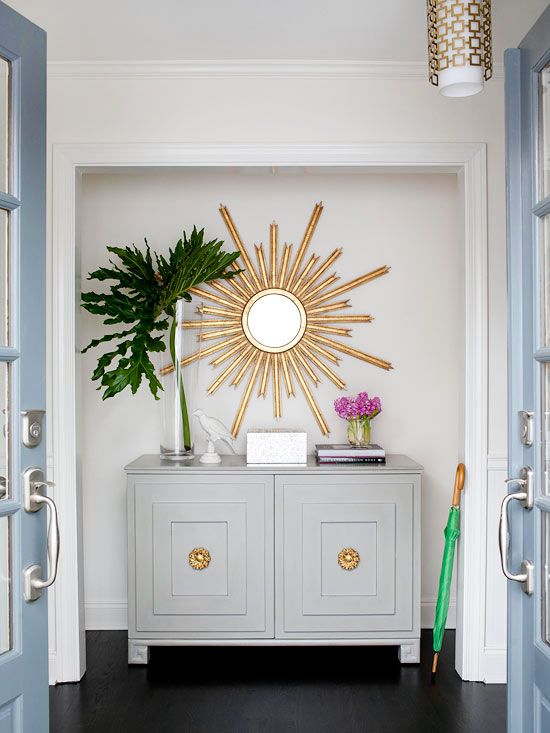 But entryways need to be more than just a pretty space; more often than not they have to do double duty as functioning storage/landing pad. It’s the first place you see when you come home and the last place you see when you leave. Odds are you’re taking a bag (or two), keys, sunglasses, a phone, and a litany of other items. And that’s just for you – other members of the family might need sports supplies, weather-appropriate gear, boots, etc.
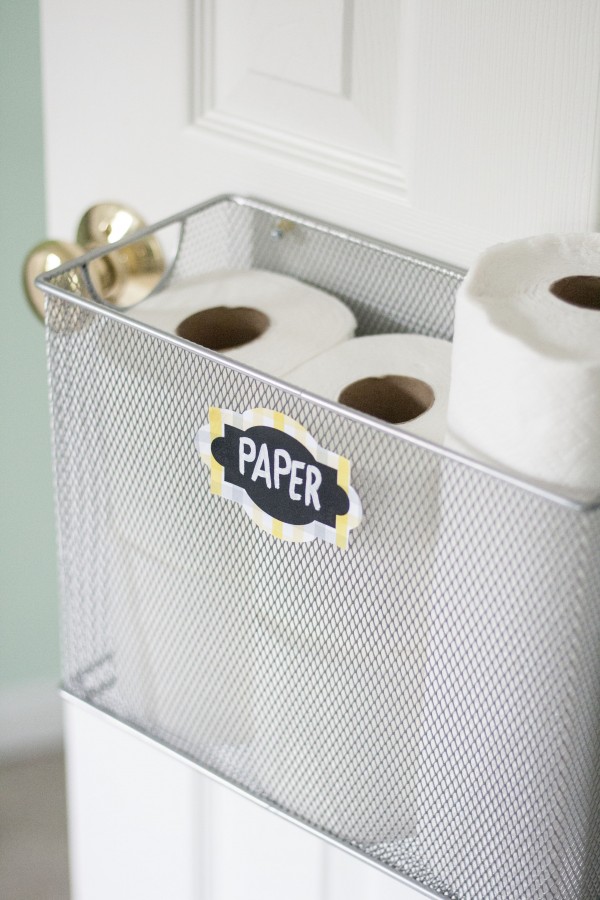
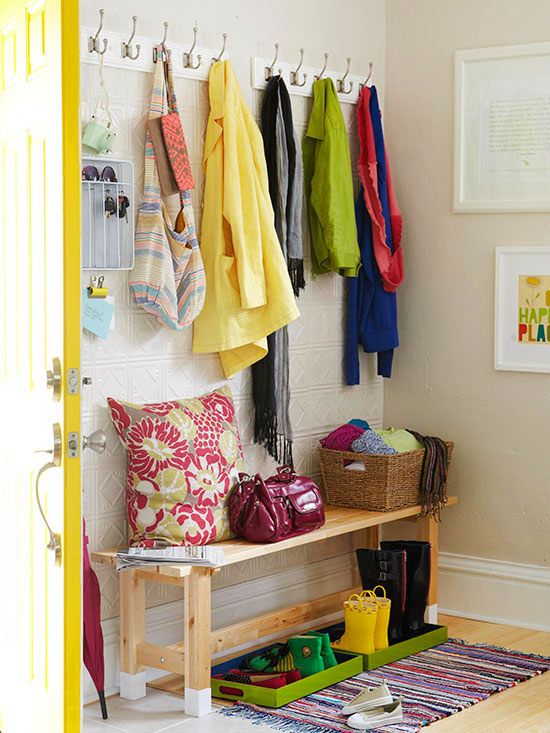
 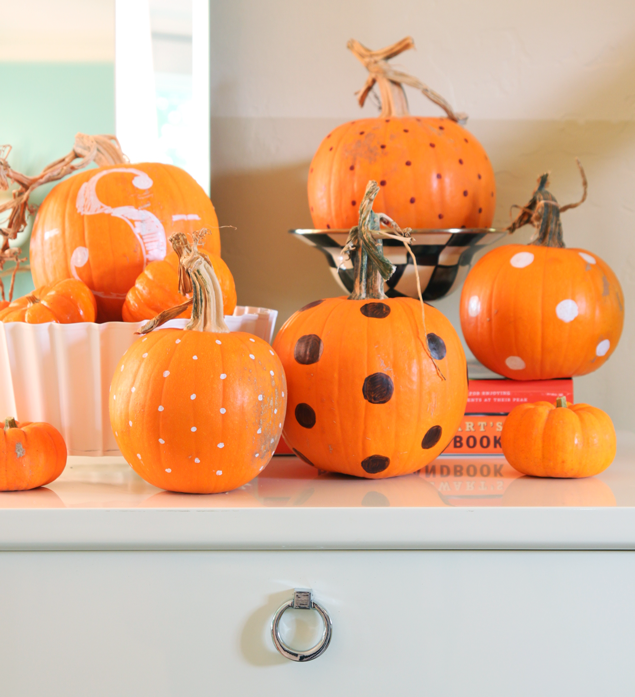 My other favorite thing about our entryway is that it also provides the perfect spot for holiday decorating. I love using our entryway as a place to display Christmas cards and decor for all seasons. Pumpkins at Halloween, a glitter putz village at Christmas, and hot pink hearts at Valentine’s have all made a starring appearance in our entryway. The possibilities are absolutely endless so don’t be afraid to have some fun with it.
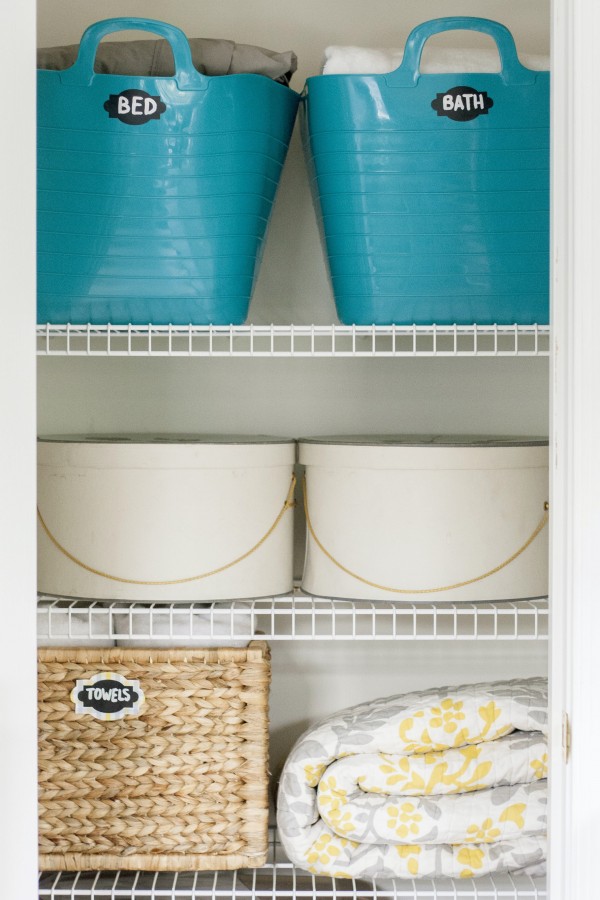
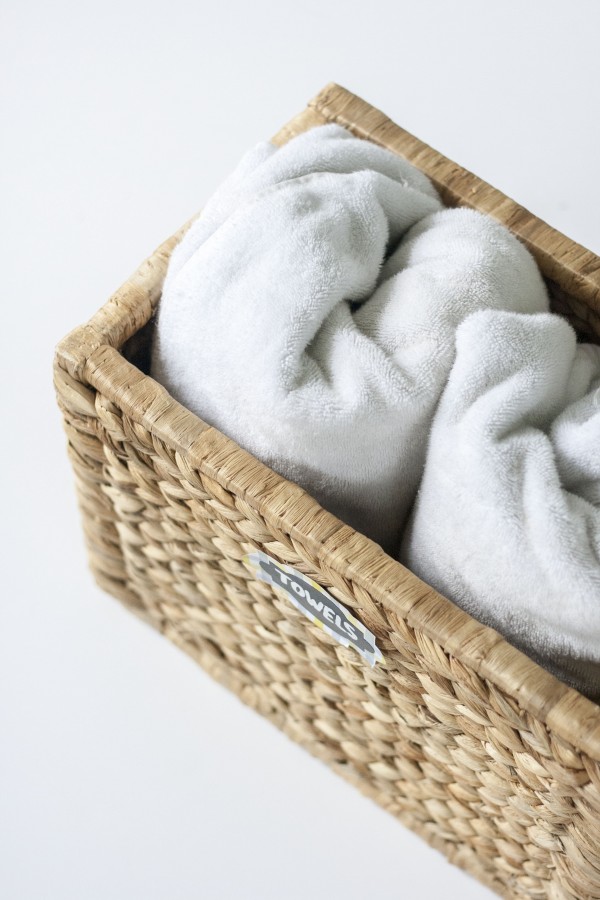
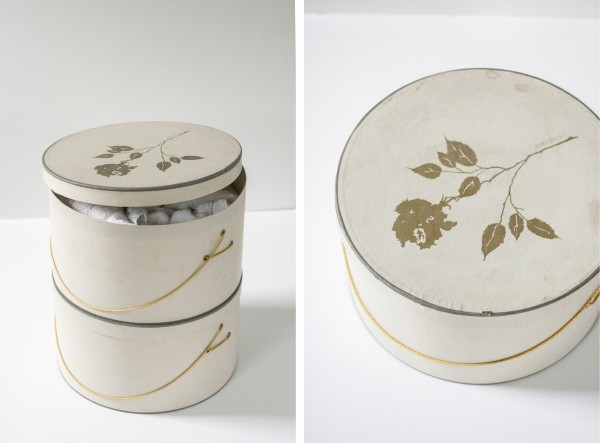
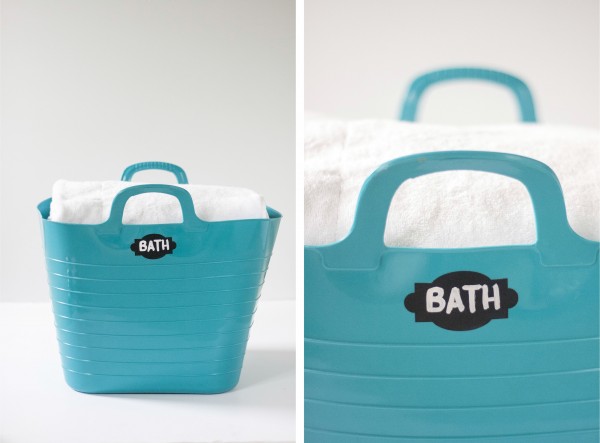
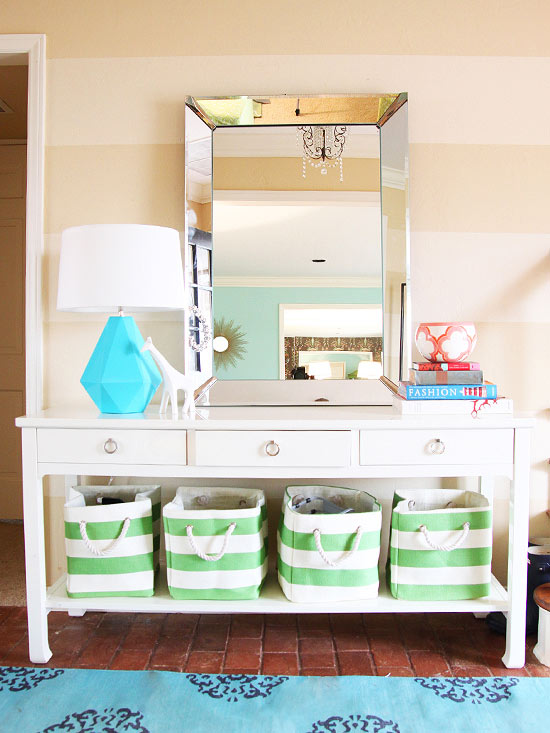
 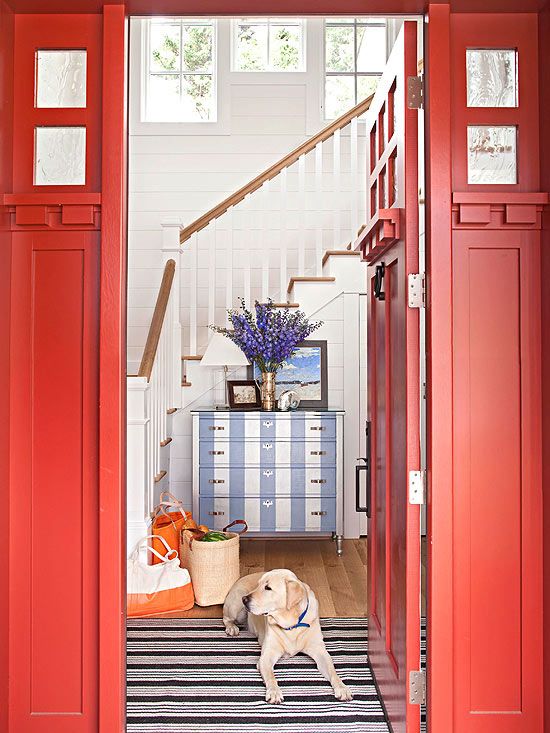 Here are a few of my favorite tips for designing your entryway: 1. Go with a big mirror perfectly placed over the entry table. It provides the perfect chance to make sure every thing is in place before you dash out the door. 2. Get creative with storage and don’t forget to think seasonally. Winter items such as scarves, mittens, hats, etc., can all happily cohabit in an easily accessible tote. Find a cool tray to put snowy or rain-ridden boots. 3. Your entryway table could be anything from a cool desk to a Parsons-style sofa table. For smaller spaces, a glass top or lucite sofa table can be perfect to keep the eye from getting overwhelmed. Add layers and personality to your space with a rug, mirror, artwork, wall treatments such as paint or wallpaper, and other decor. And don’t forget – functional hooks can be pretty too!
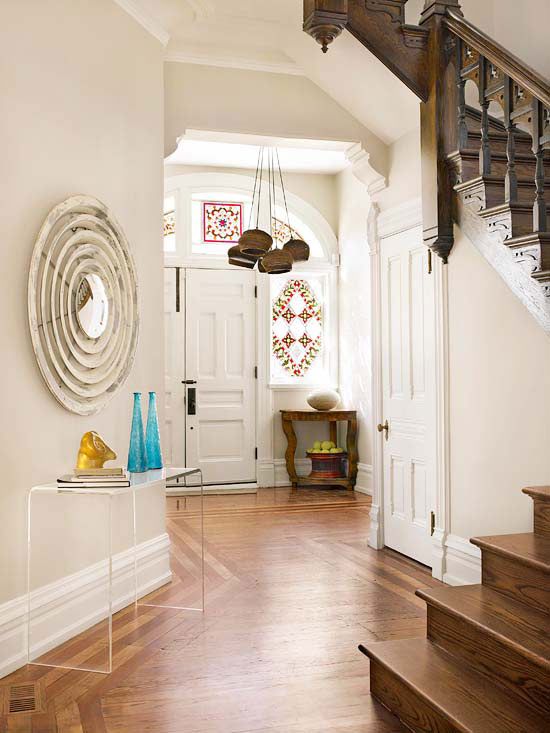
 What are your favorite tips for creating functional but pretty entryways? I’d love to hear in the comments!


