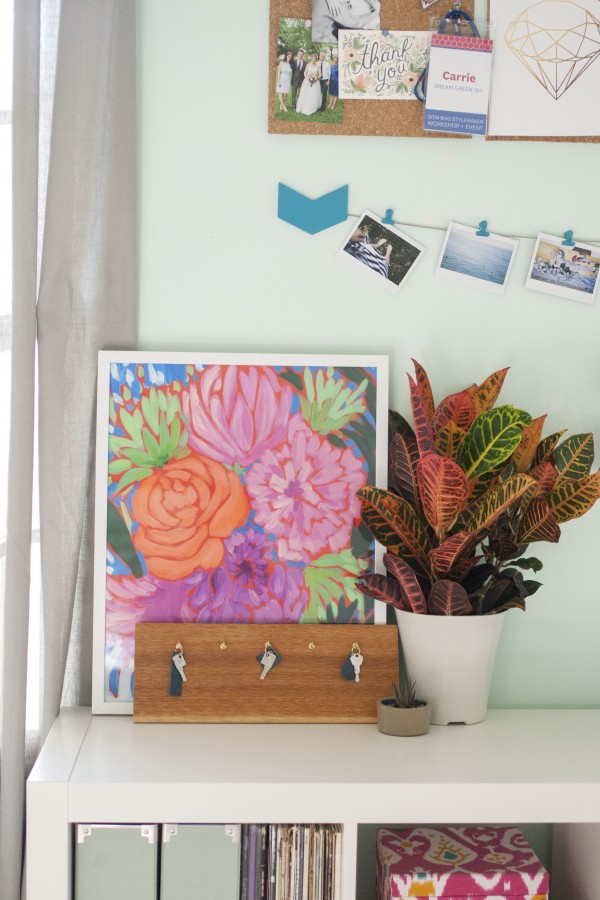
I feel like my studio/office is in constant need of reorganization. Purging excess stuff and rearranging the stuff that stays seem to crop up as near-monthly to-do’s, and things are always moving this way and that to accommodate the pint-sized photoshoots that happen almost every day.
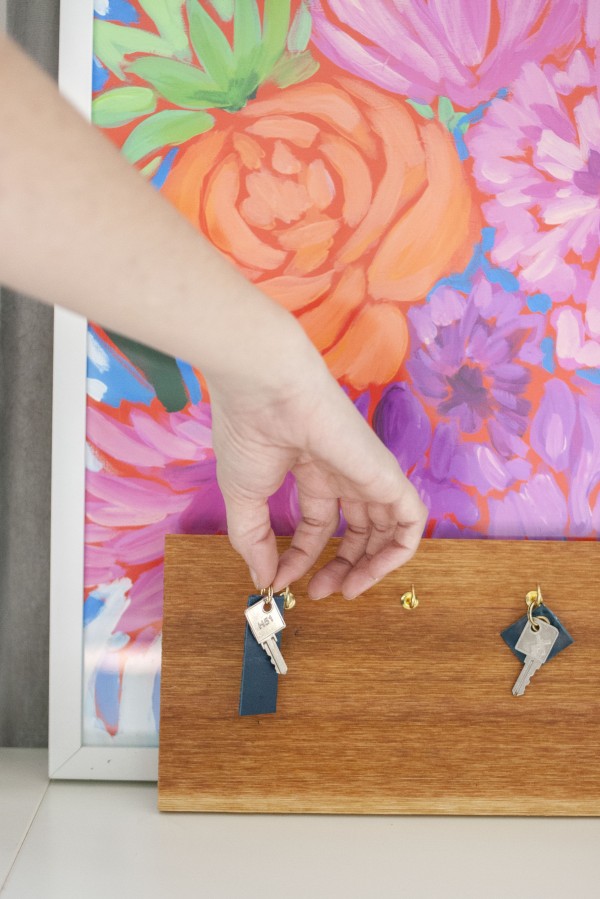
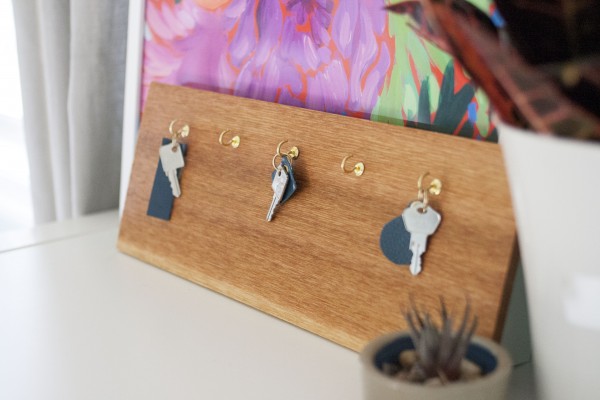
So, of course, it’s no surprise that tiny office supplies go missing all the time—especially my cabinet keys. It has gotten to the point that I’ve considered adding neon lights to these miniature keys based on their penchant for disappearing, but luckily I came up with a pretty (no nails!) alternative for displaying and keeping track of them. See the step-by-step breakdown on eHow.
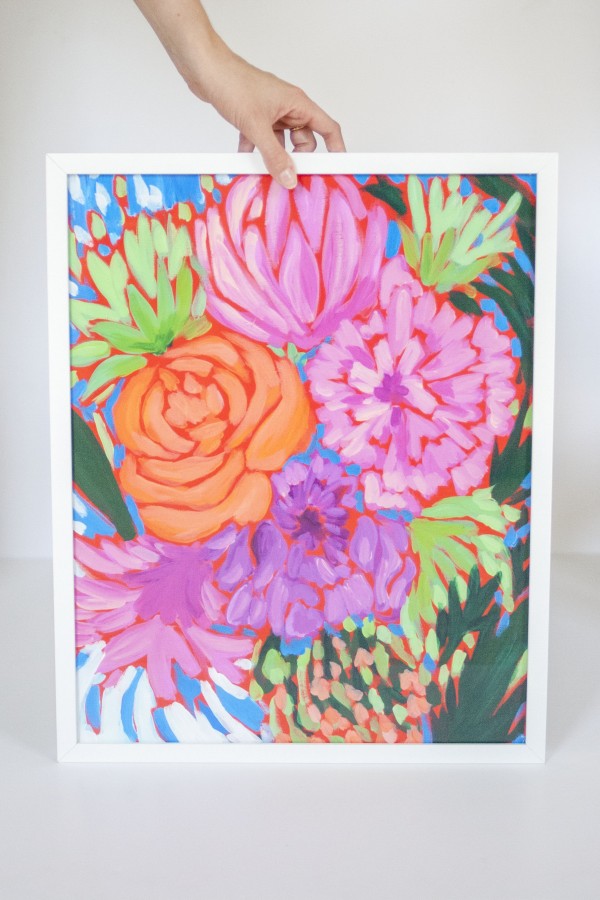
Another piece that I wanted to turn the spotlight to this Monday morning was my new Peony in Pink print care of Laura Dro Designs. This lovely, color-packed artwork has cropped up in more than one “After” photo on this blog as of late, and I couldn’t go one more moment without calling attention to it. I so appreciate those big, blown out flowers and happy accentuated brush strokes—don’t you?
To celebrate the addition of this new print to my studio, Laura has graciously offered to give away a second Peony in Pink print to one of you! Simply use the Rafflecopter widget below to enter the contest, which runs until midnight 10/20. Good luck!
We’re on day three of four of work on the Las Vegas fixer on this long weekend. I’m moving from finishing up one space to demoing another. My back and arms ache from hours of lifting and pulling but those efforts mean that changes are happening, it’s thrilling and so worth it.
One huge change we made on this most recent visit was the replacement of all the old aluminum windows with energy efficient glass and vinyl windows. Matt was the one who insisted it was the right thing to do to invest in new windows, and he was right! I’ll share more pictures and details on why we made that decision next week.
As I mentioned last week, we have plans to upgrade the master vanity zone so with some help, we pulled out everything but the vanity that we intend to salvage. Plan A is to build a taller base to repurpose the old one and raise it up to a more comfortable height and then add a new countertop, fixtures, and faucets. Plan B is to purchase a new vanity but I do hope to reuse the old one.
I agonized about the backsplash because I fell in love with several expensive alternatives but when I went to Lowe’s in search of window treatments my little heart skipped a beat when I walked down the tile aisle and discovered a marble mosaic in a geometric pattern that was so much lower in price than the patterns I was eyeballing.
I had to go to two different stores and separate sheets of tile out of 12 different boxes for consistency because I wanted the ones with more contrast (on the right) compared to the whiter versions (on the left) and each sheet was so very different but I think this will work nicely for what I have in mind for this 72" wide vanity space.
In the kitchen, we left the old oak cabinets in place for a few months and my "let’s salvage what we can" mind contemplated repurposing them but after much thought decided against it and instead we chose to gut the kitchen and start fresh.
The cabinets were 25 years old and not pretty on the inside and they crumbled as they came out piece by piece so after witnessing that we have no regrets pulling them out.
Removing the cabinets revealed the speckled countertop and backsplash that was layered over the old wallpaper and ceramic tile countertop, and underneath it was a toxic adhesive glue mess so we replaced the sheetrock on that section in preparation for the new tile backsplash.
The space is (almost) the perfect blank canvas, the only things that need to go are the florescent light and raised pony wall on the peninsula to allow for a counter height solid surface countertop.
We also need to patch the floor tile first before installing the new cabinets. I’ve already picked them out, the cabinets will be ordered next week and will arrive in November. As soon as I find the perfect backsplash I’ll share the design plans for this kitchen, it’s going to be so gorgeous when complete!
I also wallpapered the upper portion of the downstairs bathroom above the new board and batten and hung the new gold chinoiserie mirror. It’s a fab combo, here’s a sneak peek, can’t wait to share the space !
We also installed a few new light fixtures and I finished painting a hand me down dresser we will be using in the master. I’ll be back soon with more updates !
Pour sa seconde édition parisienne le salon 3D PrintShow dédié à l’Impression 3D vous proposera les dernières innovations en la matière, mêlant technologie, savoir-faire et ingéniosité au service de la création !
Pour rappel voici le compte rendu de la première édition parisienne à retrouver ici
BED sera une nouvelle fois présent, un résumé à découvrir très vite !
Période : 17 8 18 Octobre 2014
Lieu : Carrousel Du Louvre: 99 Rue de Rivoli, 75001 Paris
Plus d’informations sur l’évènement : 3D PrintShow
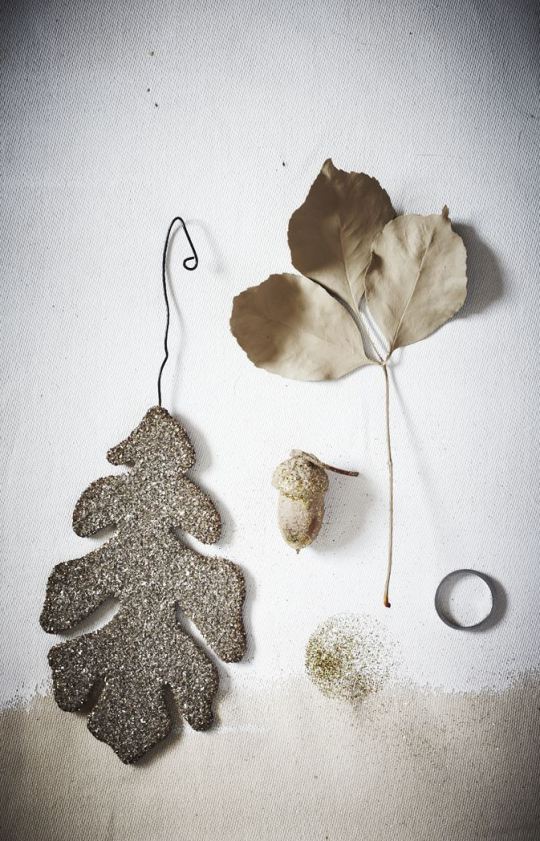
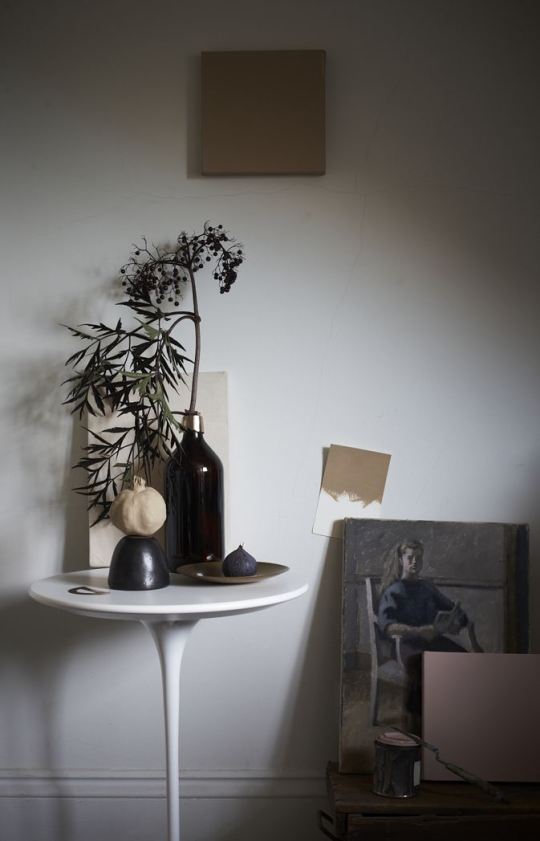
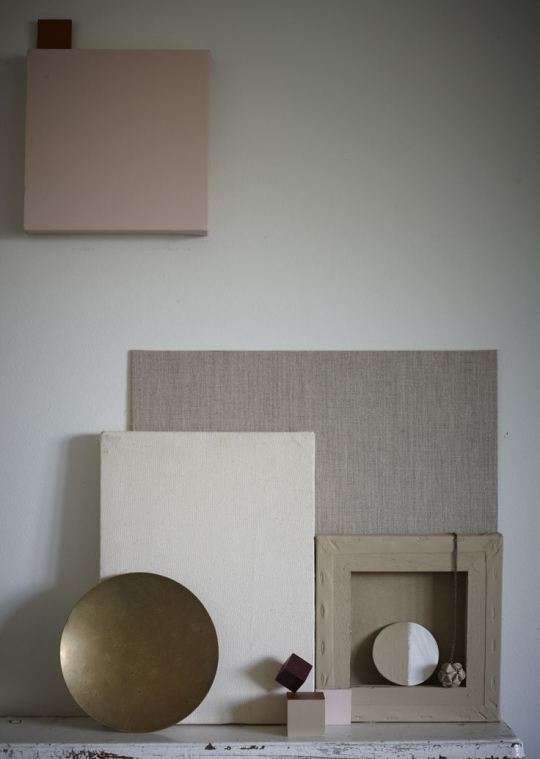
I heard only recently that photographer Joanna Henderson has her own website, so I had to peek around. I remember writing about her work first in 2007 and since, think she has developed a really nice body of work – mainly interiors and lifestyle based. I’d like to share with you two “stories” that I particularly enjoyed with my cup of tea this morning. The first was shot by Joanna with stylist Sania Pell and focuses on paint and paper. Although this was shot last Autumn, the look is so timeless that it applies beautifully today. I love these warm, matte neutrals right now, don’t you? They really bring in a spirit of calm and comfort. And of course, the styling work and art direction of Sania is consistently impeccable these days.
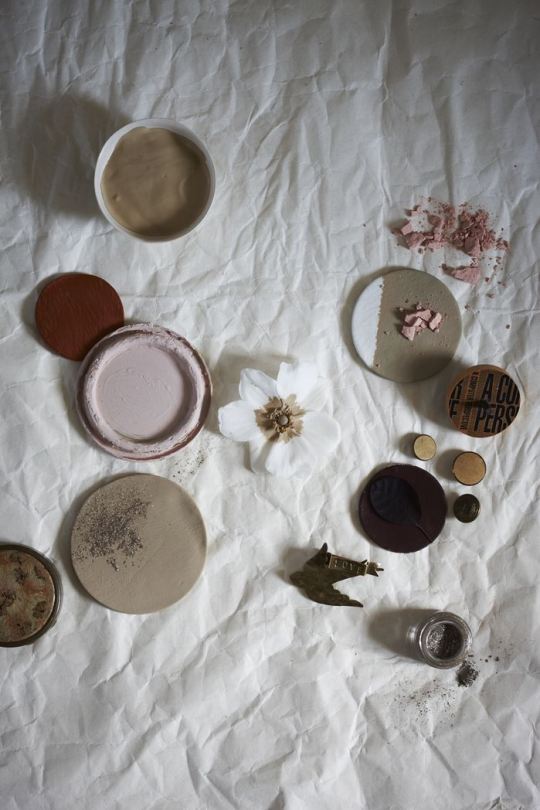
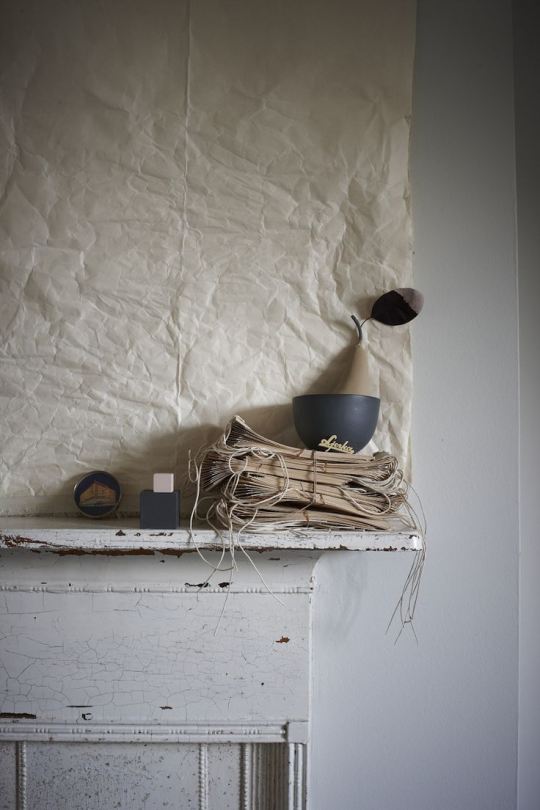
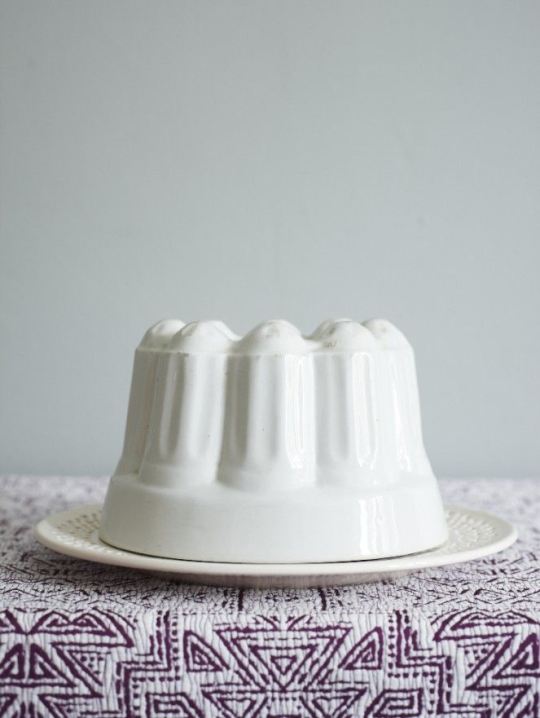
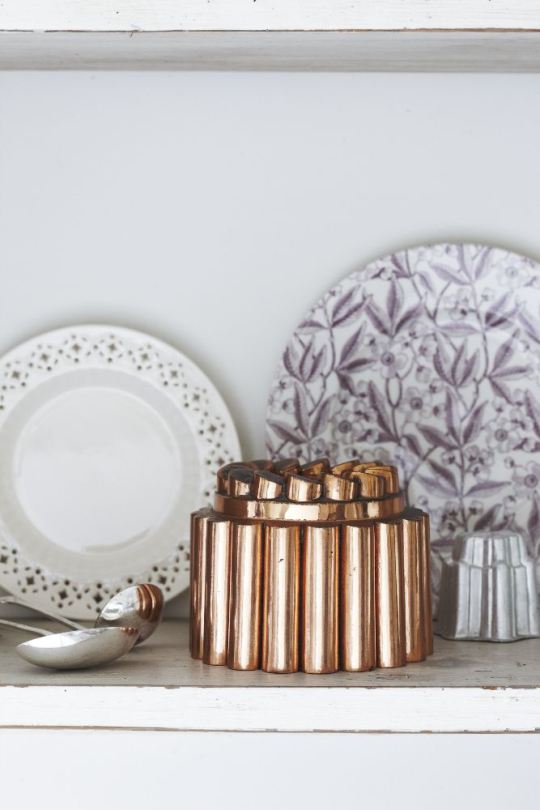
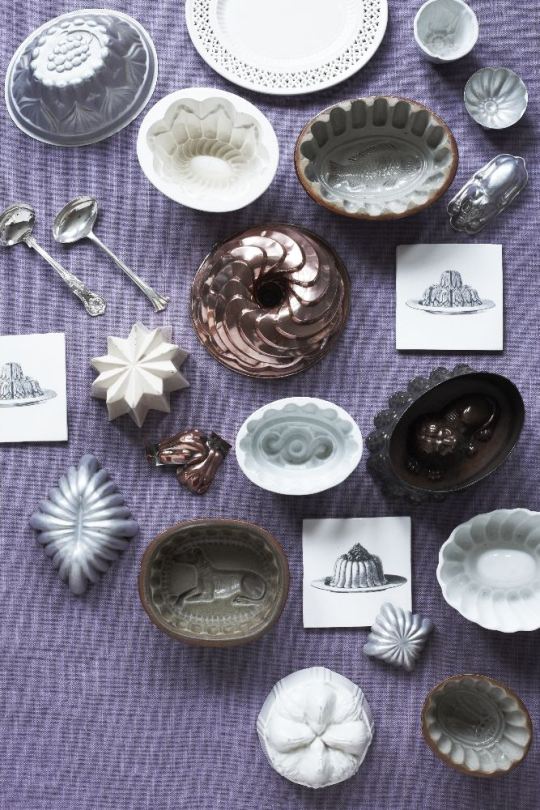
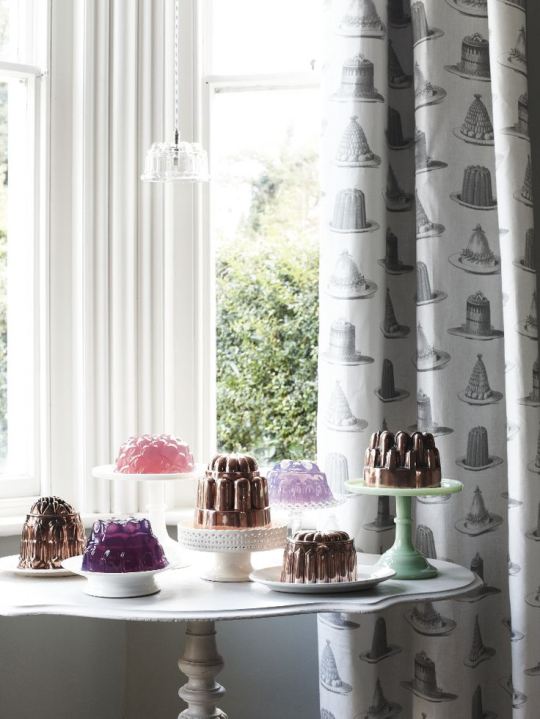
The next story features the photography again of Joanna Henderson only this time, showcasing the styling work of Lisa Brown. This time the focus is on moulds, of all things. It took me by surprise that you could produce such a lovely visual story around such a mundane object. This color palette is truly beautiful. I particularly like the white ceramic moulds but also fancy the vintage tin ones and the stunning cooper mould shown below.
To see more of Joanna’s photographer and view the work of other stylists with whom she has worked, visit her website here.
What a nice way to begin the week! Now I’m off to teach two classes – one is all about writing a great bio and the other is about how to turn blogging into something that you love again.
Nicola Conti, designer italien nous présente son travail en commençant par la collection baptisée Bito, 3 petites tables de salon douces et colorées.
Sans révolutionner la notion ou la fonction première d’une table, le designer joue d’asymétrie pour la forme de chaque plateau donnant presque un sens d’utilisation à une table ronde, puis de symétrie par la couleur en divisant chaque plateau par son centre en deux couleurs. Bois brut d’un côté, pastel bleu ou rose pour l’autre.
«BITO is a system of tables and it consists of three elements of different heights and different colors to give the chance to create multiple compositions, or to be used individually. It can pull over next to a sofa to meet the needs in the living room. The detail of these tables is that within the same object are enclosed two different characters: one wood essence part, which is less processed and more natural, and another one which is much more refined and colorful«
On aimera le détail, où le rebord du plateau coloré ou brut n’offre pas la même finition de travail !
Plus d’informations sur le designer : Nicola Conti