
How large is your outdoor location? Do you have a little garden? You might have a terrace? Have a bit of area to recognize your dreams?

Modest backyard concepts want to talk about and we together in this write-up. You are without a doubt not practical. But allow us dream and remind us how we noticed the planet when we were really little. You search far more charming and super exotic.Also, you could make such a backyard in your city apartment. There, he will seem like a tiny island which each time, when you appear at it, will distract you from the everyday worries.

The 1st determination you want to meet before you are hunting for suggestions for the modest garden, would be that you namely have to make a decision regardless of whether your minor garden will be indoors or outside. This is 1st and foremost in the selection of suitable plants of fundamental importance. In the two situations, they would be small dimensioned and want not a lot own Earth. It is also important that they would be able to share the floor with other species. Because only you have the freedom to produce wonderful artistic constellations.

At the next phase in designing your tiny garden, you would have to search at numerous distinct vessels and get a number of. On the one particular hand, you have to be adapted to the available space. Think for this purpose in advance exactly exactly where the backyard will be and how considerably space on the acceptable location available. At times we have variants that are out there and in the winter – inside in the summer. Seeking for a ideal remedy in the two situations.

Then it goes to the form. She need to be appropriate to your notion. Usually, you have various tips for the arrangement inside of the meaning in small gardens. The heroes from your preferred fairy tales there could integrate that if you truly want to appear back into childhood.

No matter which aesthetic concerns is referred to as, the actual reason for the creation of 1 such backyard in most circumstances is the desire to discover the youngster. Are you truly have parents? Or possibly have children otherwise around? What could be far better for the awakening of the dreams of your personal young time period than the communication with these? Make one discussions with kids about tips on how to make the backyard. That will bring you so, as you not can envision. But remember your planet at that time was how wealthy in your thoughts.


Associated posts:
 Inner garden tips to bring your green property
  Fountain in the garden for a great environment!
  Japanese Gardens – remarkable images!
Area Decorating Ideas

 Stefano Giovannoni
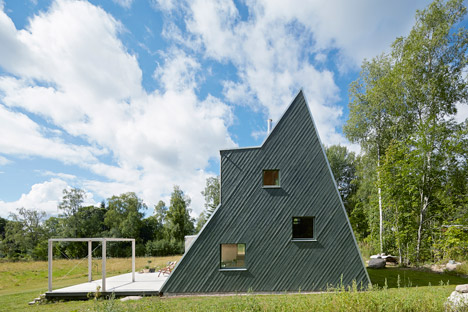

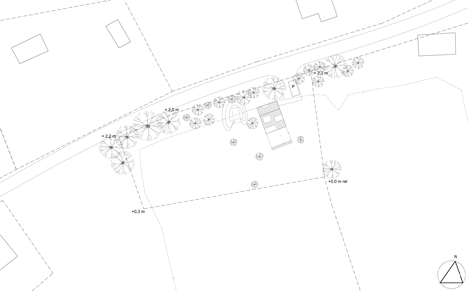 Site program
 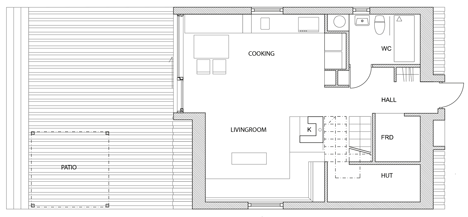 Ground floor program
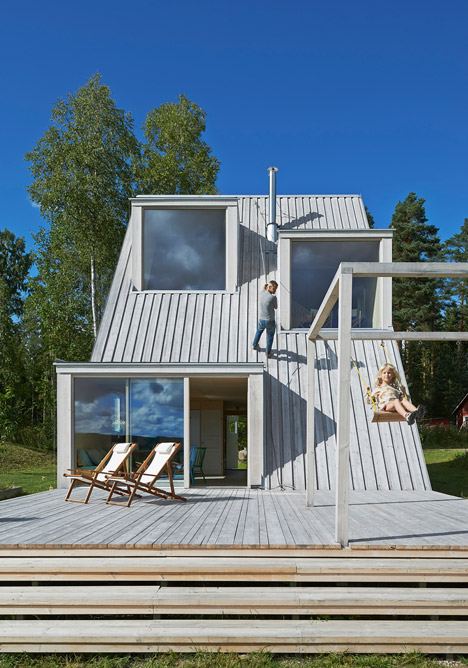
 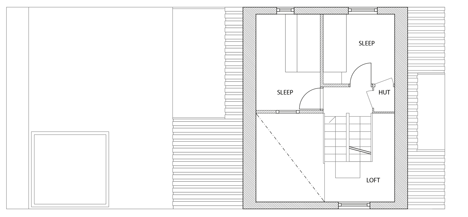 Initial floor program
 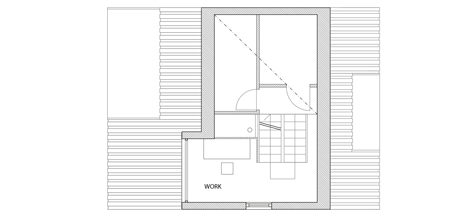 Mezzanine floor prepare
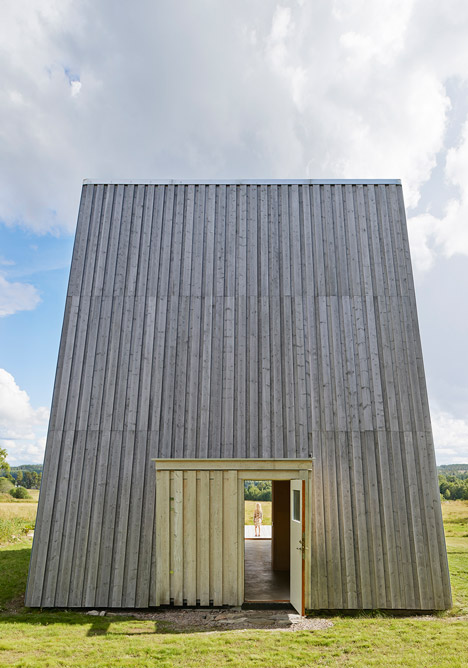
 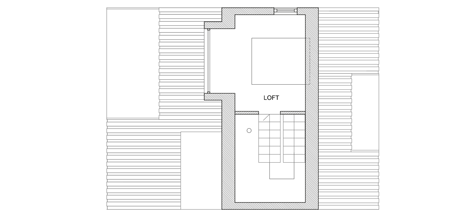 2nd floor prepare
 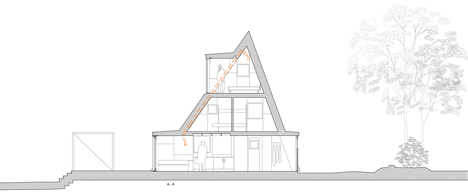 Segment 1
 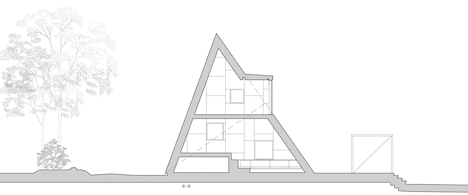 Segment two
  Section three


 I like the less complicated search on the columns and – and significantly less perform! Score.


