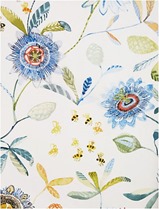
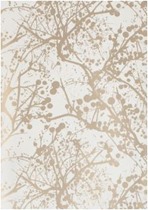
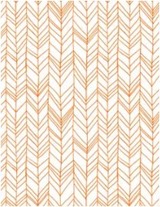
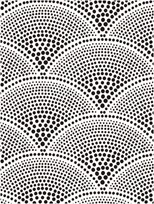
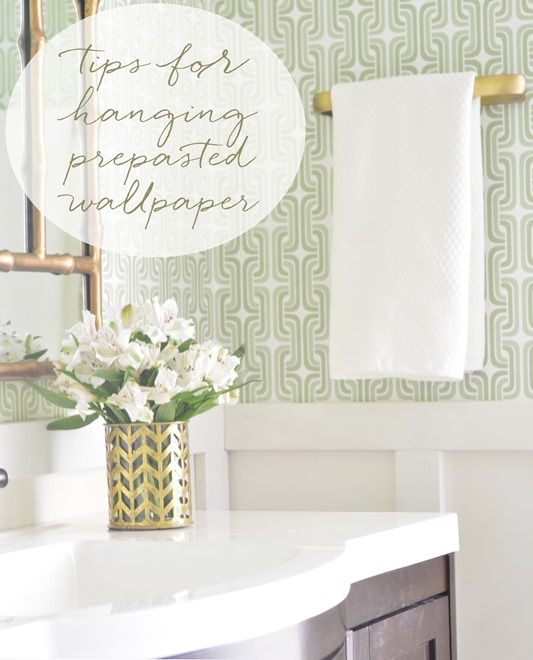
I adore a fabulous wallpaper, the modern prints are a fantastic way to add texture, glamour, or drama with a colorful or metallic pattern. Compared to stenciling, wallpaper is limited by its colorways and more expensive, but the look is really beautiful especially with the new contemporary metallic or intricate patterns.
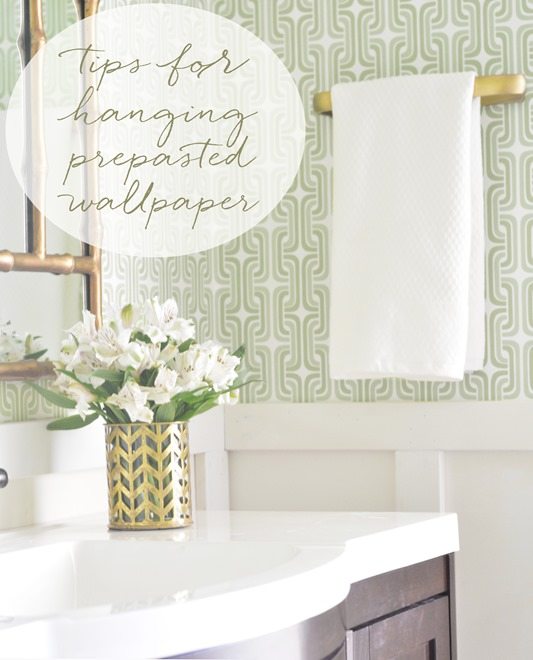
This bathroom makeover was my second time hanging prepasted wallpaper by myself and the task is not as difficult as you might think! With the right supplies you can hang prepasted wallpaper without professional help. The process is drippy and wet (wear your sloppy clothes) and it takes some time, but once you get the hang of it (ha!) you’ll find it’s not as intimidating as you may think.
Wallpapers come in different versions: some are prepasted, some are unpasted, and some are peel off/removable. The prepasted versions work like this: once the paper is moistened with water, the adhesive is activated and you have time to hang the paper straight, reposition if necessary, and smooth out any bubbles.
1) Pick Your Paper. Styles and costs vary, and choosing a paper is a personal choice, but when you find one that calls your name, go for it !
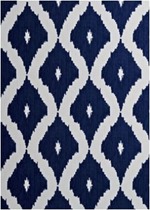
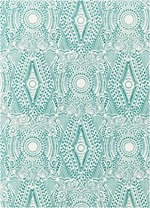
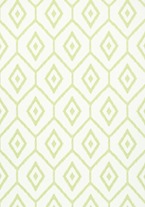
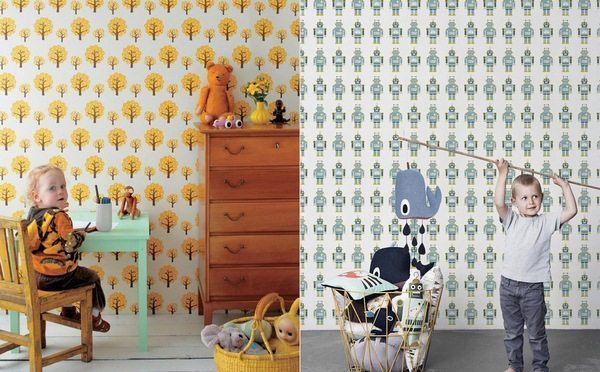
Here are a dozen favorite sources for modern papers:
|
|
|
Graham & Brown | Hygge + West | Thibaut |
|
|
|
Anthropologie | Ferm Living | Design Your Wall |
|
|
|
Spoonflower | Cole & Son | Decorator’s Best |
|
|
|
Wallpaper Collective | Inside Wallpaper | Walnut Wallpaper |
2) Prep The Walls. Flat wallpapers with just pattern (and not texture) lay best on smooth walls since texture will show underneath the paper. In our bathroom, we had the walls retextured so they were perfectly smooth, but in homes where orange peel, knockdown texture, or other rough wall surfaces exist, there are two ways to get them smooth enough to install wallpaper.
You can retexture the walls so that they are smooth with joint compound with a few light coats (sand in between) and then prime them in preparation. Or you can purchase and hang prepasted lining paper underneath to prep the walls, this product is affordable and has good reviews, but there are other similar options available. Also, the walls should be primed so that the wallpaper adheres well. Remove all light fixtures, electrical plates, art, shelving, or anything else that will interrupt the application of your paper.
Supplies You’ll Need: canvas tarp for floor; prepasted wallpaper; bathtub or long wallpaper tray for moistening paper; level; pencil; plastic smoothing tool like this; stepladder; large sponge; sharp scissors.
3) Understand the Instructions. All prepasted wallpapers come with instructions and they will guide you through the steps of hanging the paper yourself. Most of them I followed, some I tweaked, here are some techniques I found worked best.
No walls are ever perfectly straight but rather than hang your paper in alignment with the (likely slightly crooked) walls, it’s important to hang your paper so that it’s straight according to a level. Many wallpaper manufacturers recommended using a plumb line and chalk which is fine; I thought it was far simpler to use the level and draw a line with a pencil on the wall. For the first strip, anticipate you’ll need to align the paper to the pencil line and also allow some overlap onto an adjacent wall.
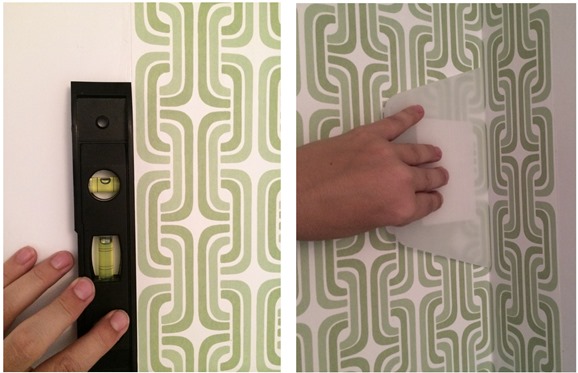
4) Measure and Cut. A paper with a complex or offset pattern with a large repeat will require very careful measurement before cutting to match up the edges, a straight match print with a smaller repeat is more forgiving. Always allow a few extra inches at the top and bottom for trimming and perfect alignment between strips.
5) Activate the Adhesive. There are two ways to activate the paste on the back of the paper, by soaking a paint roller with water and rolling it over the entire strip of paper, but this requires a long work surface. The alternative is to roll the paper in reverse so that the pattern is on the inside and dip it in room temperature water in a bathtub or wallpaper tray which is what I did, unrolling and rerolling with the pattern on the inside. Wait the required time recommended (often just 3-5 minutes) before applying the paper to the wall.
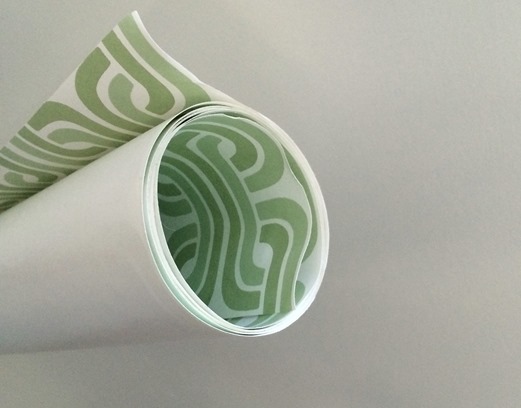
6) Hang Slowly. You can cut ahead but only hang one piece at a time and after a few strips I found I needed to take a break. Better to do it right than rush it!
Once the paper is up, double check that it is straight with the level and use the plastic tool to carefully smooth out any bubbles. Some instructions or tutorials recommend a seam roller for smoothing the seam edges when the strips are next to each other, I didn’t use one, I used my index finger to align the wallpaper’s edges and followed up with the smoothing tool which worked fine to connect the edges and smooth them together. This less than \$2 plastic smoothing tool I found at Lowe’s was excellent, it was soft and flexible enough to not damage the paper, but stiff enough to flatten it against the walls.
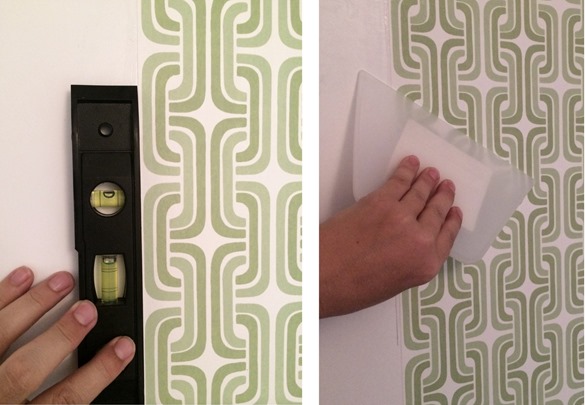
7) Trim Carefully. Some instructions recommend using a sharp razor blade to cut the excess paper, for me it worked just fine using the plastic tool to smooth the paper into place then score the edges where they met the ceiling. While the paper was still moist I peeled it back, trimmed it with sharp scissors where I had scored it, and then smoothed it back into place. If the wallpaper dries out, use a soaked sponge to rewet the paper so you can maneuver the edges back into place.
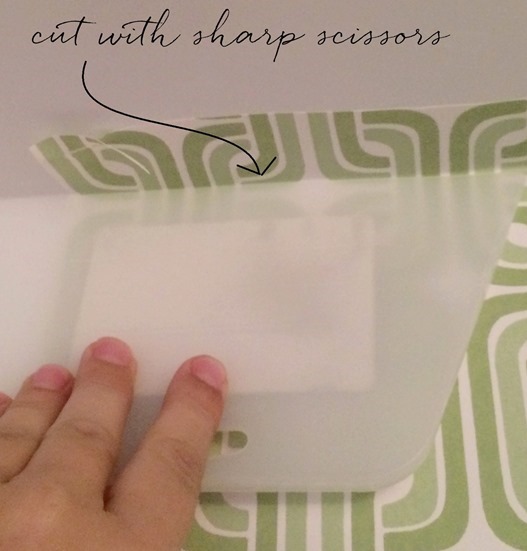
Wallpapering with prepasted wallpaper is a project you don’t need to complete all at once, I did this over the course of three days, a few strips at a time and the result is so pretty! Take a tour of the full bathroom here to see all the details and sources.
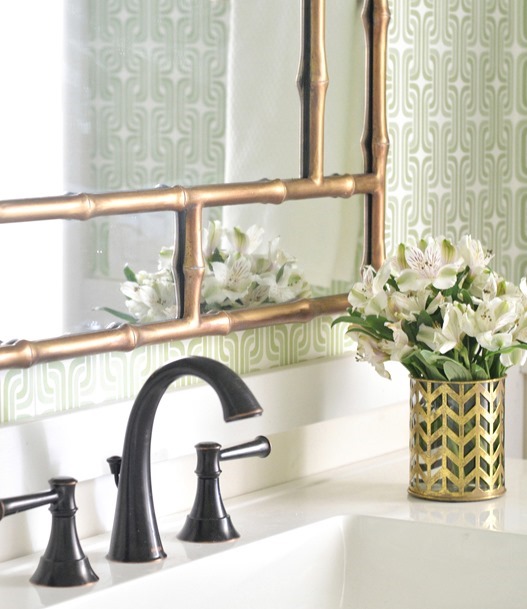
There are a lot of textured wallpaper patterns now available, how cool is this plank wood look pattern, it would look fab inside a bookcase or behind a bed!
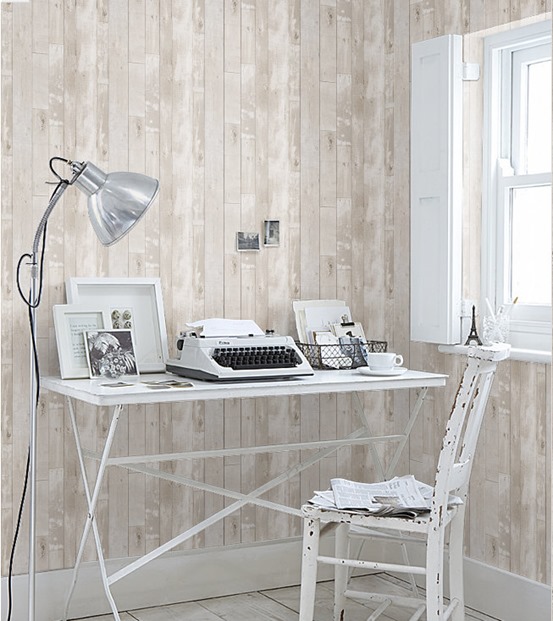
Get the look of classic painted white brick with white brick wallpaper (I just bought some for a future project!).
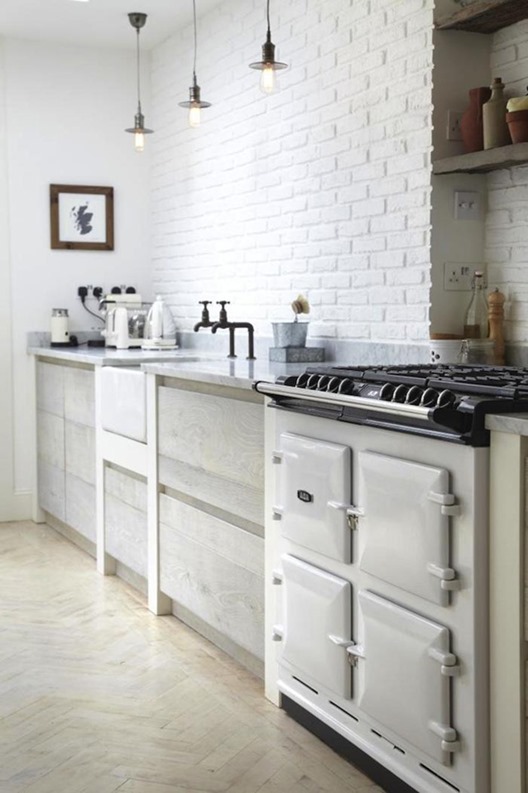
I have always loved grasscloth wallpaper, it is such a chic way to add texture to a space, but grasscloth is expensive. My favorite look of all is a contemporary wallpaper installed above traditional wainscoting like this, divine!
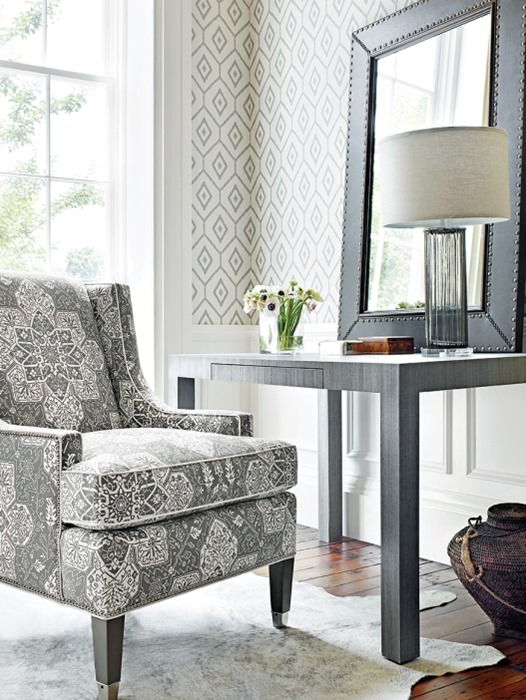
thibaut
Have you had your own DIY wallpaper hanging experience, either prepasted or unpasted? Got any tips to share? …
…
Hanging Prepasted Wallpaper: Tips + Resources is a post from Centsational Girl Republishing this article in full or in part is a violation of copyright law. © 2009-2014, all rights reserved.
The post Hanging Prepasted Wallpaper: Tips + Resources

