
My buddy Rachel—master creative behind 1 of my fave blogs, The Crafted Life—just so happened to host the most adorable bead painting workshop in Austin, Texas last month. Even though I was desperate to attend, I was stuck out here on the east coast with a freak snow storm (or two). That said, I ended up producing the most of my sorrow by channeling her inspiration into a solo bead-painting occasion in the #dgdstudio. Because I thought maybe you may possibly want to do the same in your personal residence, I documented the procedure to display you how.
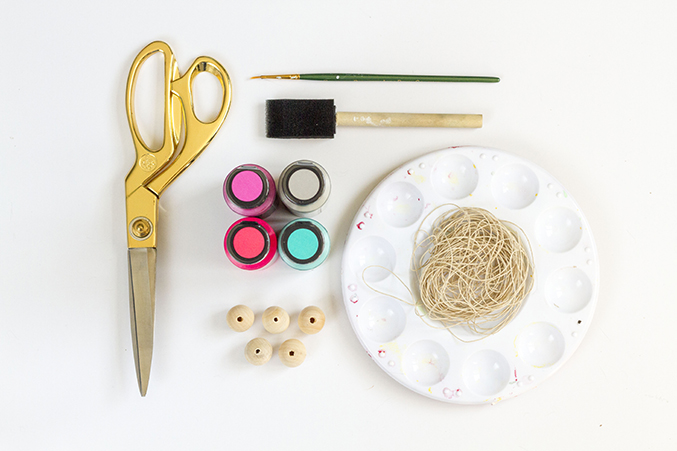

- Wooden beads
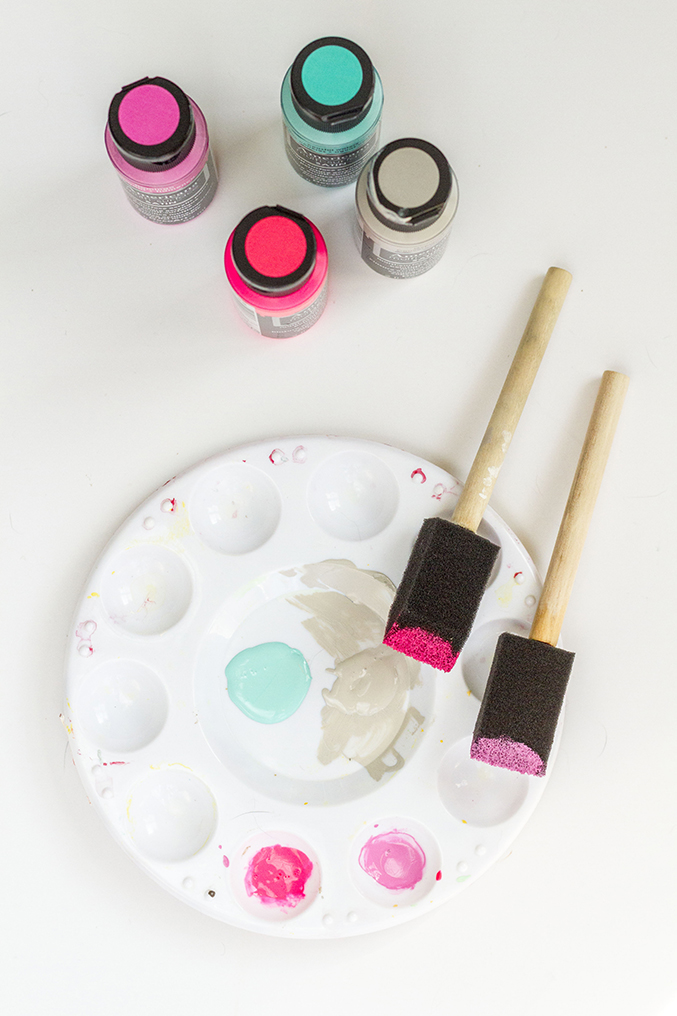
- DecoArt Americana Multi-Surface paint (I employed “Flamingo,” “Pink,” “Overcast” and “Coastal Waters”)
- Twine
- Plastic painter’s tray
- Foam paint brush
- Detail bristle paint brush
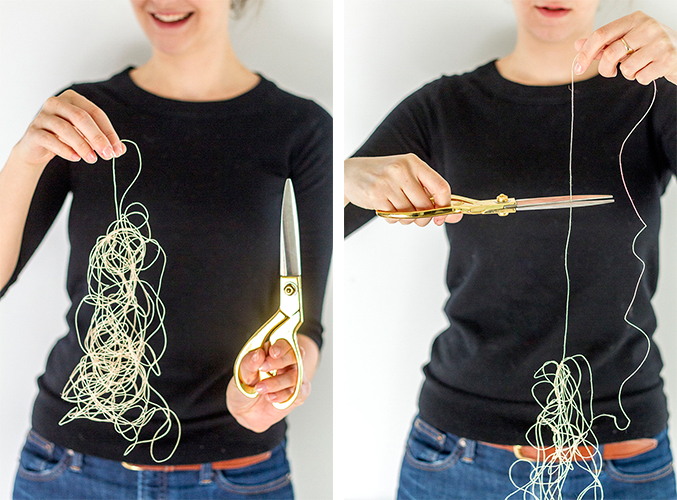
- Scissors
- Thin brass pipe (optional)
When deciding on your colors, there actually is no set formula. Just go with what you enjoy and you’ll practically usually love the finished necklace in the finish. As for my individual process, I normally try out to decide on at least one neutral color (in this situation, the grayish, beige paint), and then I supplement with standout colors. I also try out to combine the two warm colors and amazing ones, so that lately has meant a lot of teal and pink.
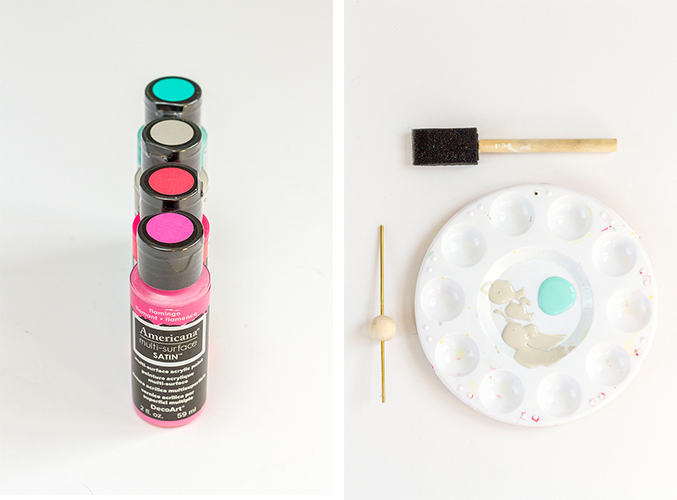
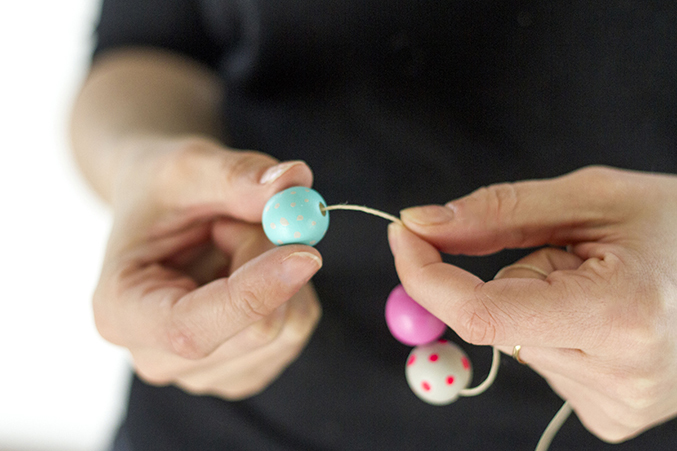
Initial, give your beads two to three coats of a strong colour utilizing the foam paint brush. Permit the beads to remedy for about 20 minutes in between coats so that they are dry to the touch. Then, grab your detail paint brush and include little dots, dashes or shapes to a couple of the beads to give them a tiny character. I chose to include pattern just to 3 out of my five beads so that it didn’t get also overpowering.
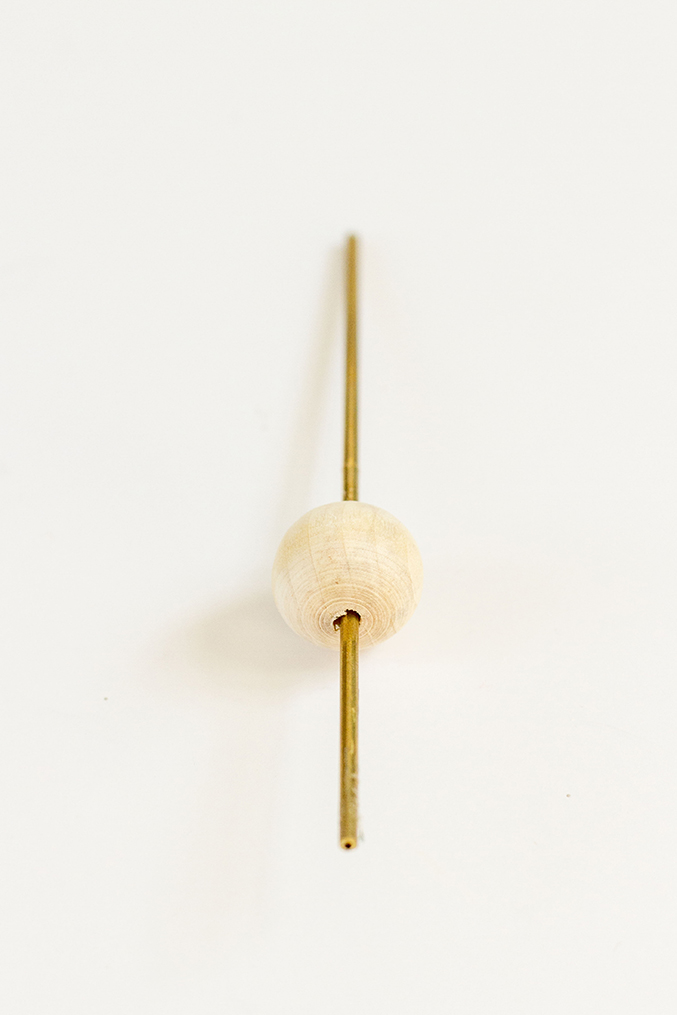
1 provide in my materials lineup was a bit of a surprise and was a last minute addition—the brass pipe. At first, I struggled with not touching the wet paint as I worked to paint the beads, and then ultimately had an ah-ha moment: they necessary to be strung onto something stiff so that I could spin them and have manage, without inadvertently coming into speak to with the moist surface. So I riffled through my supply drawer and located a small scrap of brass pipe to slip proper by means of the beads’ holes. It worked like a charm.

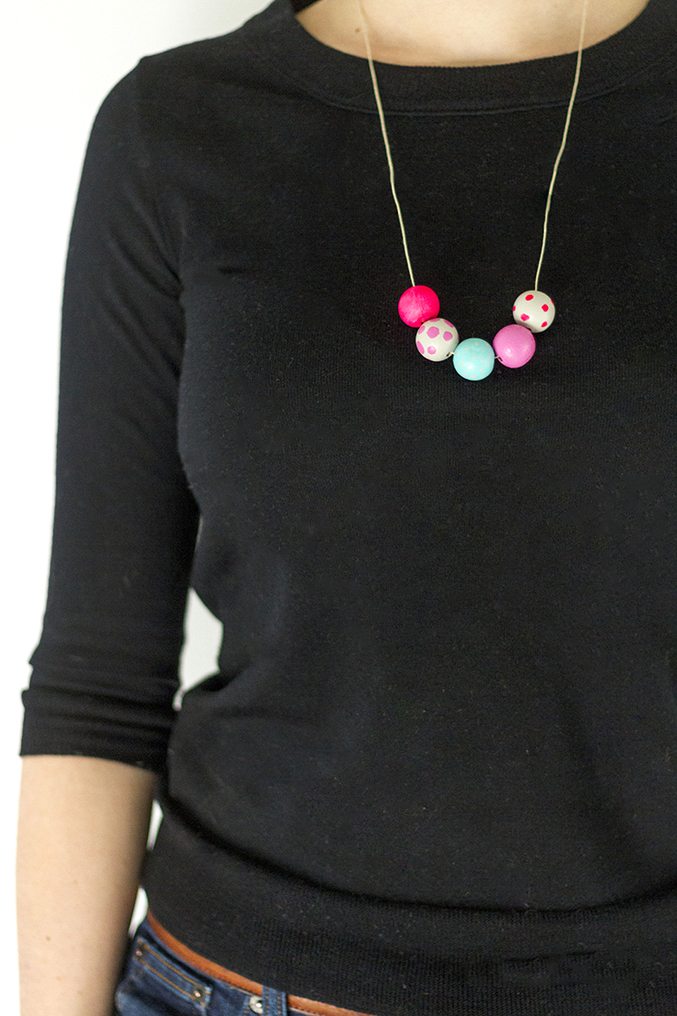
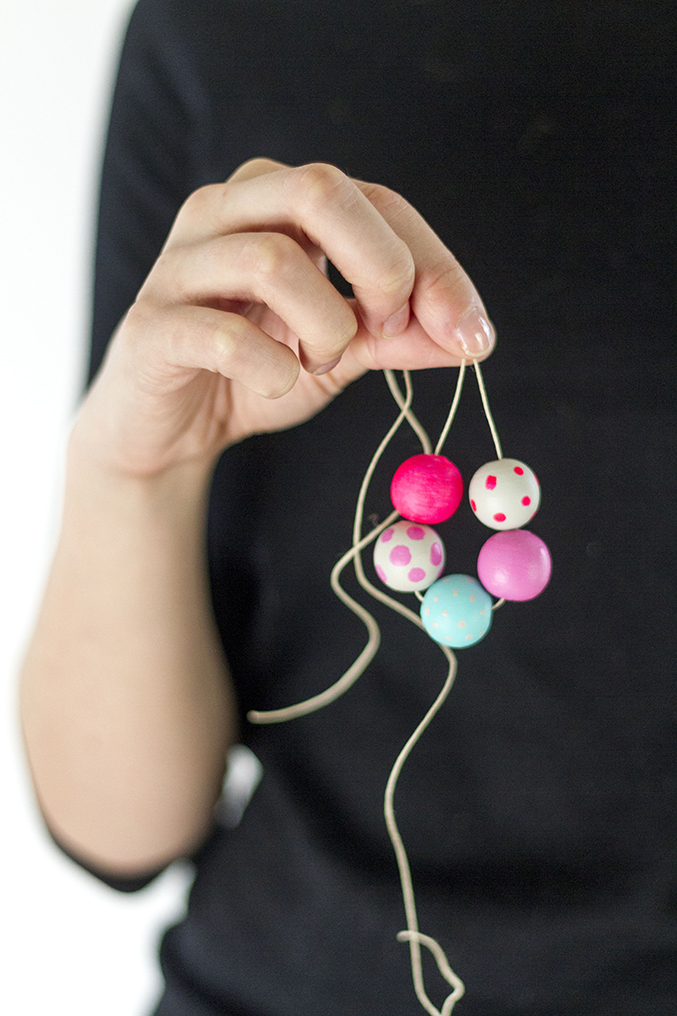
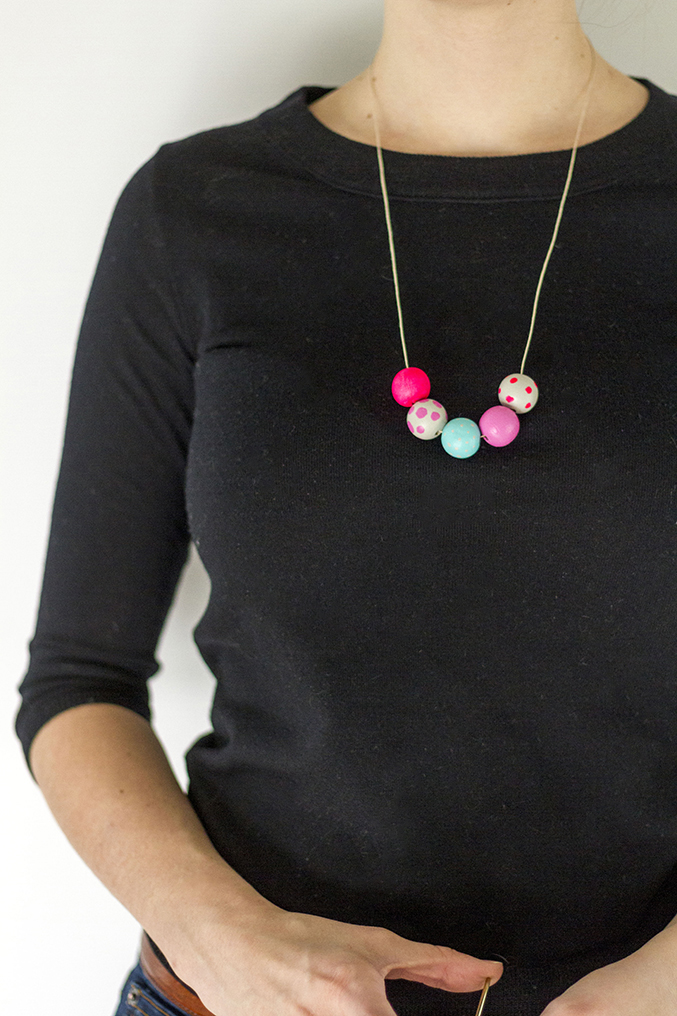
After the beads had dried totally for about an hour, I used (okay, really my sister slash model used) the scissors to cut off a length of twine to create the basis for the necklace. Then, we looped the beads on a single by 1, tied a knot, trimmed the extra twine and referred to as it completed.
To say that I’ve worn the completed necklace at least a few times since I finished producing it would be a gross understatement. In fact, I just looked down and noticed that I have to have unconsciously slipped it on this morning while obtaining prepared.
I’m clearly in really like. I think it’s obtaining significant…
P.S. The winners of the Josi Severson Textiles giveaway have been announced! Click via to see if you were 1 of the fortunate two.

")


")


