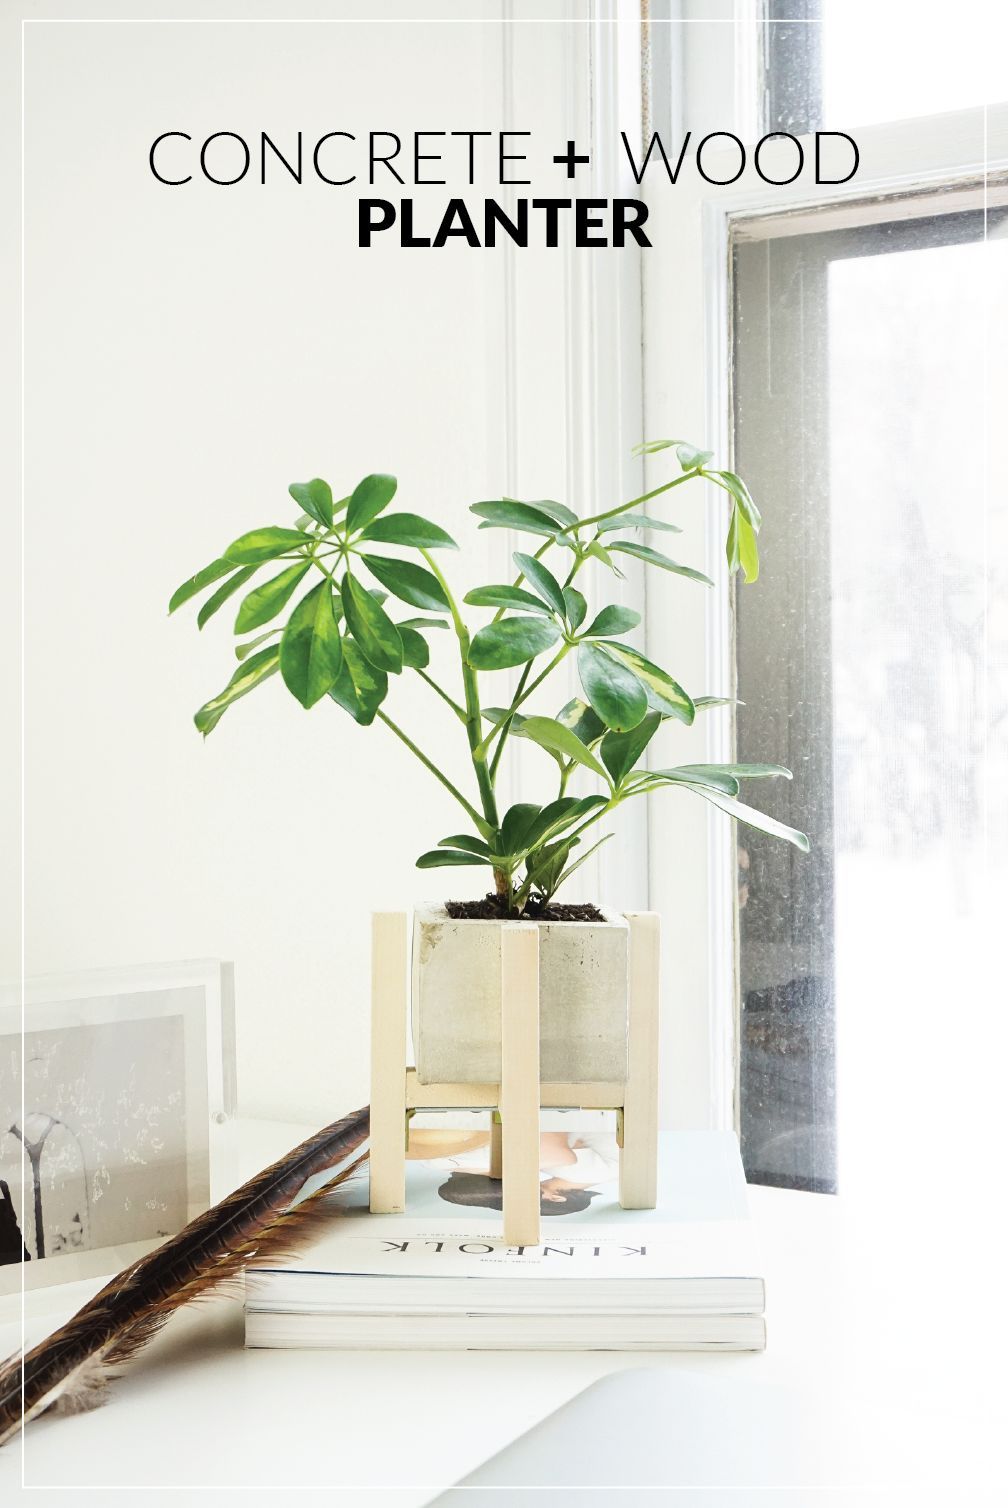
DIY Concrete + Wood Planter Stand
It’s all around this time of year, when issues have been white & dead outdoors for a number of months, that I truly begin to crave the lush, vibrancy of green plants. There’s just anything rejuvenating about their presence, really don’t you feel? Factors might get awhile to green up outside, so why not manifest your own green within? Usher a plant or two into your property with this surprisingly simple planter & plant stand. A tiny concrete & wood are all you need to make your new flora truly feel appropriate at home.
 See in gallery
 View in gallery
 View in gallery
 See in gallery
 See in gallery
Materials:
- quick drying concrete
- one.75L paper juice carton
- pint sized paper carton
- sacrificial mixing bowl & spoon (ones that can be ruined)
- scissors
- duct tape
- sand paper
- five/8″ thick square wood dowel
- hand noticed or circular saw
- connector plate + screws
- 4 angle brackets + screws
- electric drill
Component I: The Cement Planter:
 View in gallery
one. Reduce the tops off each the small and huge juice cartons.
 View in gallery
two. Mix up the concrete by adding two cups of concrete to three/four cup of water. Stir vigorously for about one minute. The package instructions contact for a 4:one ratio, but we do not want as considerably strength as this ratio provides. Plus utilizing much more water generates a smoother surface finish with much less bubbles. Pour the concrete into the more substantial carton.
 See in gallery
three. Spot the smaller carton in the center of the greater carton, pressing it into the cement about 2-three inches deep.
 View in gallery
4. Tape the smaller carton in spot with duct tape. Allow to dry about 2 hours, right up until entirely hardened.
 See in gallery
five. Squeeze the smaller carton to compress slightly, and remove from the concrete. Minimize away the greater carton from the outdoors of the planter.
 See in gallery
six. Sand down all rough edges.
 See in gallery
7. Add your plant into the planter and you’re halfway completed with the project! Now onto the plant stand.
Part II: The Wood Plant Stand:
 View in gallery
1.Reduce your wood dowel into the following pieces and sand down rough edges:
- Qty 4: five-1/2″ lengthy pieces
- Qty 1: 4″ extended piece
- Qty two: one-11/16″ long pieces
 See in gallery
two. With the three smallest wood pieces, kind an X shape. Position the connector plate so that it connects all 3 pieces by reaching above the perpendicular 4″ piece. Screw the connector plate to every of the three little wood pieces with an electric drill.
 See in gallery
3. On every single of the four bigger wood pieces, draw a guideline about 1-seven/8″ up from 1 finish.
 See in gallery
four. Place the angle bracket just beneath the tips manufactured in Phase 3 and screw into location. Note: If your connector bracket staggers its holes like mine, 1 of the angle brackets will require to be connected to the vertical post off center so that it will line up with the connector plate hole (see image under).
 See in gallery
five. Then attach the wood shaped X onto the leading side of the angle brackets. The connector plate on the X ought to be dealing with downward.
 See in gallery
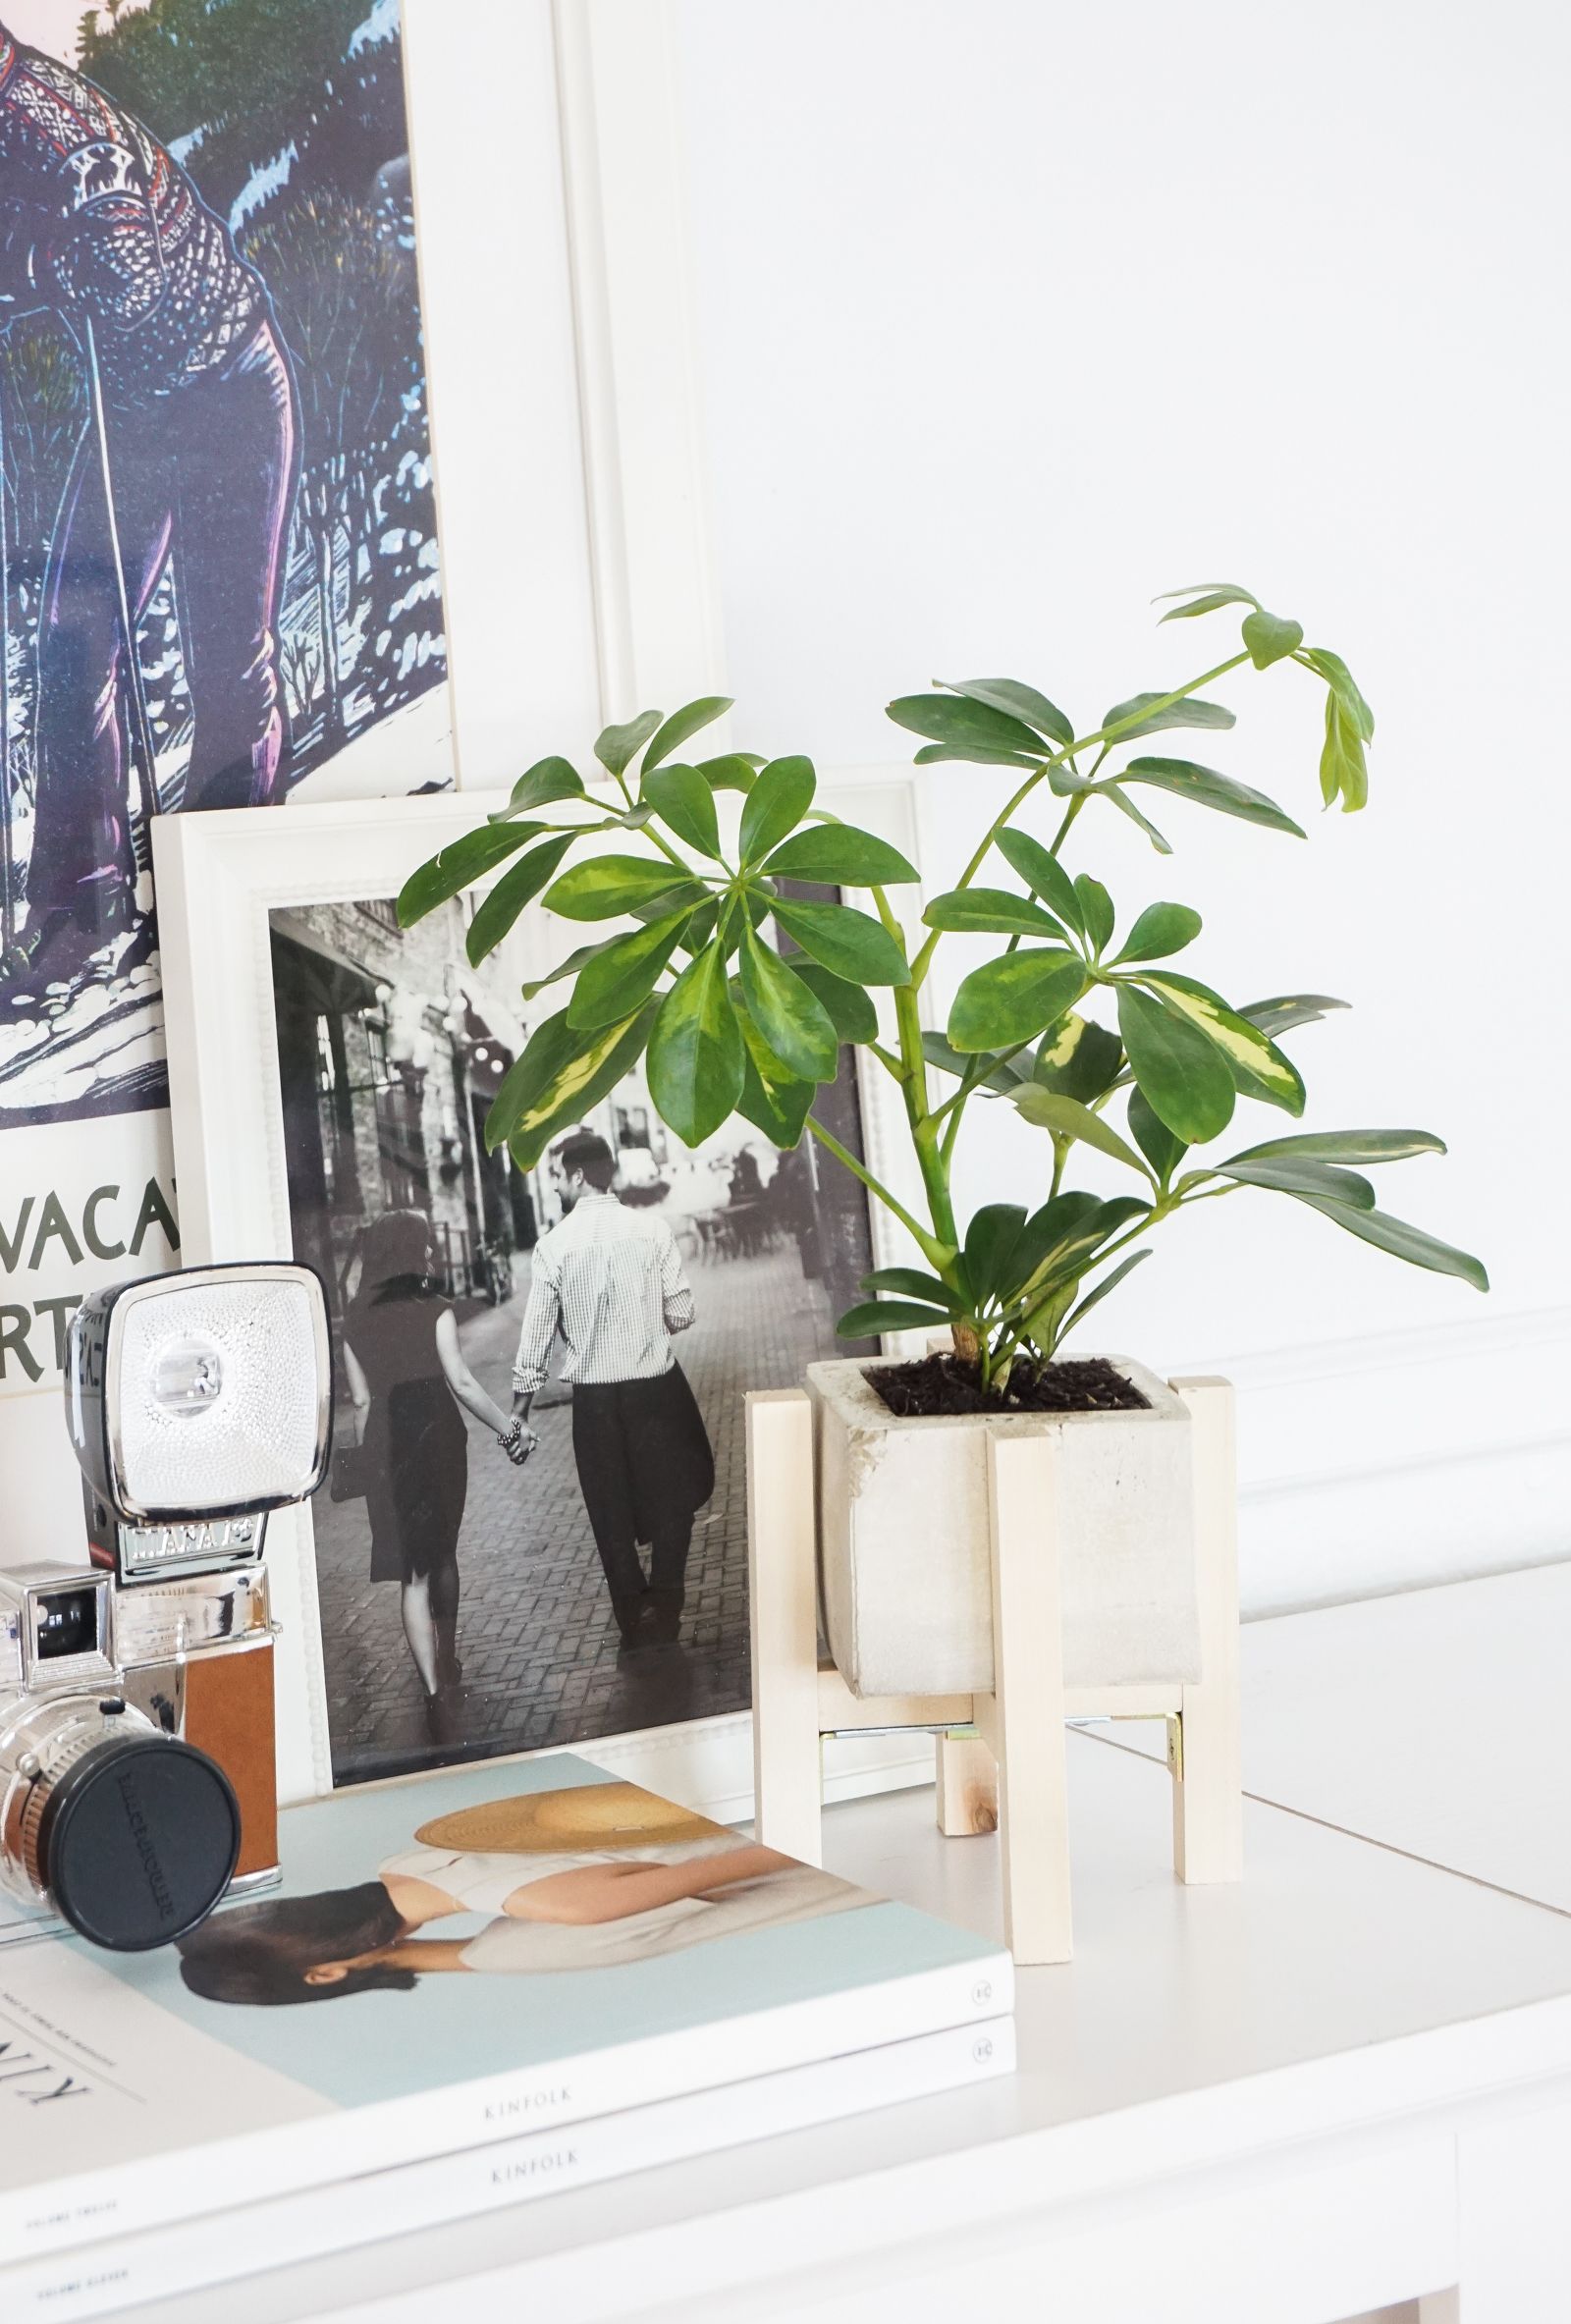
six. Flip the stand more than and place the concrete planter within. Enjoy!
 See in gallery


